
The Full Process of 3D Printing a Custom Hearing Aid (Start to Finish)
3D printing is changing how custom hearing prostheses are manufactured. The right workflow turns a scanned ear impression into a comfortable, precise device with minimal manual work. Below is a practical, step‑by‑step guide that walks through scanning, modeling, postcuring, casting, filling, breaking and peeling, machining, and final finishing — using Easy Rip resin from MACK4D as the casting material.
Overview of the workflow
The process follows a clear sequence:
- Scanning
- Modeling
- Postcuring and cast preparation
- Cast filling
- Cast breaking and peeling
- Machining and cleanup
- Final finishing and quality control
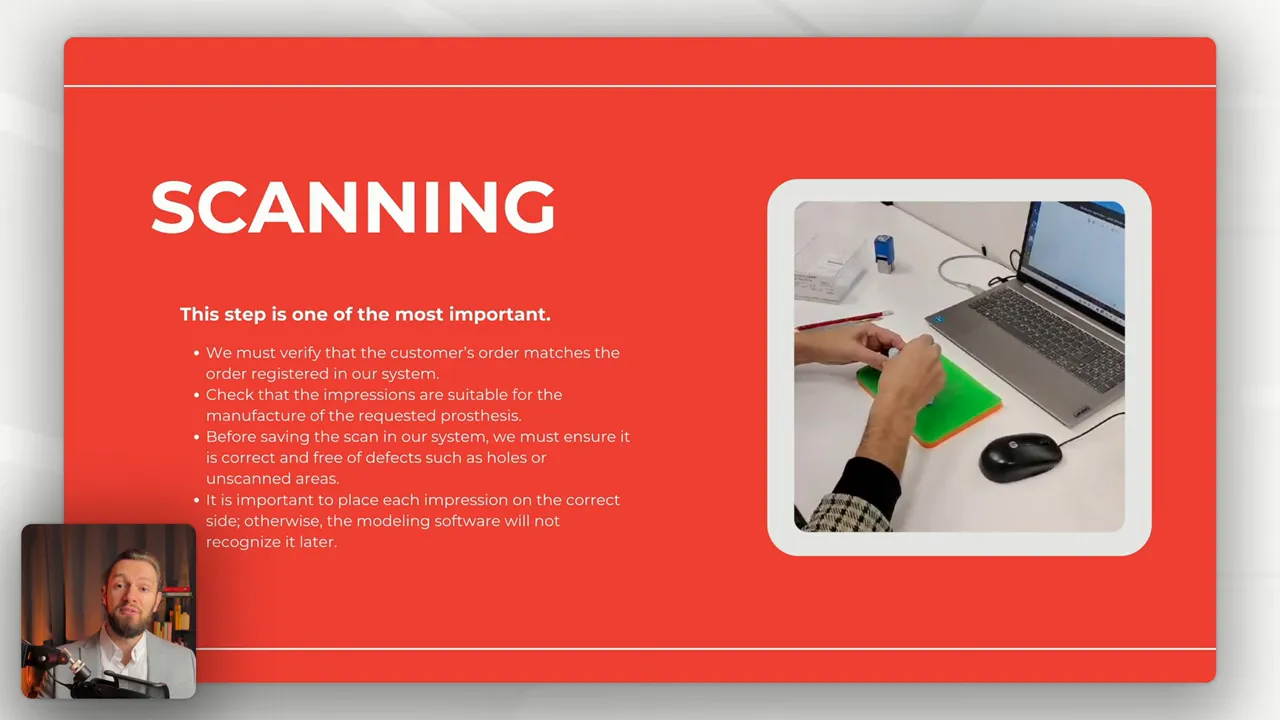
Step 1: Scanning — get the foundation right
Accurate scanning is the most important step. Begin by verifying that the customer's order matches the order registered in your system and that the impressions are suitable for the requested prosthesis. Before saving any scan:
- Check for holes or unscanned areas and re-scan if needed.
- Place each impression on the correct side. Modeling software depends on correct orientation, and misplacement can cause recognition errors later.
- Confirm the impressions match the manufacturing requirements for the prosthesis type.
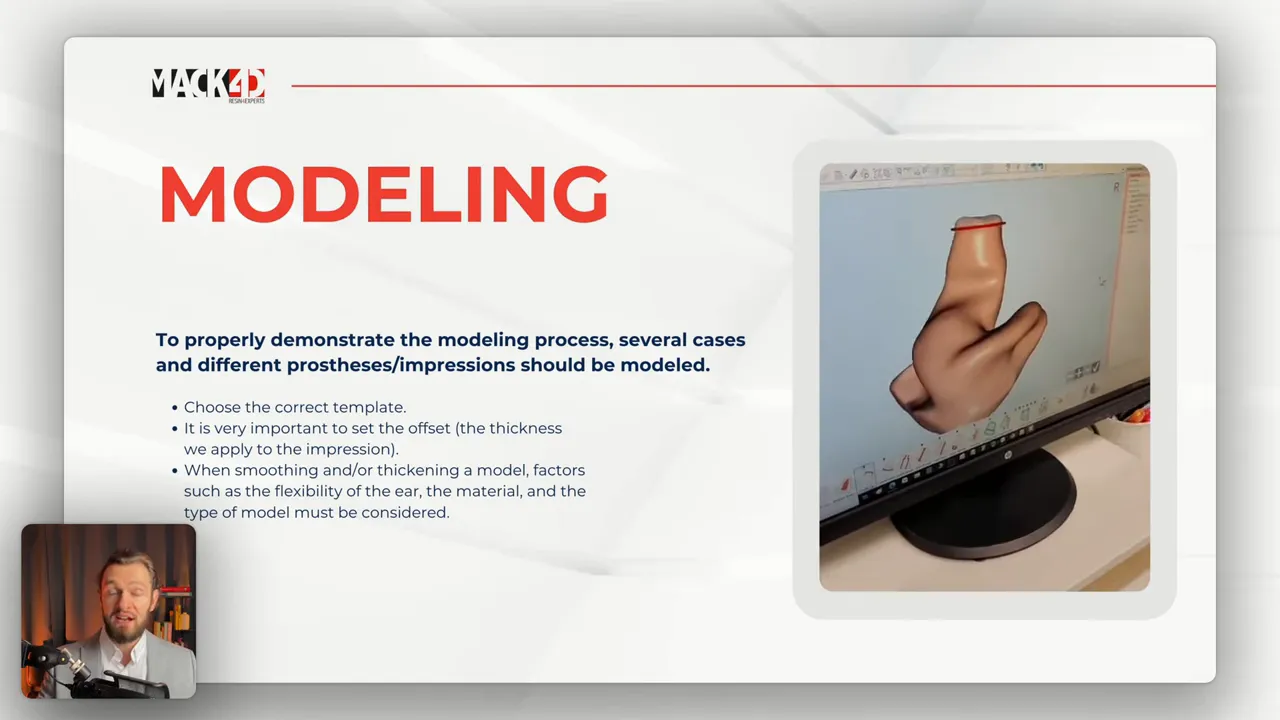
Step 2: Modeling — templates, offsets, and fit
Modeling transforms the scan into a producible negative. Several practical points ensure a good result:
- Choose the correct template for the prosthesis type and patient anatomy.
- Set the offset (the effective thickness you apply to the impression) carefully. Offset affects comfort and retention.
- When smoothing or thickening a model, account for the ear's flexibility, the material properties, and the specific model type.
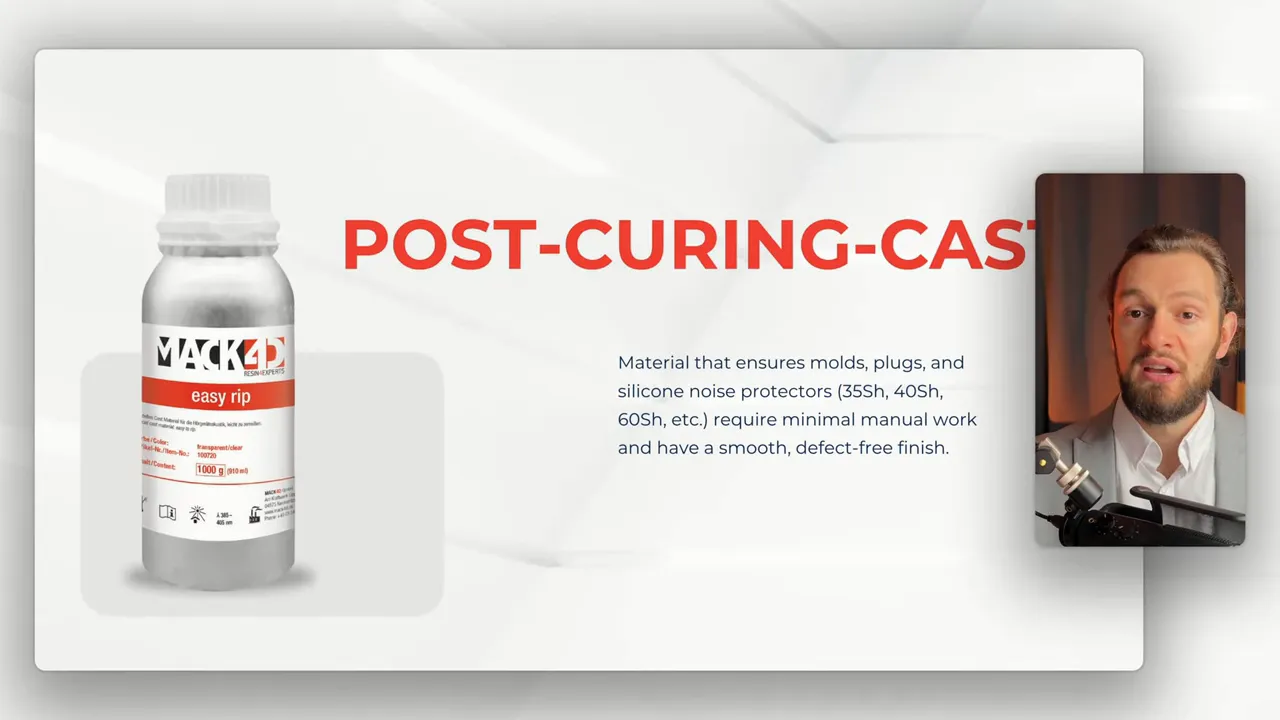
Step 3: Postcuring and preparing the cast (using Easy Rip resin)
Easy Rip resin is designed for molds, plaques, and silicone noise protectors. It comes in variants with shore hardnesses around 35SH, 40SH, or 60SH, delivers a smooth, defect‑free surface, and minimizes manual work during postprocessing.
Recommended post-print workflow:
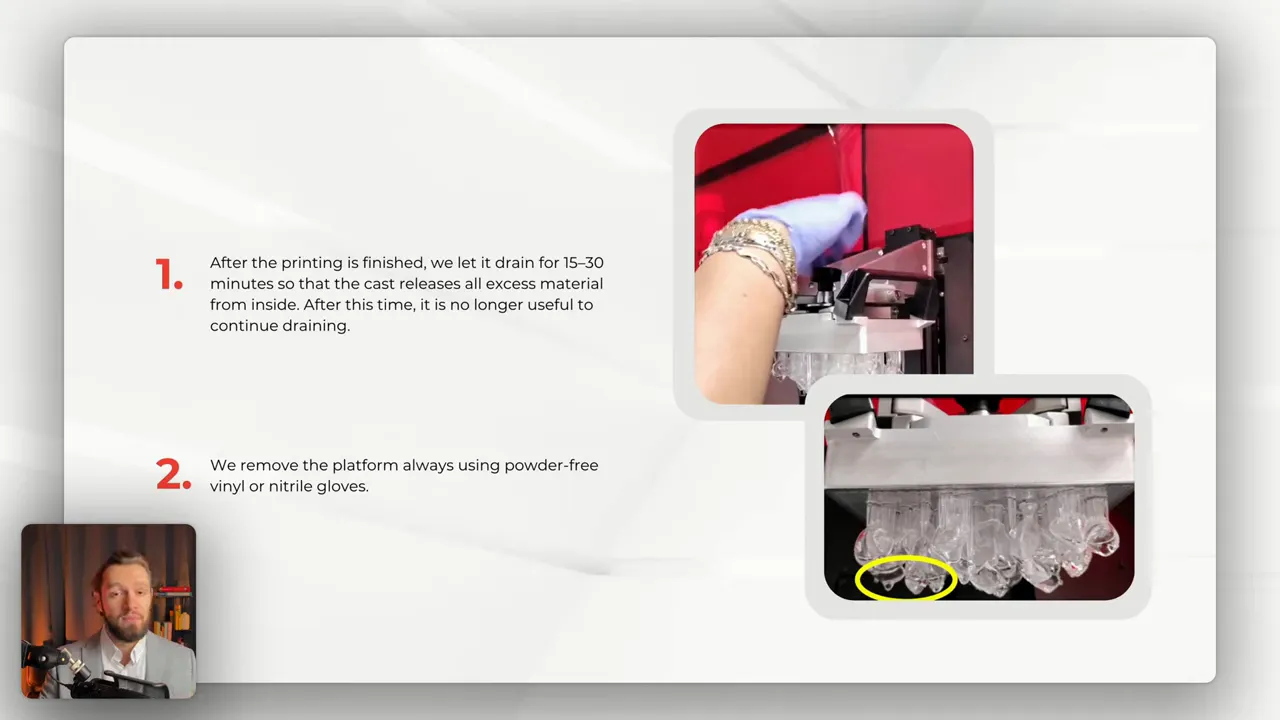
- Drain: After printing, let parts drain for 15 to 30 minutes so excess resin clears from internal cavities. Beyond that window additional draining yields little benefit.
- Remove platform: Use powder‑free or natural gloves when detaching the platform to avoid contamination.
- Remove the cast carefully: Avoid breaking filling cones. If a cone breaks, the cast can still be used for filling.
- Ultrasonic bath #1: Submerge casts in an alcohol‑filled ultrasonic cleaner (Formlab or equivalent) for about 5 minutes. Ensure full submersion and rotation for effective cleaning.
- Drain briefly, then ultrasonic #2: After draining a few seconds, run another ultrasonic cycle for ~1.5 minutes to remove residual contaminants.
- Drying with air: Blow air on each cast individually until alcohol traces disappear.
- Photo curing: Place casts in a photopolymerization chamber for about 2.5 minutes. Gas or nitrogen is not necessary for this step.
- Optional oven drying: For immediate filling, dry casts in a dry heat oven at 70° C for about 10 minutes to guarantee complete dryness. If filling is scheduled several hours or the next day, this oven step can be skipped.
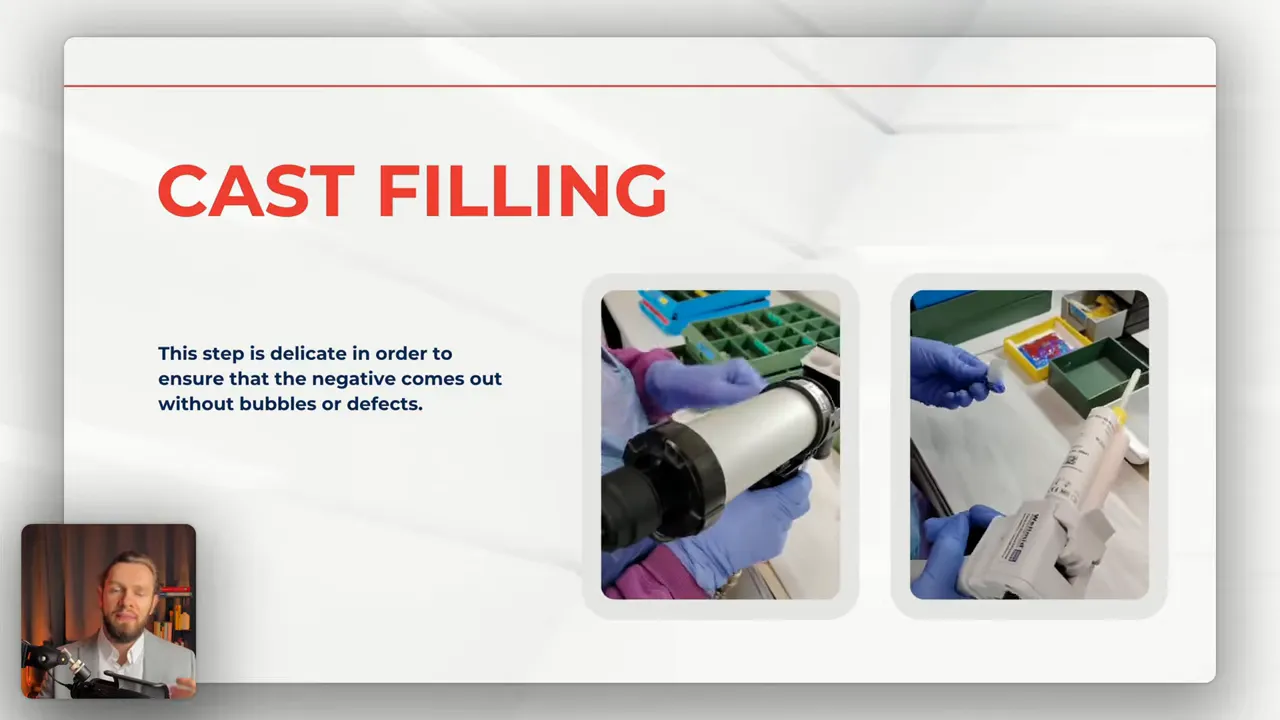
Step 4: Filling the cast — minimize bubbles and defects
Filling is a delicate operation. The goal is to create a negative without bubbles or surface defects:
- Ensure the cast is completely dry before filling to prevent voids.
- Pour or inject slowly and allow trapped air to escape via designed channels or venting points.
- Inspect immediately for surface irregularities and correct while the material is still workable.
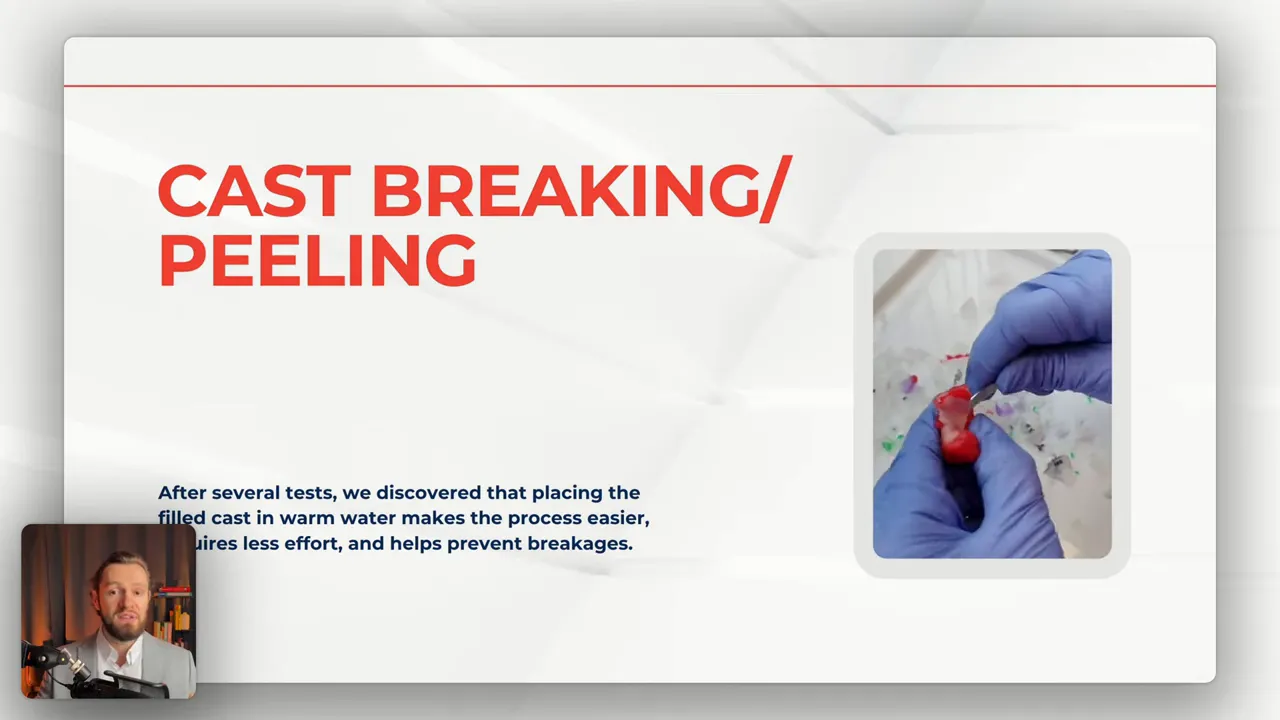
Step 5: Cast breaking, peeling, and machining
After filling and curing, remove the cast carefully to preserve the finished negative:
- Placing the filled cast in warm water simplifies breaking and peeling, reduces the force required, and lowers the risk of breakage.
- Cut drainage channels precisely to preserve the socket geometry.
- Use fine sandpaper to remove grease or small imperfections and to smooth seams.
- Wash and dry parts thoroughly after machining to remove dust and residues.
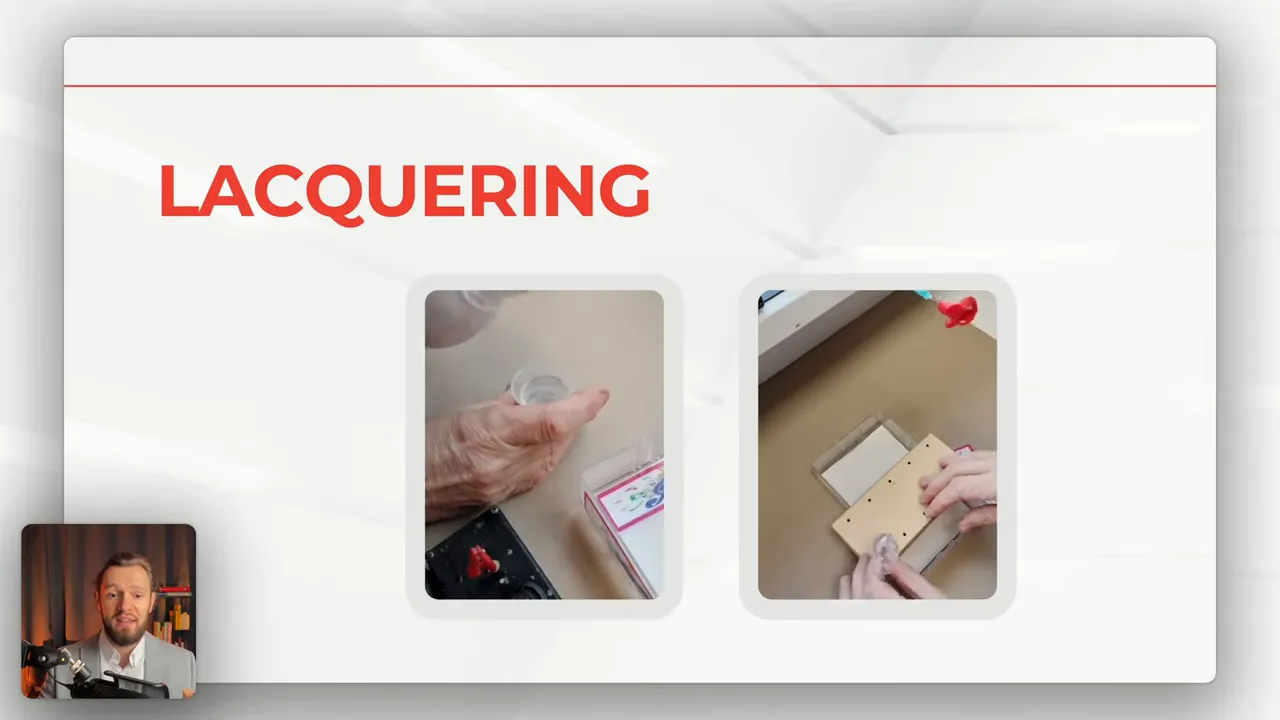
Step 6: Final finishing and quality control
The last steps bring aesthetics and comfort together:
- Apply lacquer or coating for final gloss, wear resistance, and skin compatibility.
- Perform dimensional and visual quality checks to ensure fit, surface finish, and absence of defects.
- Document the order and link the manufactured item back to the original customer order for traceability.
It is very important to place each impression on the correct side because otherwise the modeling software will not recognize it later.
Practical tips and reminders
- Always use powder‑free gloves when handling parts after printing to avoid contamination.
- If a cone or small support breaks during removal, evaluate before discarding; many casts remain usable.
- Adjust offsets based on the ear's flexibility and the intended material of the final prosthesis for optimal comfort.
- Keep a predictable, repeatable postcuring routine to reduce variability between parts and batches.
Using a purpose‑built resin like Easy Rip together with a consistent workflow reduces manual rework and produces smooth, reliable negatives for custom hearing aids. To explore Easy Rip resin options and technical data, visit the MACK4D product page: https://www.mack4d.de/en/MACK4D-Easy-Rip
Troubleshooting & Quick Tips
If you encounter issues with prints, filling, or finishes, use this quick checklist to diagnose and correct common problems.
- Incomplete scans: Re-scan the impression, check orientation, and verify there are no holes before modeling.
- Surface defects after casting: Ensure full drying (oven at 70° C for 10 minutes if filling immediately) and perform the two-stage ultrasonic cleaning exactly as recommended.
- Bubbles in filled negatives: Fill slowly, use venting channels, and avoid moisture in the cast.
- Cast breaks during demolding: Warm water soaking reduces required force; inspect support cones before discarding—some casts remain usable.
- Adhesion or coating issues: Clean thoroughly after machining and use compatible lacquers designed for skin contact.
Suggested Process Controls
For consistent results, document these parameters for every batch:
- Printer model and layer height
- Resin variant (shore hardness)
- Drain time and ultrasonic cycle durations
- Photo cure time and oven drying use
- Filling method and cure schedule
Keeping a short, standardized record sheet attached to each order improves traceability and reduces rework.
Contact 3D Printing Canada for MACK4D resins or questions regarding their applications.