
The 3D printing landscape is constantly evolving, and one of the latest entrants making waves is the Creality K1C. This printer promises an impressive combination of speed, quality, and user-friendly features. In this blog, we will delve into the unboxing experience, key features, and performance of the K1C, helping you decide if this is the right printer for your needs.
Unboxing the Creality K1C
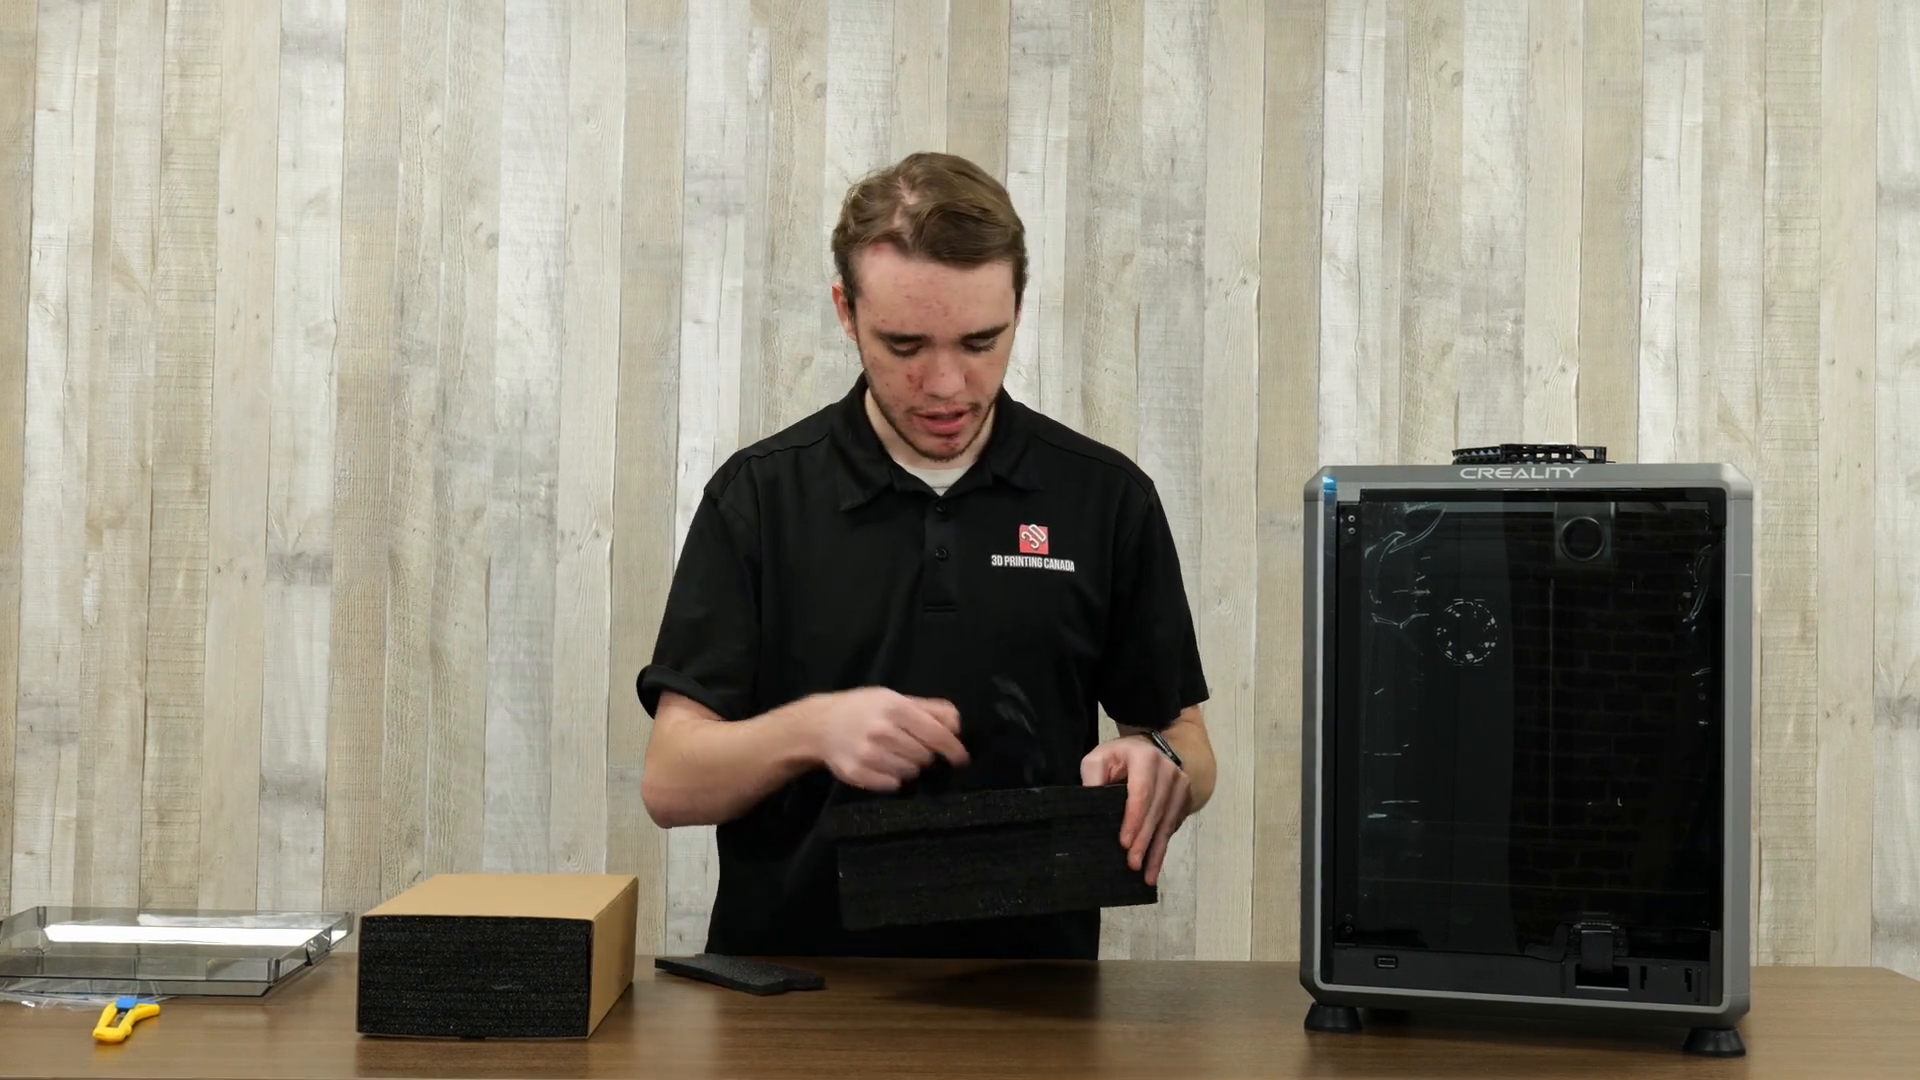
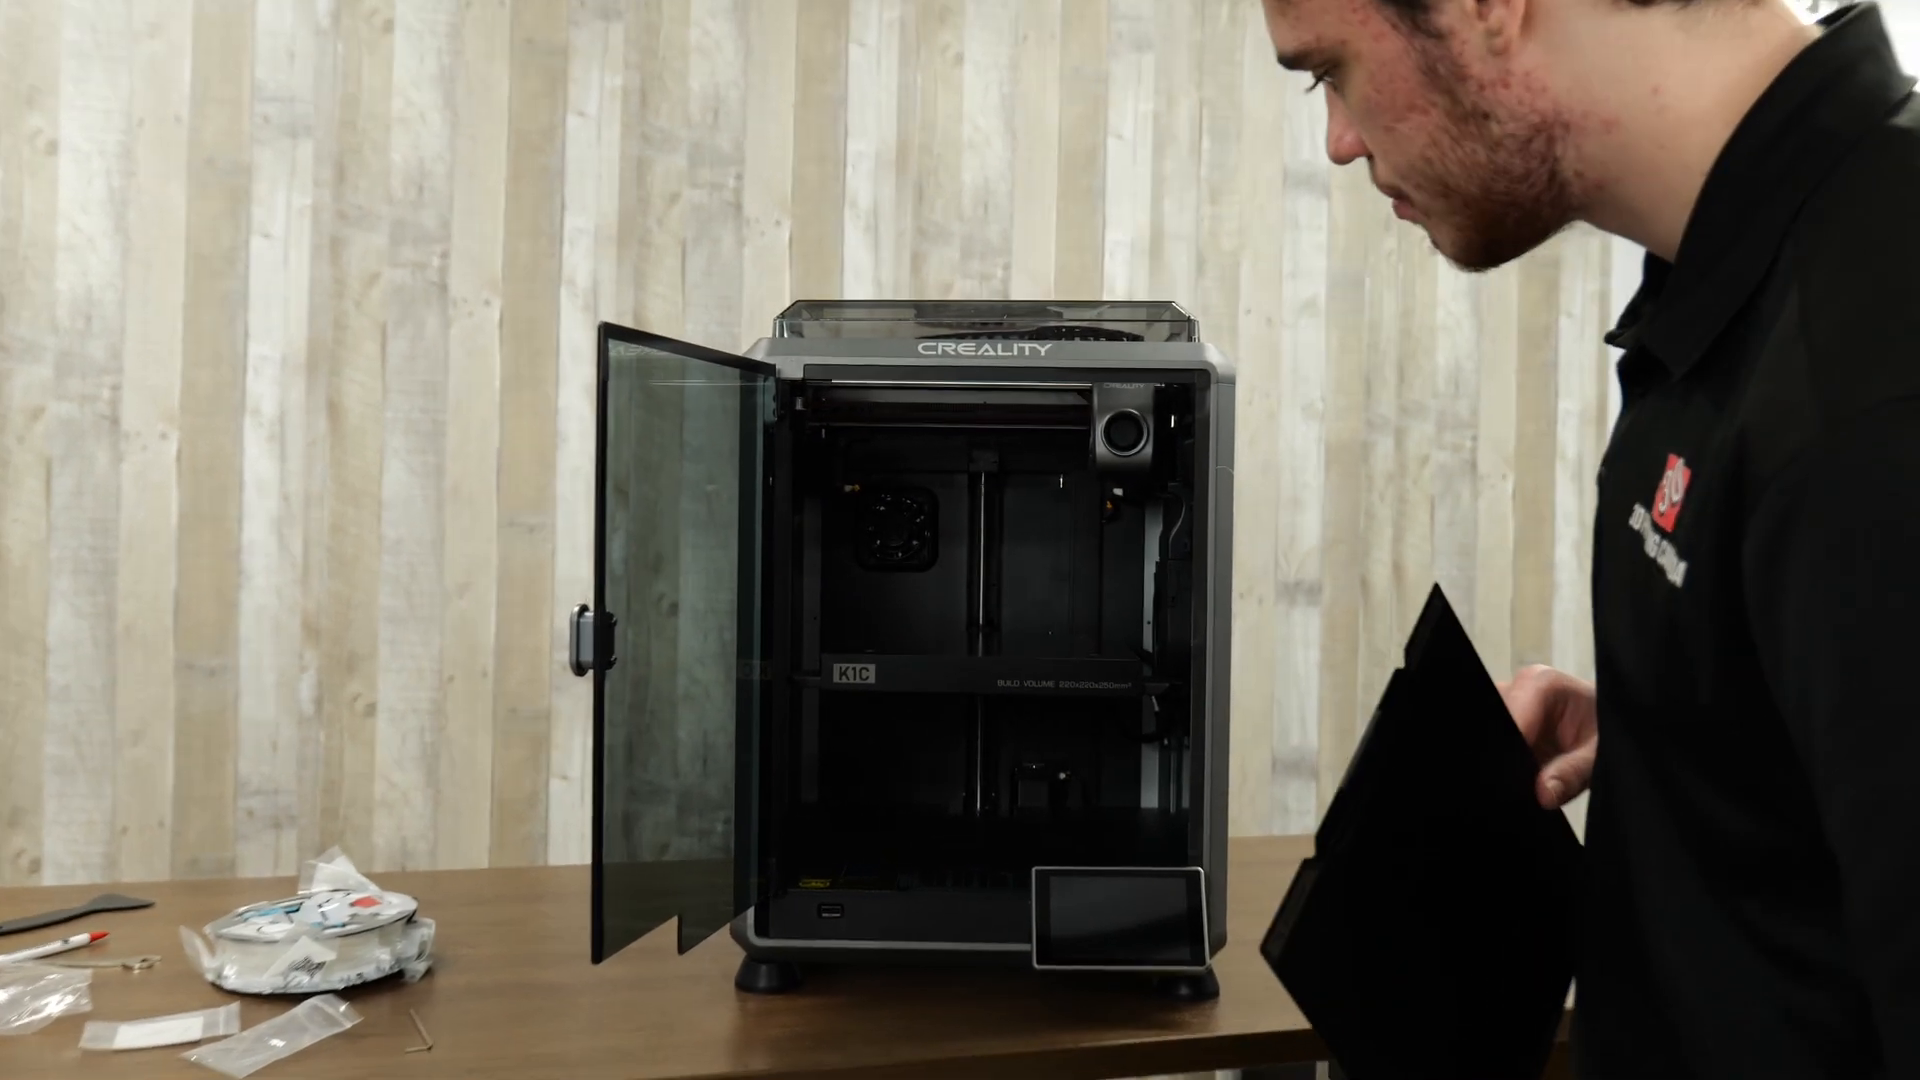
Unboxing a new 3D printer can be a thrilling experience. The K1C comes well-packaged, ensuring that all components arrive safely. Upon opening the box, you'll find an instruction manual prominently displayed on the lid, making it easy to get started.
Inside the box, you will encounter various components:
- Power cable
- Handle for the door
- Activated carbon filter
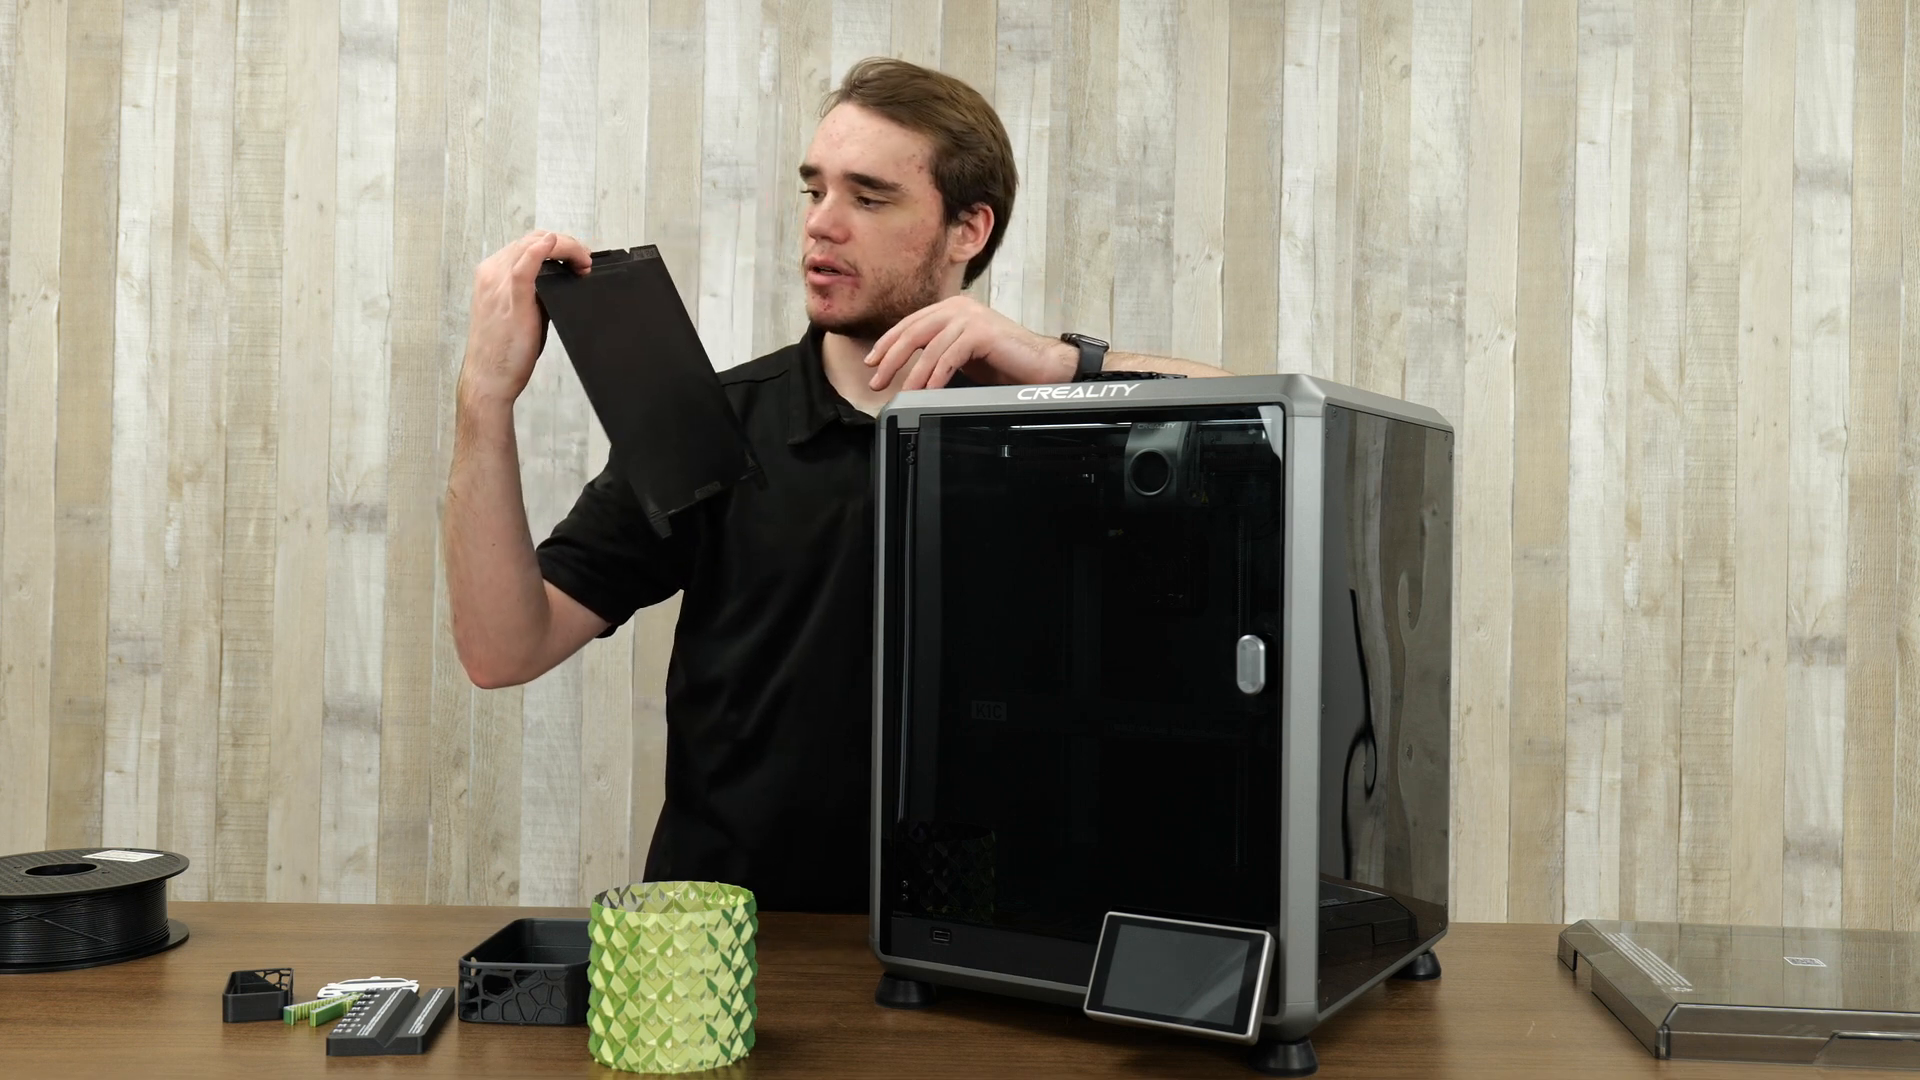
- Screen for the printer
- Spool holder and a test spool of filament
- Tools including side cutters, a spatula, wrench, grease, glue stick, USB card, Allen keys, and tweezers
Before powering up the printer, it is crucial to ensure the power supply is set to the correct voltage. Depending on your location, you may need to switch between 115V and 230V. This is easily done using a screwdriver, making it accessible for users around the globe.
Setting Up the Printer
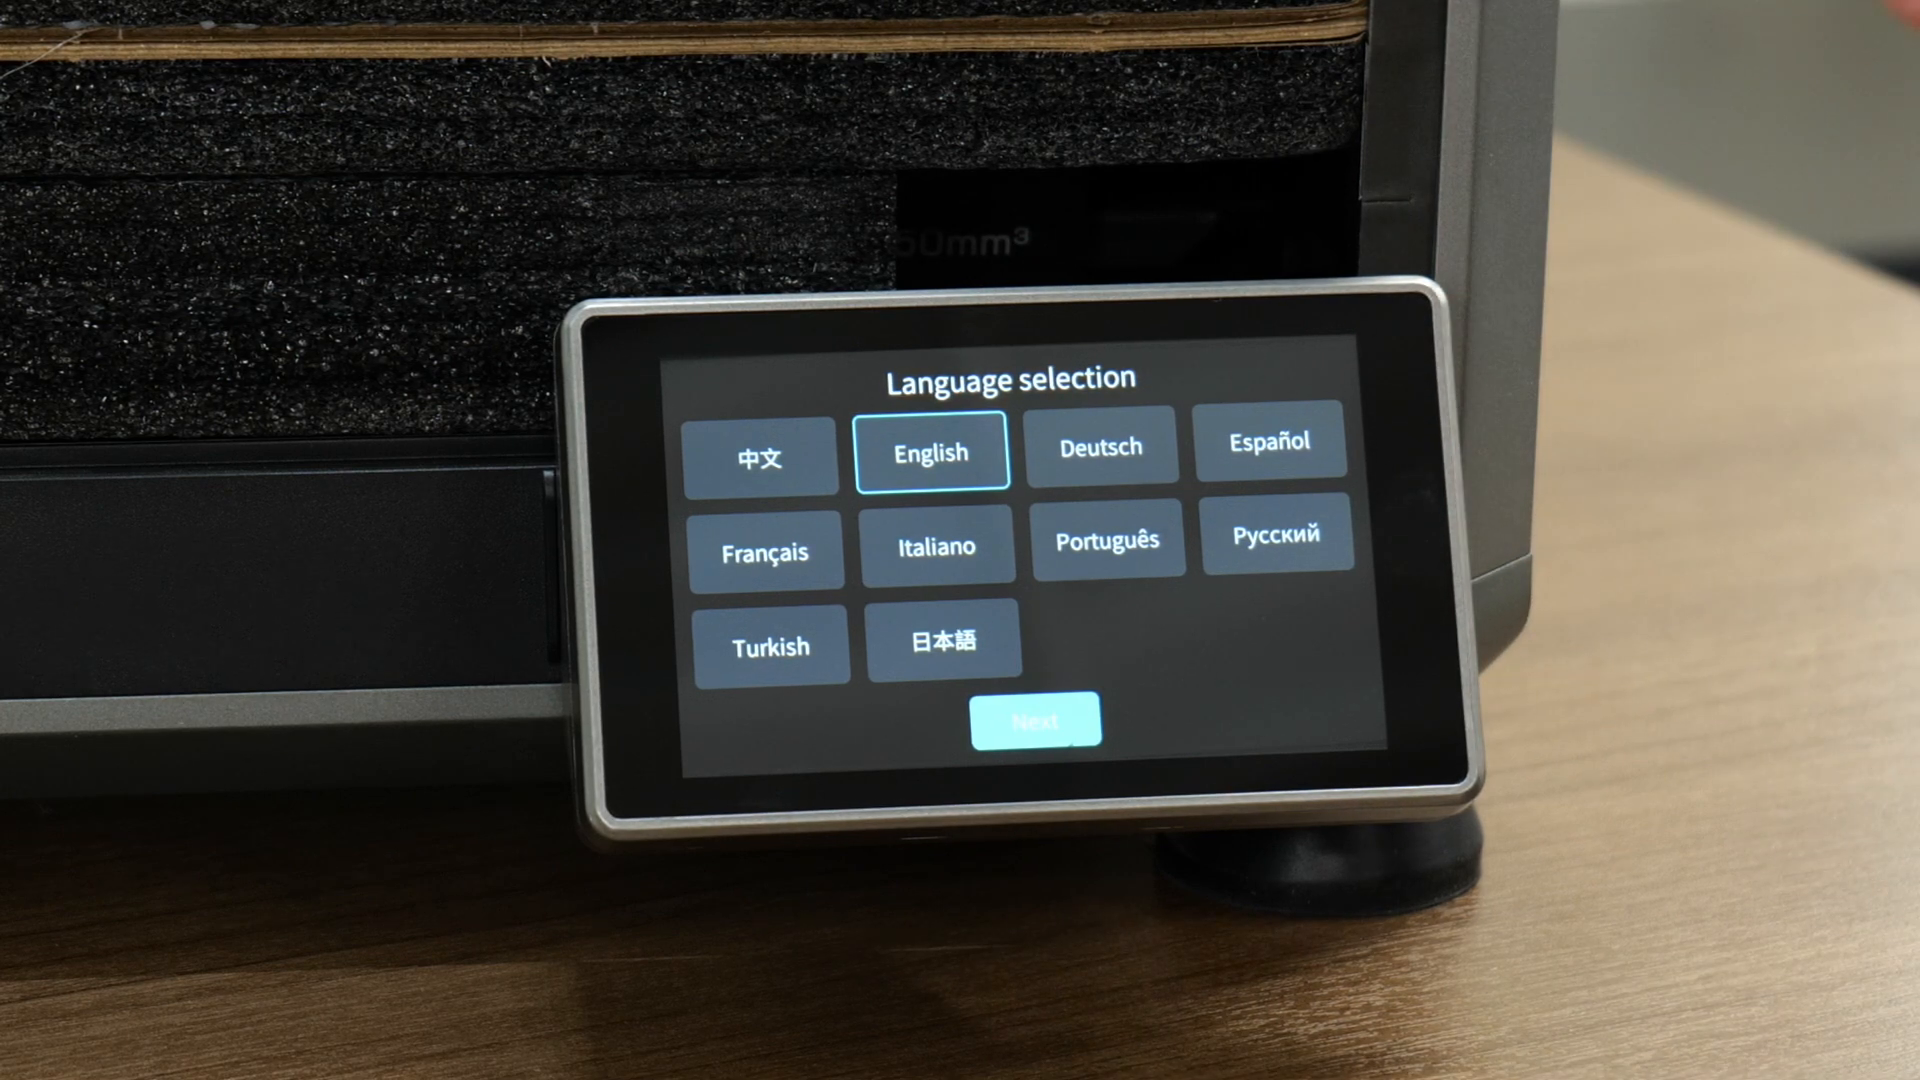
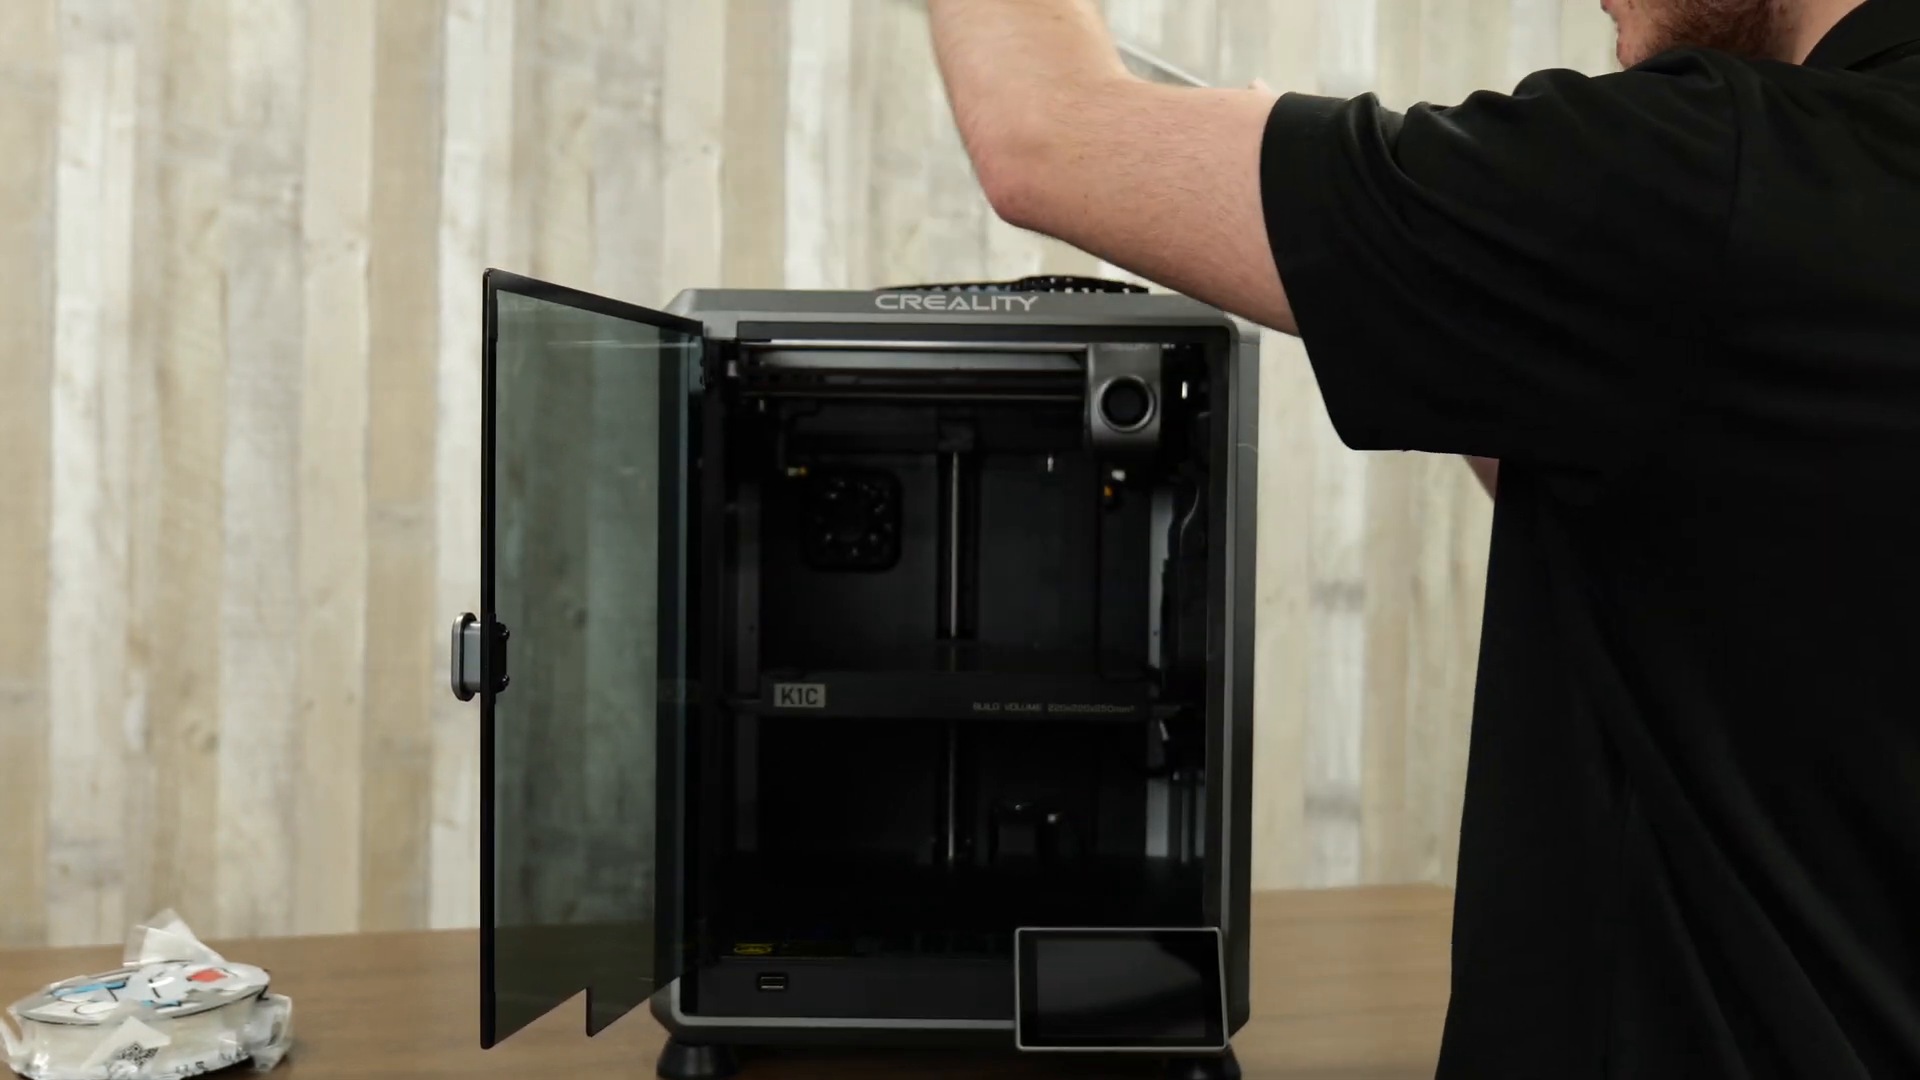
Once unboxed, the next step is to assemble the printer. Installing the screen is straightforward, requiring you to connect it to the corresponding ribbon cable. After plugging in the printer, it will take a moment to boot up, presenting a language selection screen upon startup.
After selecting your language, you’ll need to remove screws from the print bed as indicated in the guide. This step is essential for ensuring the printer is ready for calibration and testing.

Calibration and Initial Setup
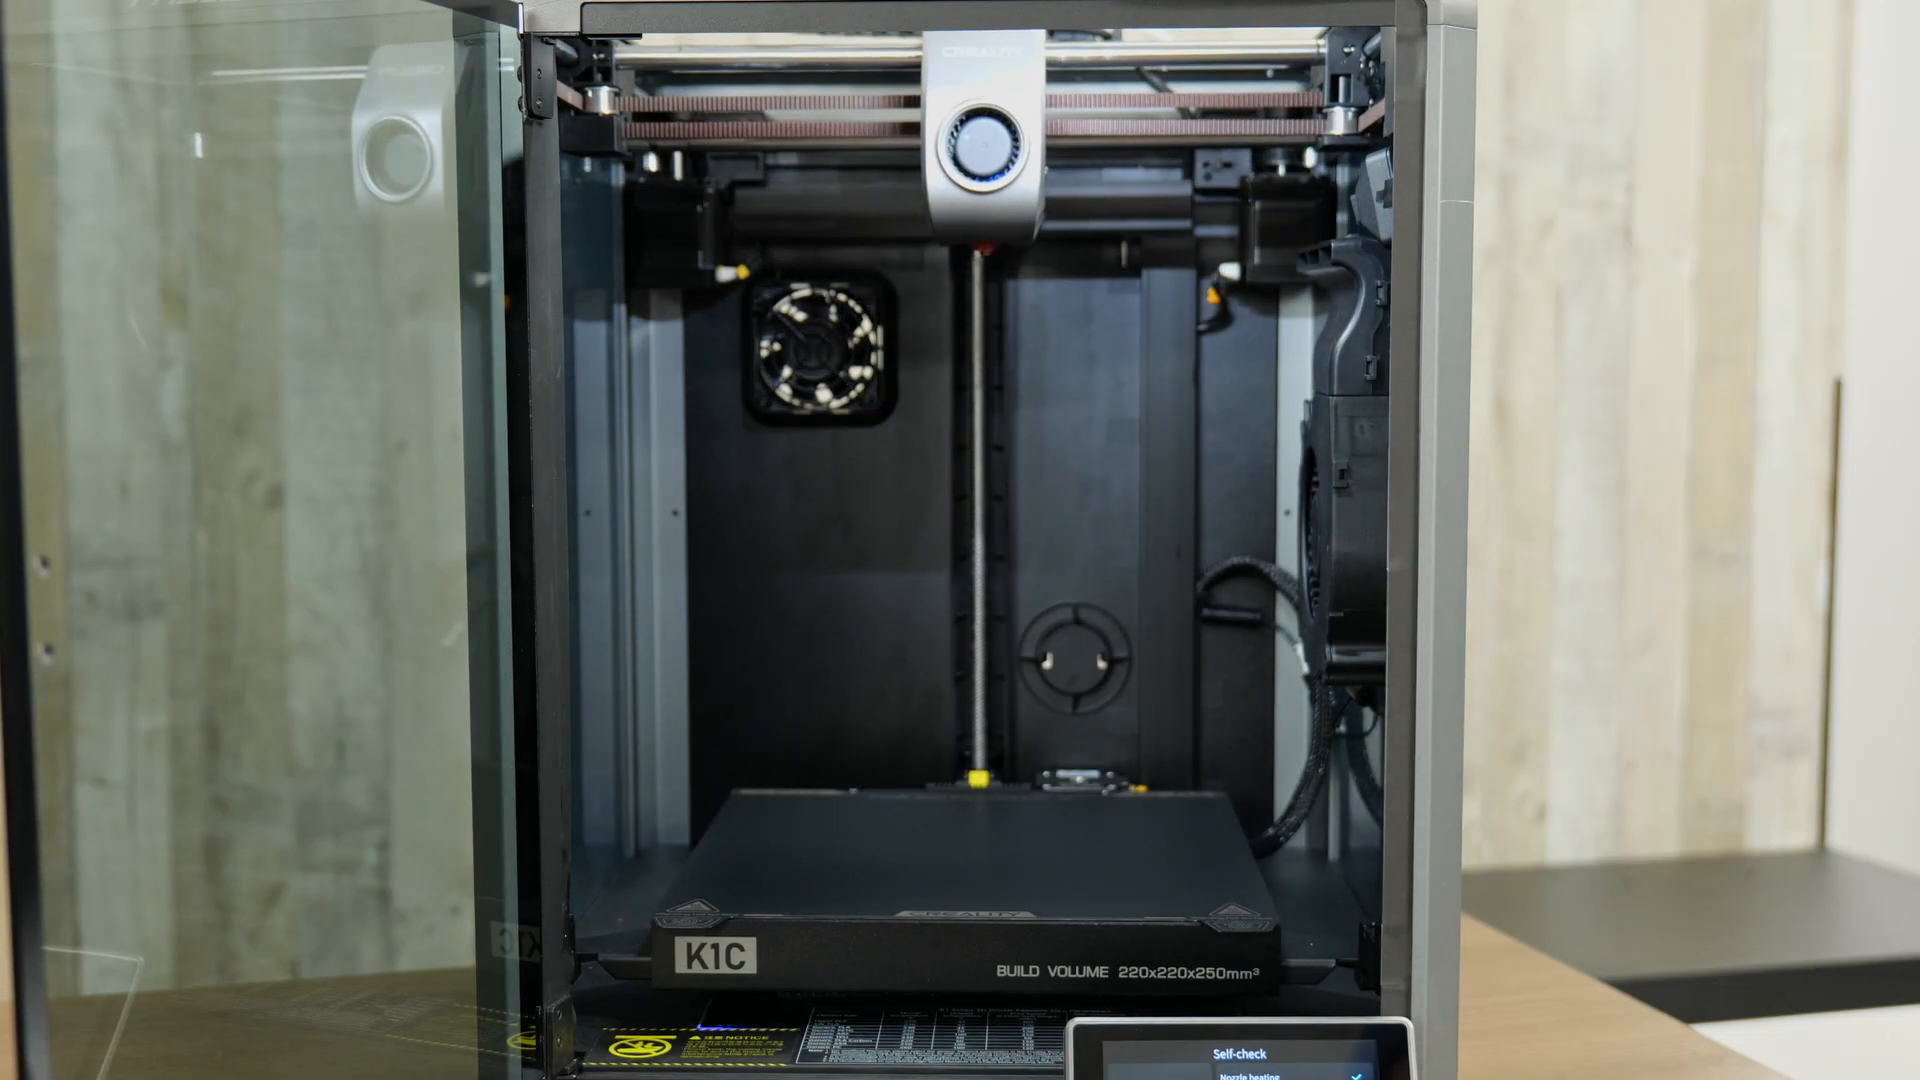
Calibration is a critical part of setting up any 3D printer, and the K1C simplifies this process. Once the screws are removed, the printer will perform self-tests and calibrate itself, including automatic bed leveling.
After calibration, you will need to install the carbon filter and spool holder. The installation is intuitive, following the same procedure as previous K1 models. The carbon filter helps reduce odors from printing materials, enhancing the overall experience when using the printer.

Notable Features of the K1C
The K1C is packed with features that enhance usability and printing quality. Here are some standout characteristics:
Quick Change Nozzle
One of the most impressive features is the quick-change nozzle. Users can easily switch out the nozzle without waiting for it to cool down, making material changes much more manageable.
Enhanced Build Quality
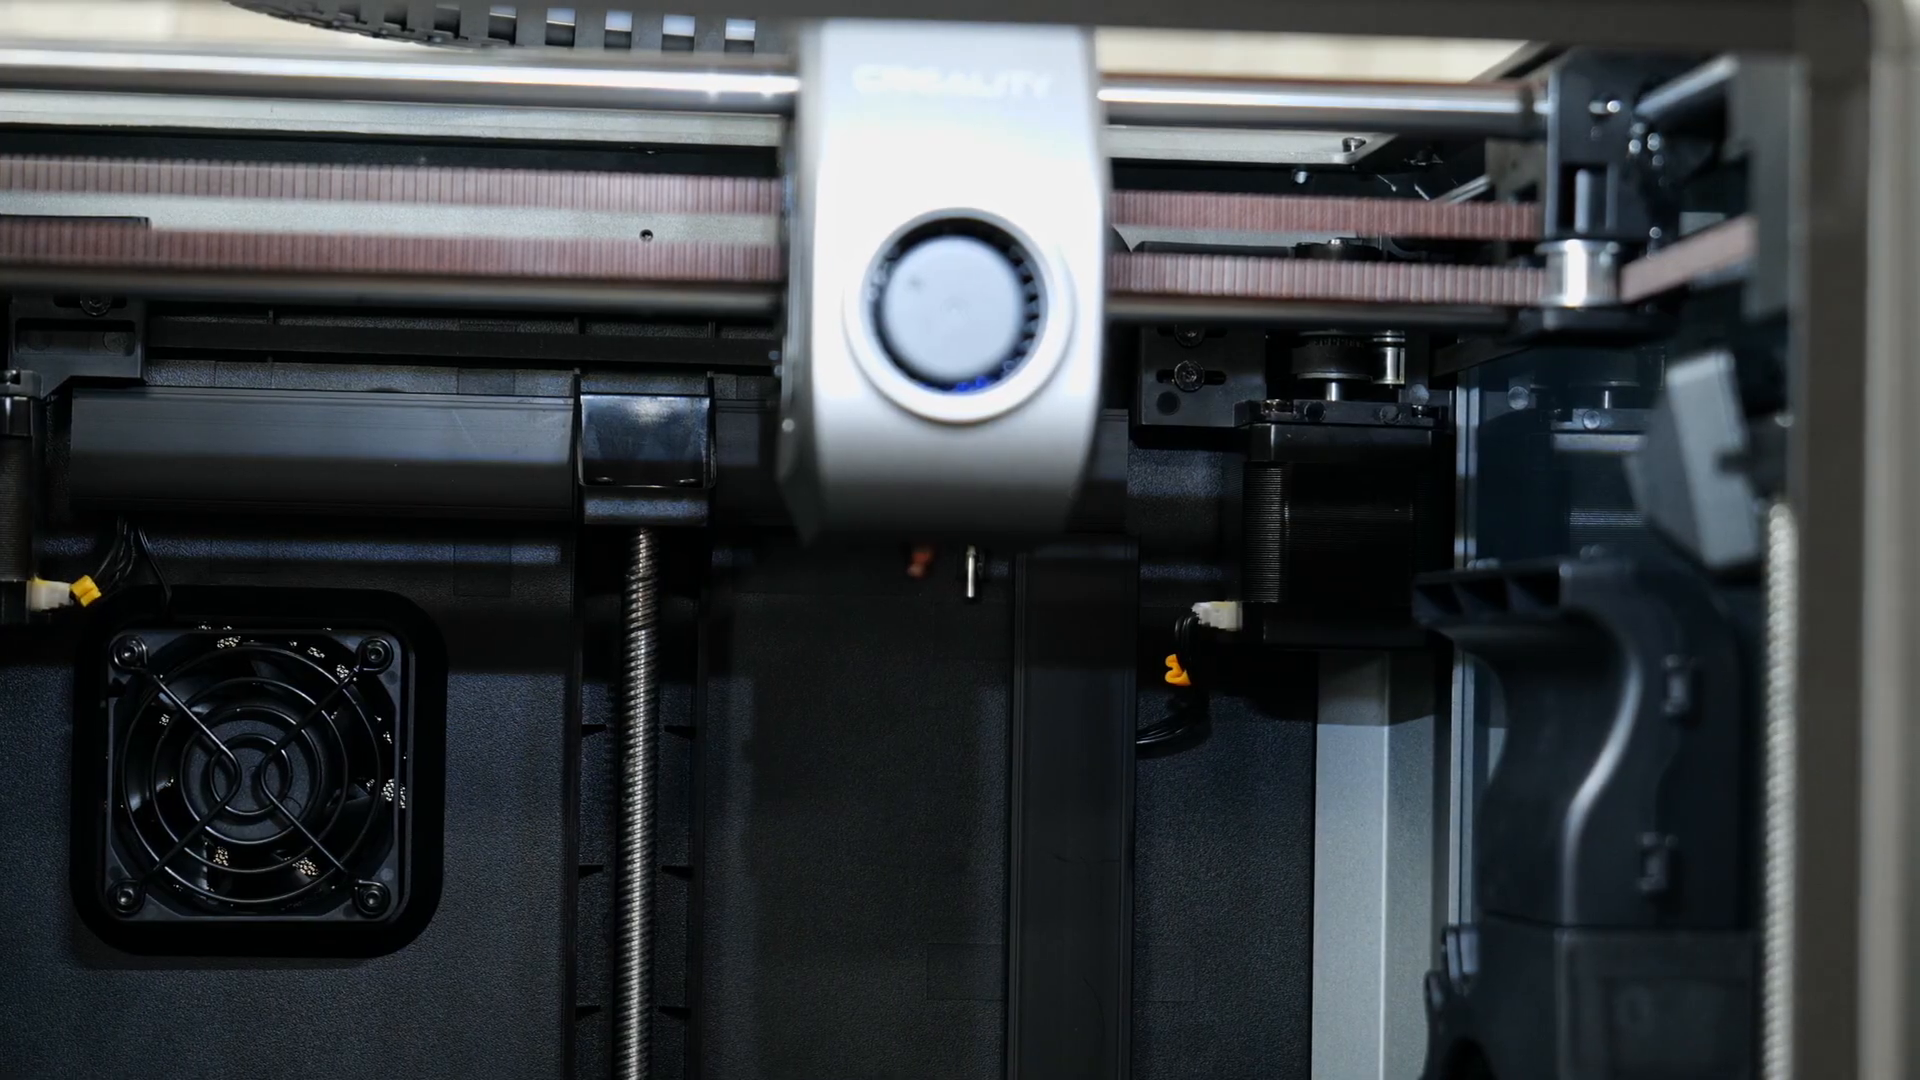
Creality has made improvements to the overall build quality of the K1C. The door now stays in place more securely, and the cable chain is positioned higher to prevent it from hitting the sides of the printer during operation.
Camera Functionality
The K1C includes a built-in camera, allowing users to monitor prints remotely. This feature is particularly useful for those who may need to step away during longer print jobs.
Automatic Nozzle Cleaning
Another innovative feature is the automatic nozzle brush, which cleans the nozzle before each print. This helps ensure optimal performance and reduces the risk of clogs.
Printing Performance
Having set up the K1C, it's time to explore its performance in real-world printing scenarios. The printer handles a variety of materials, including carbon fiber PLA and silk PLA, with impressive results.
Test Prints
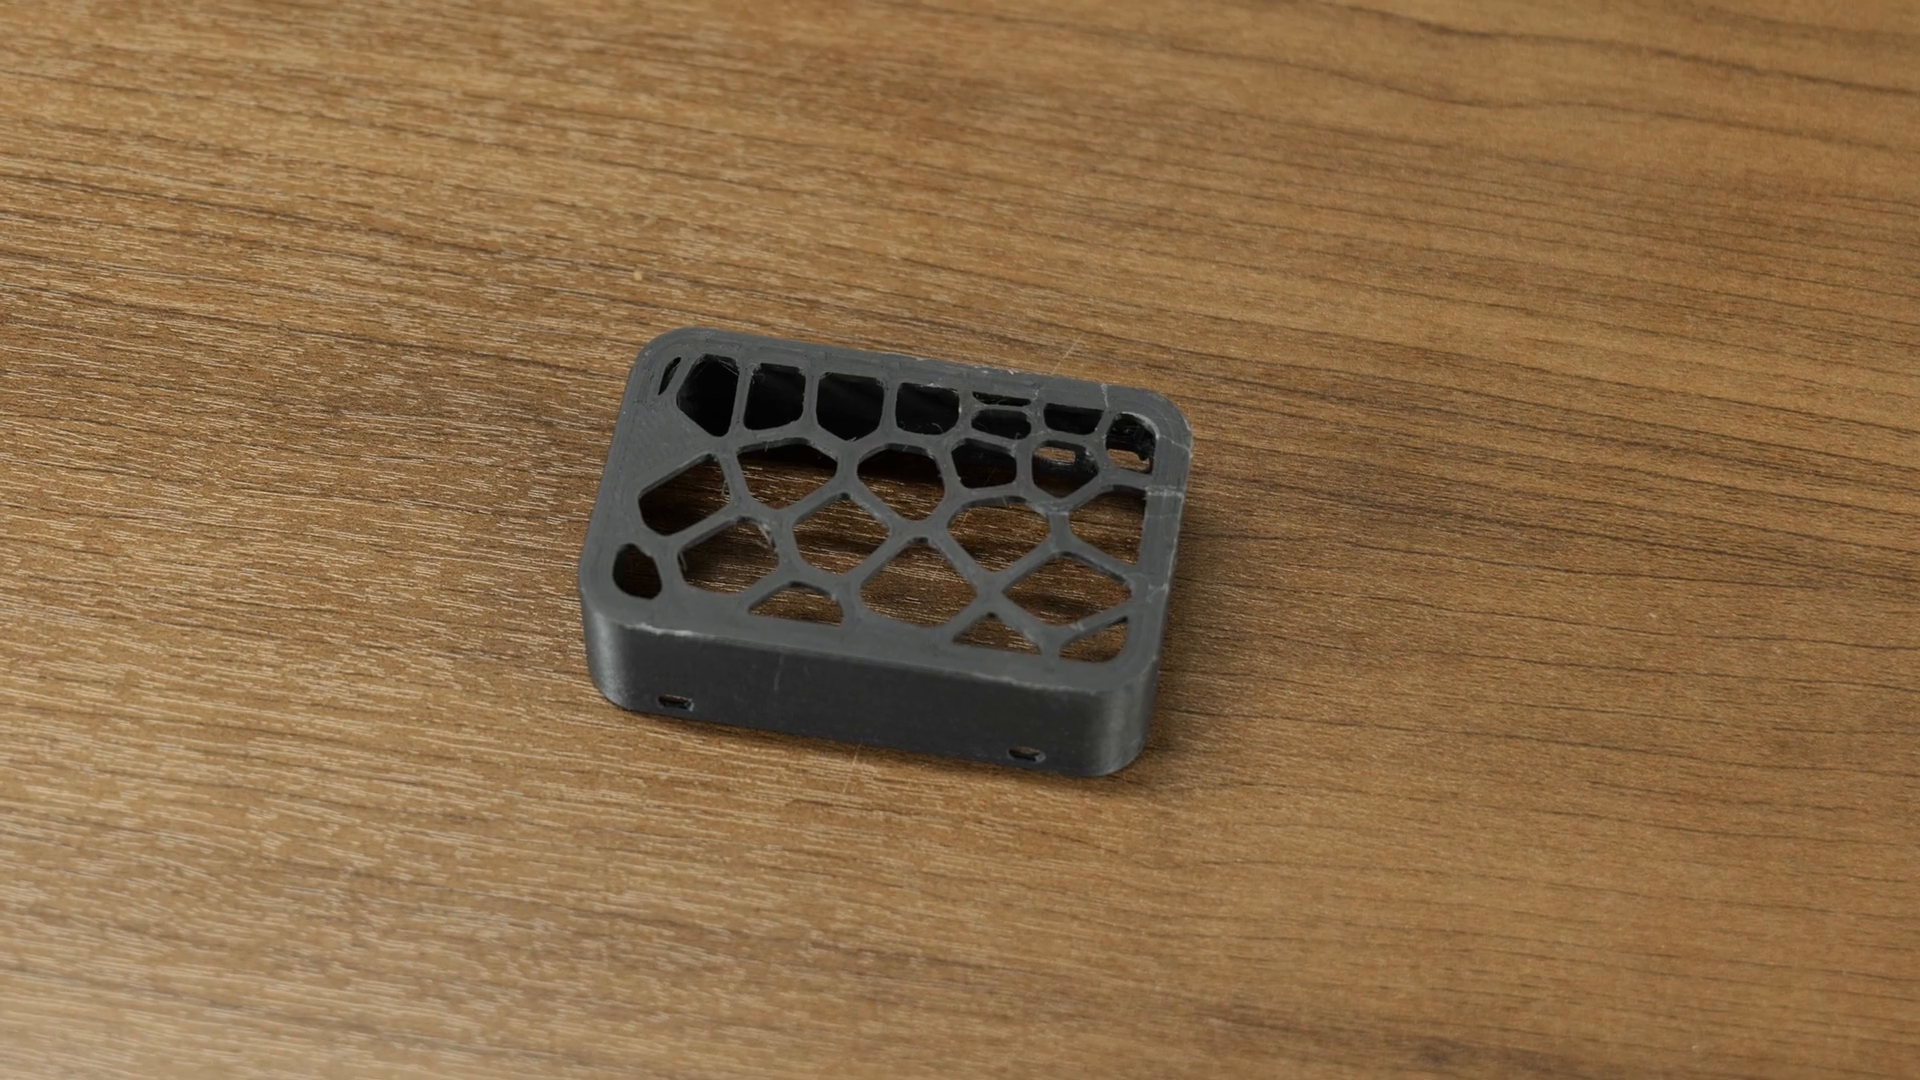
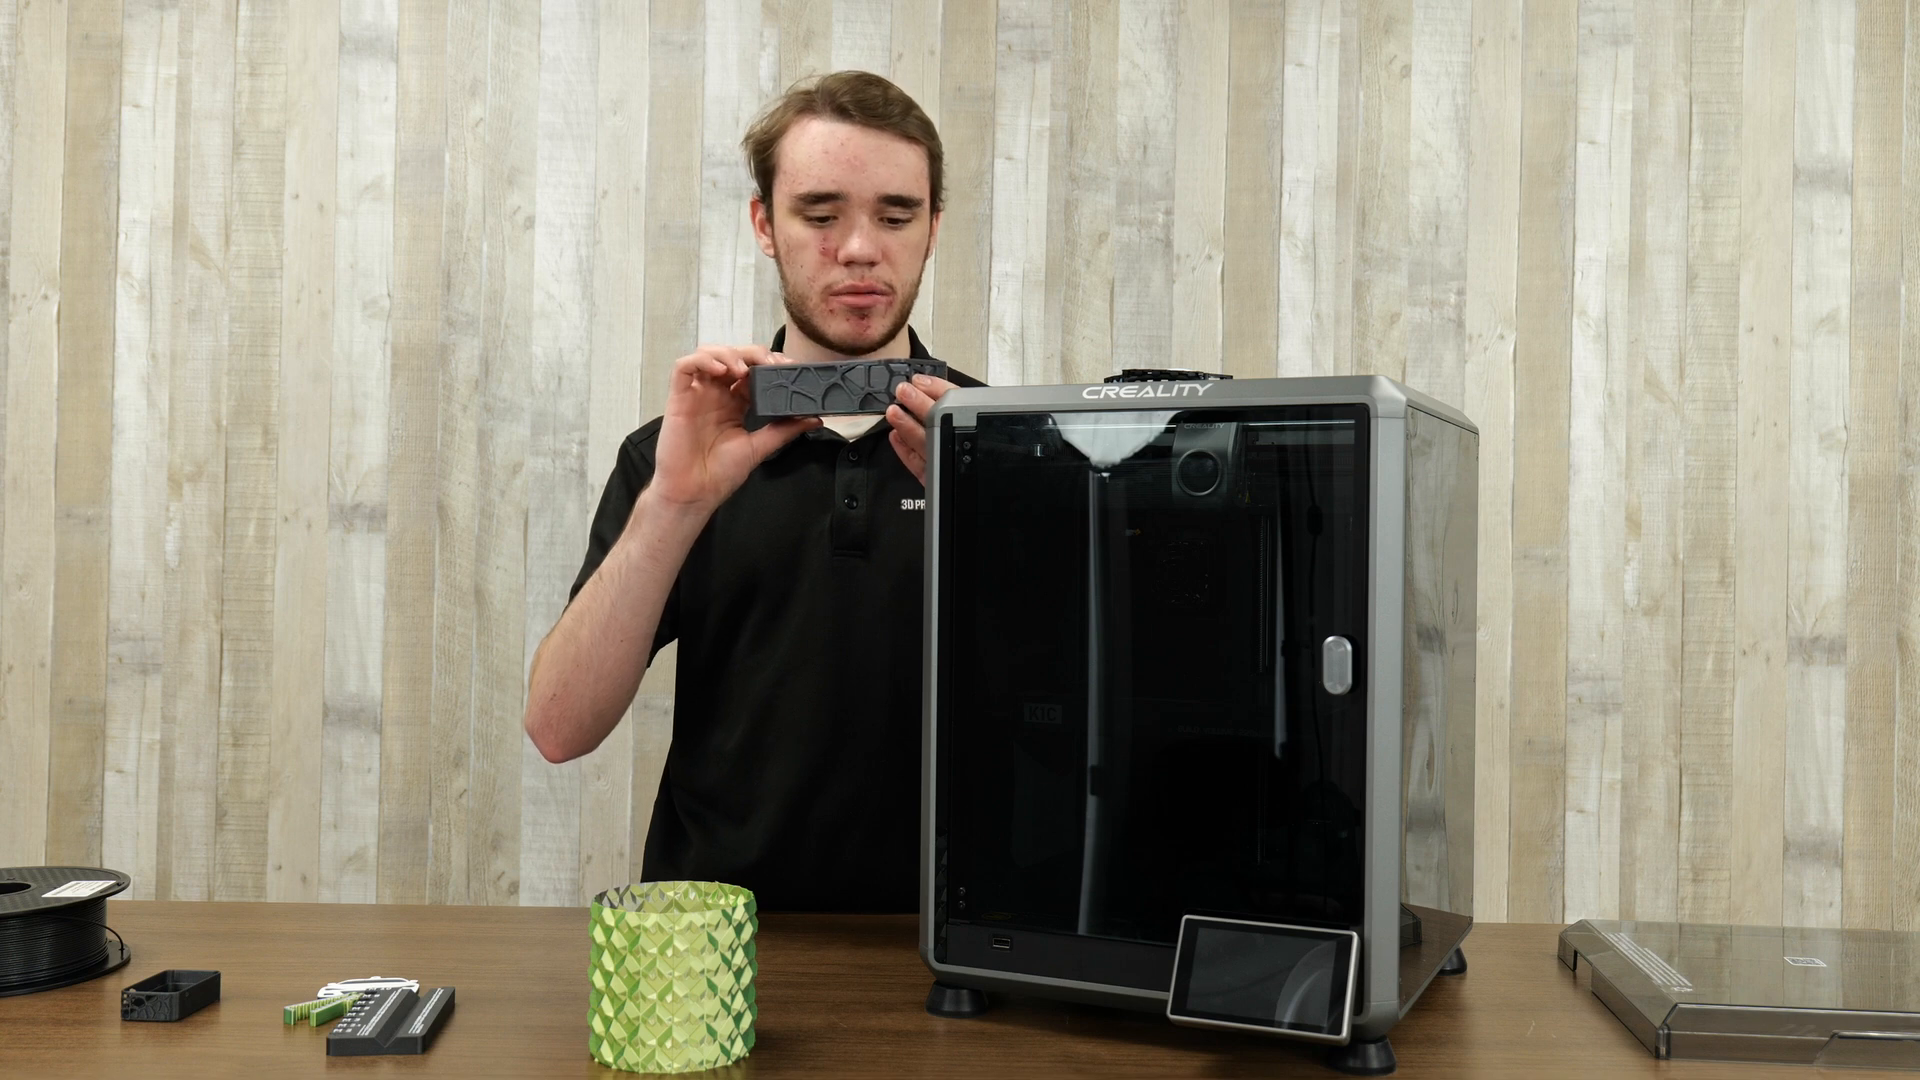
The first test print was a small soap dispenser designed for practical use. The quality was impressive, with smooth walls and easy-to-remove supports.
Next, a larger version of the soap dispenser was printed, showing consistent quality even when scaled up. The carbon fiber preset in Creality's slicing software delivered excellent results.
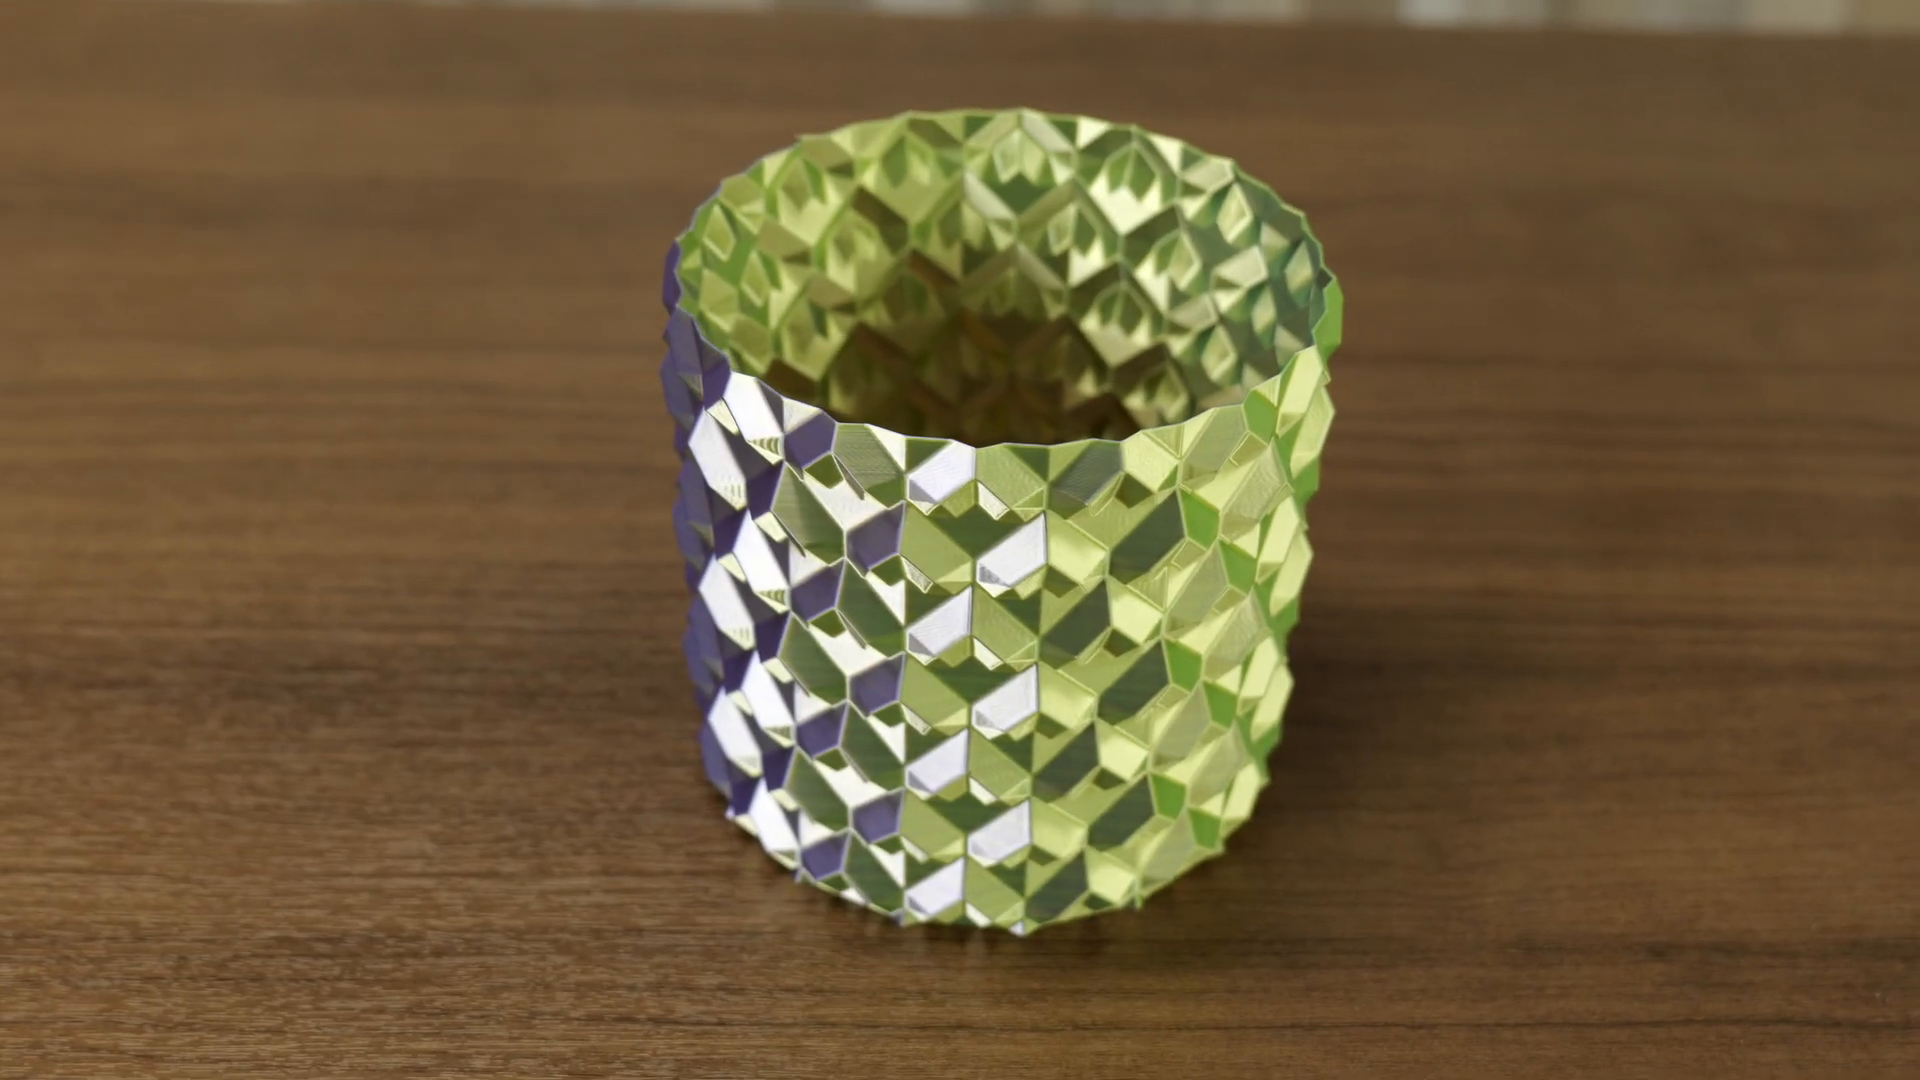
Additionally, a vase printed using silk PLA showcased the printer's ability to handle different filament types. Despite a minor mishap with the bottom, the overall print quality was commendable.
Final Thoughts
Overall, the Creality K1C stands out as a robust and versatile 3D printer. With its user-friendly setup, impressive features, and high-quality prints, it is an excellent choice for both beginners and experienced users. The combination of a quick-change nozzle, built-in camera, and automatic cleaning functions makes it a compelling option in the competitive 3D printing market.
If you're interested in purchasing the Creality K1C, you can find it at 3D Printing Canada. Whether you're a hobbyist or looking to enhance your prototyping capabilities, the K1C is worth considering.
For further inquiries or to explore more about 3D printing, feel free to reach out to us. Happy printing!