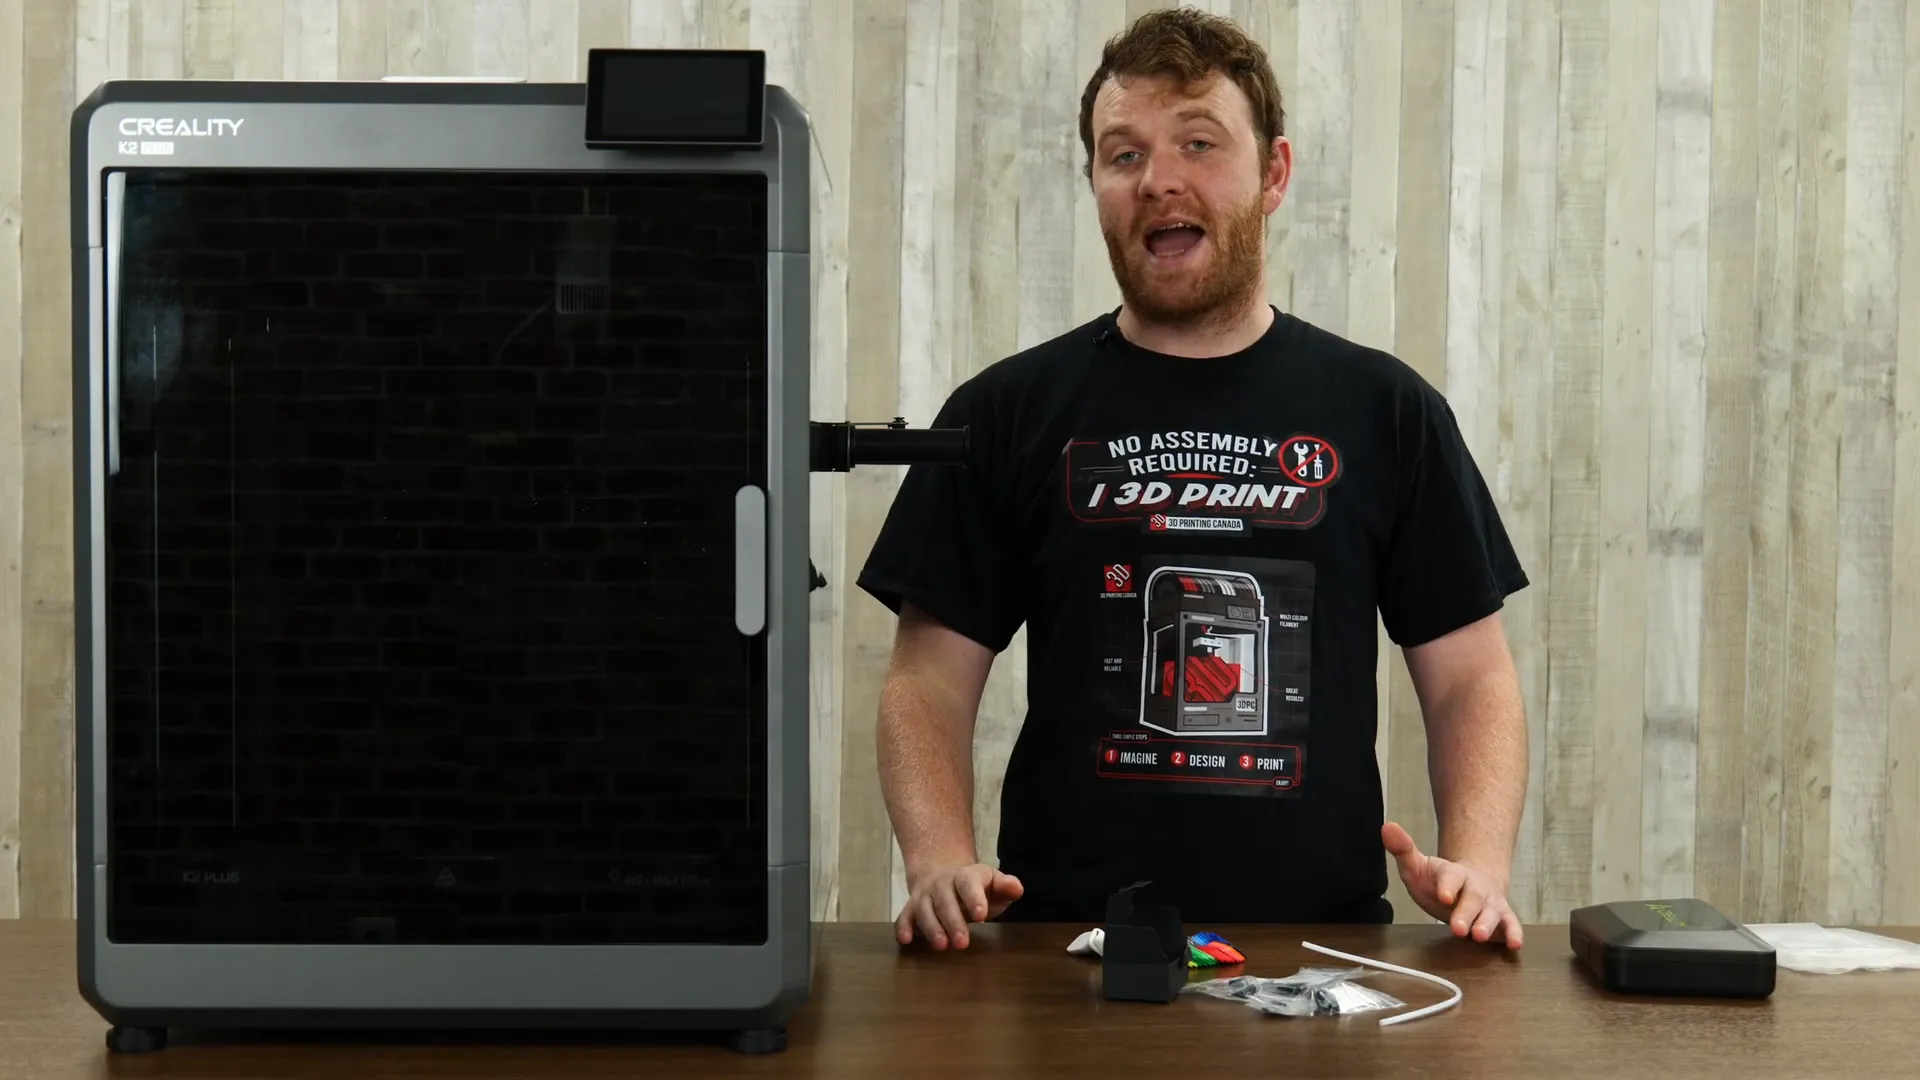
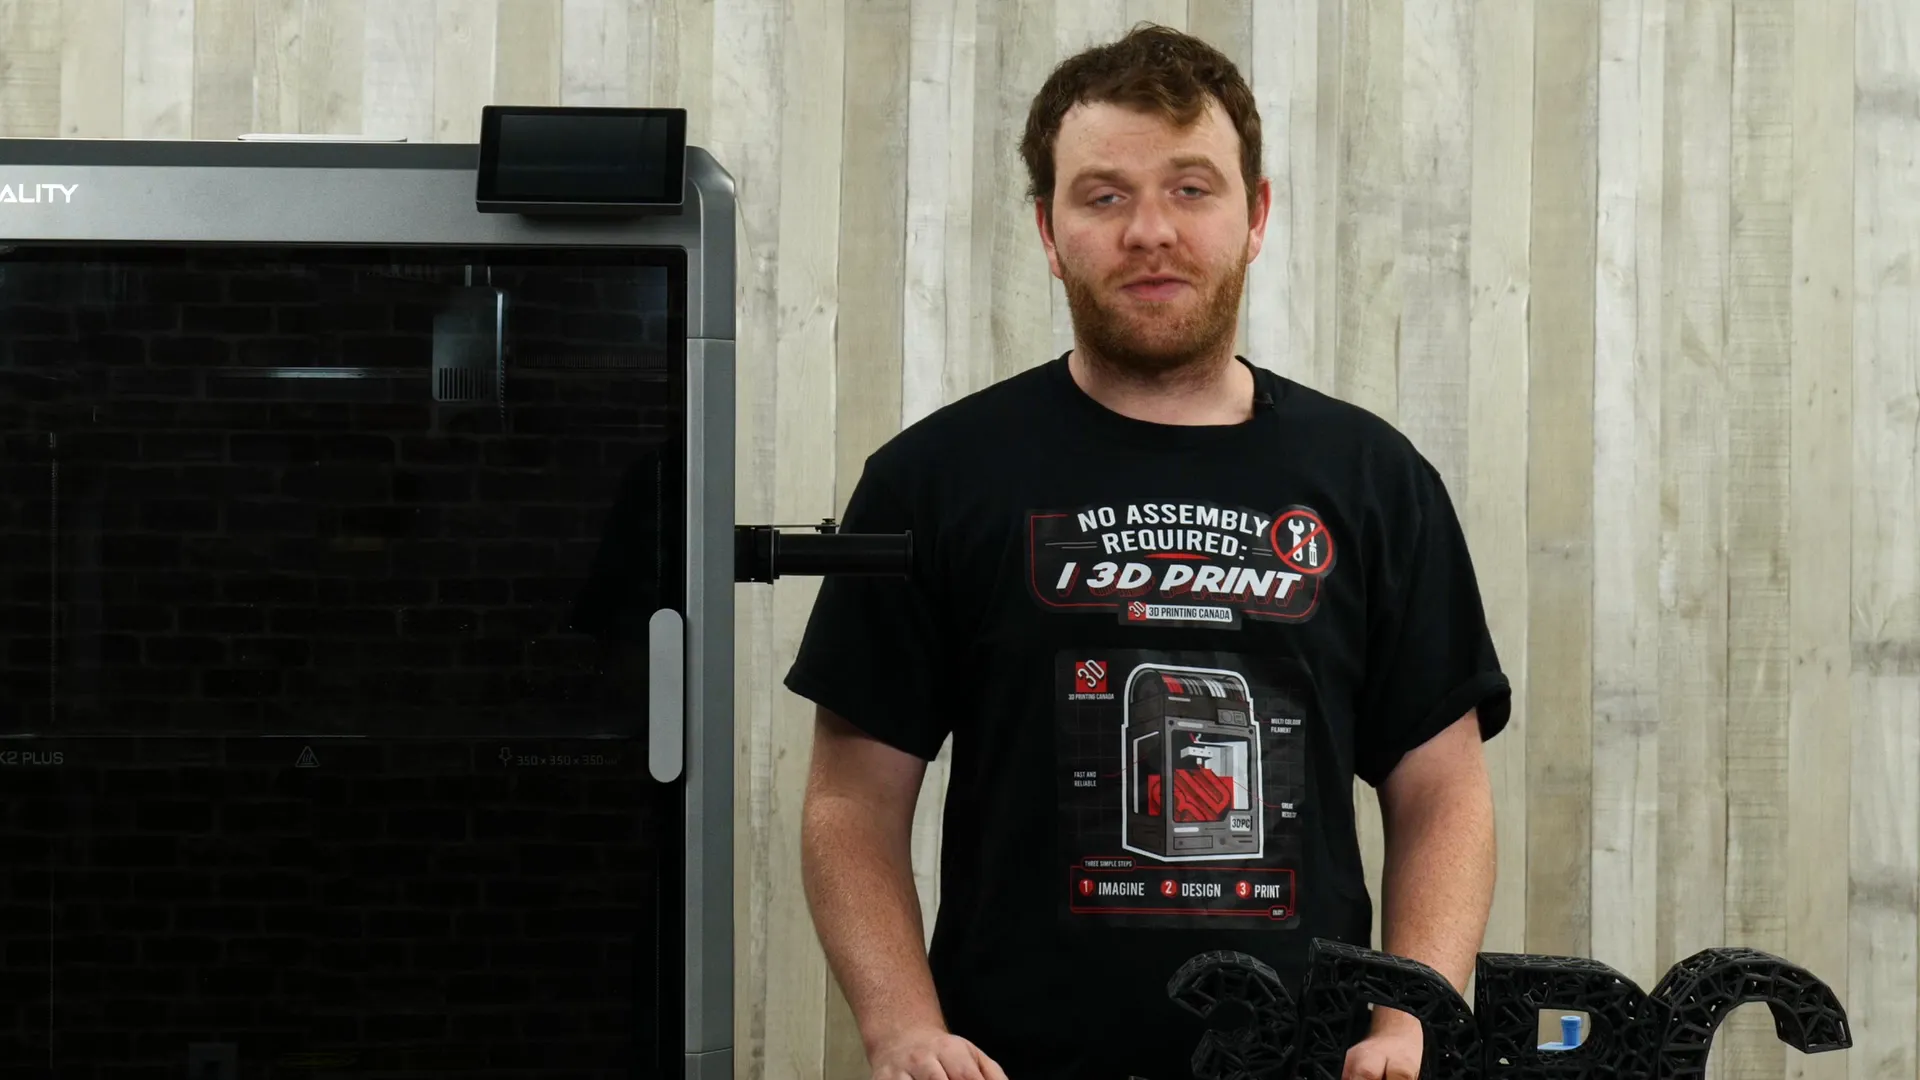
The Creality K2 Plus is making waves in the 3D printing community as one of the largest printer releases of the year. With its impressive build volume, it's designed to handle multiple prints simultaneously. This blog post will take you through the unboxing, assembly process, and our initial impressions of the test prints. Let's dive into the details!
Unboxing the K2 Plus
Upon opening the box, the first thing that stands out is the quality of the packaging. Everything is securely packed to prevent any damage during shipping. Inside, you will find:
- Two spools of filament
- A bonus accessories box containing spare parts
- A toolkit that surpasses previous offerings from Creality
- PTFE tubing for filament feeding
- Creality filament samples for color inspiration

Assembly Process
The assembly of the K2 Plus is relatively straightforward. Here's a step-by-step breakdown:
- Remove the cardboard and packaging materials carefully.
- Use an Allen key to remove four screws that secure the printer's components.
- Remove transportation brackets, ensuring you don’t power on the printer beforehand.
- Install the screen using the provided screws, making sure it is securely connected.
- Attach the spool holder by removing the screws and securing it in place.
Once you've completed these steps, you can power on the printer and proceed with calibration.

Calibration and Features
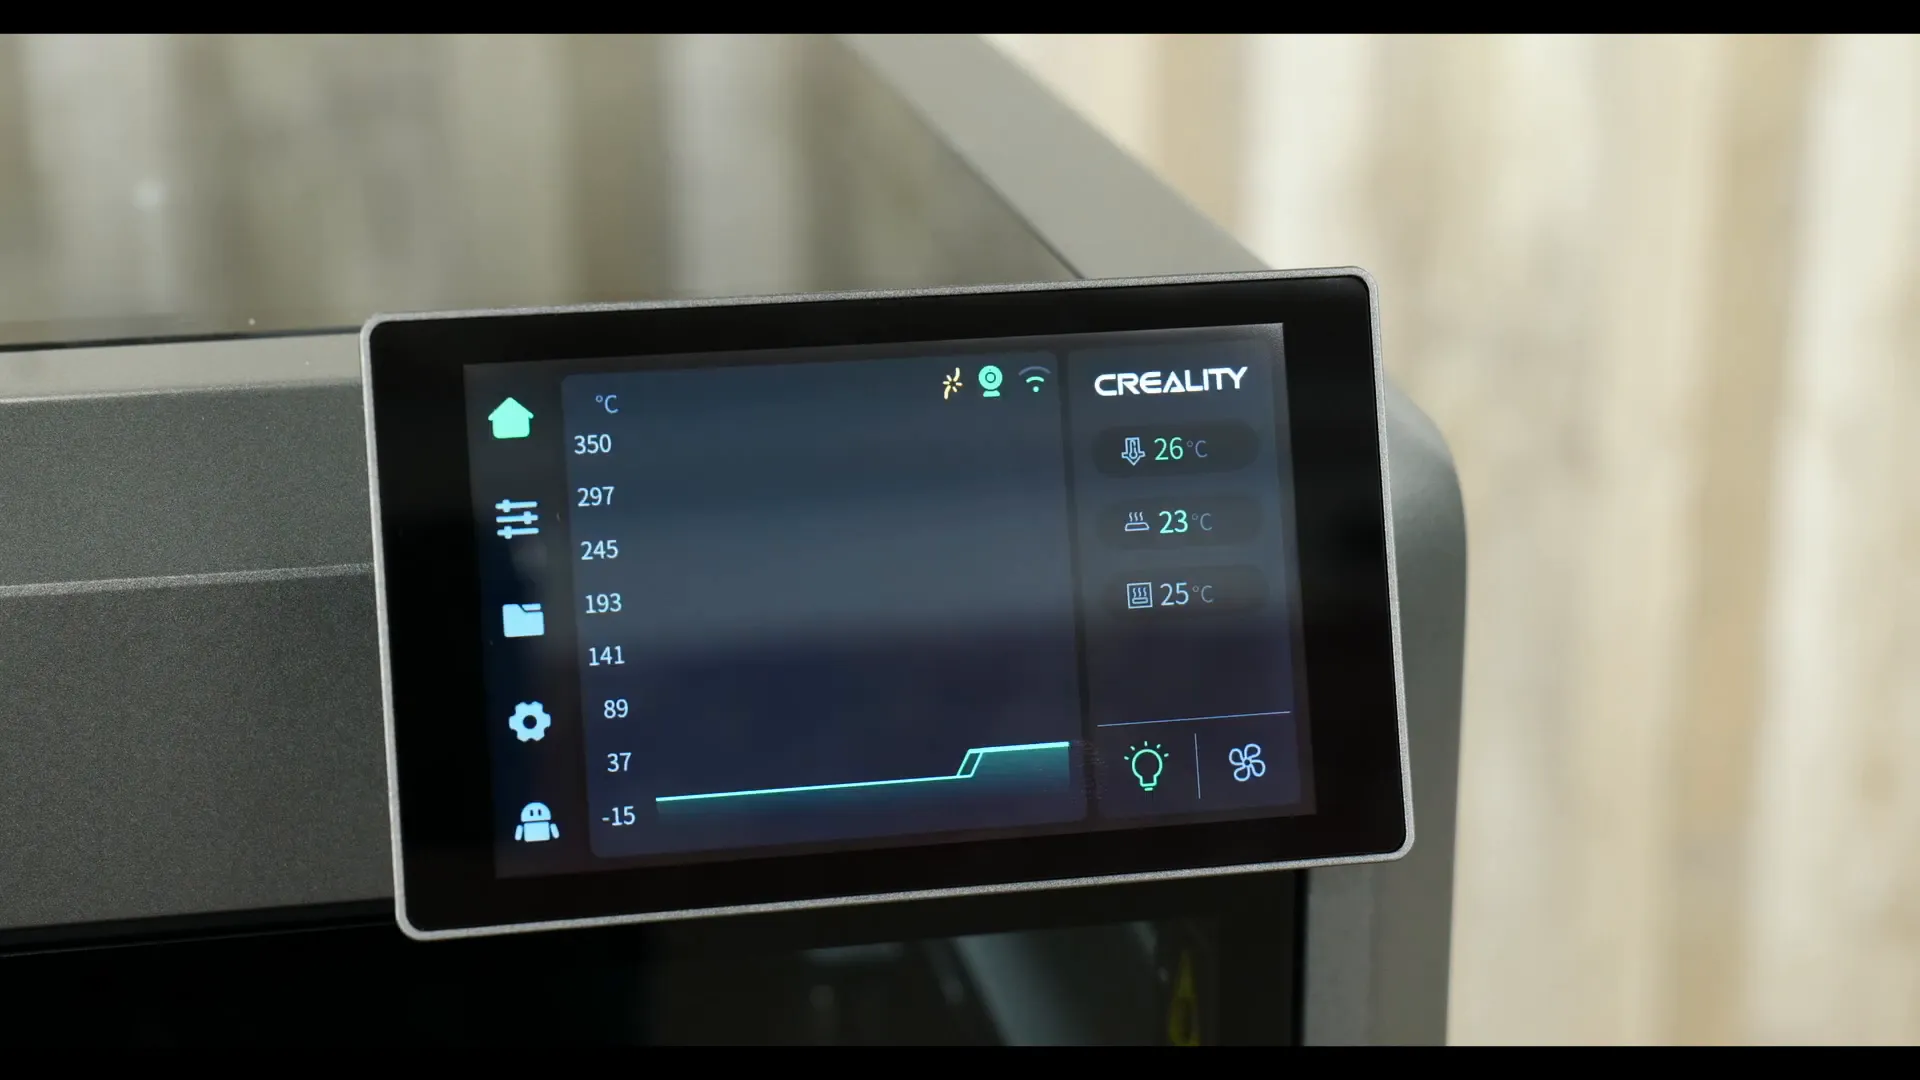
When you first turn on the K2 Plus, the interface is user-friendly and familiar for those who have used Creality printers before. Key features to note include:
- Heated chamber adjustments
- Filament extrusion controls
- AI features for print settings
- Calibration options for input shaping and auto leveling
These features enhance the user experience and ensure that you can achieve optimal printing conditions right from the start.

Test Prints: First Impressions
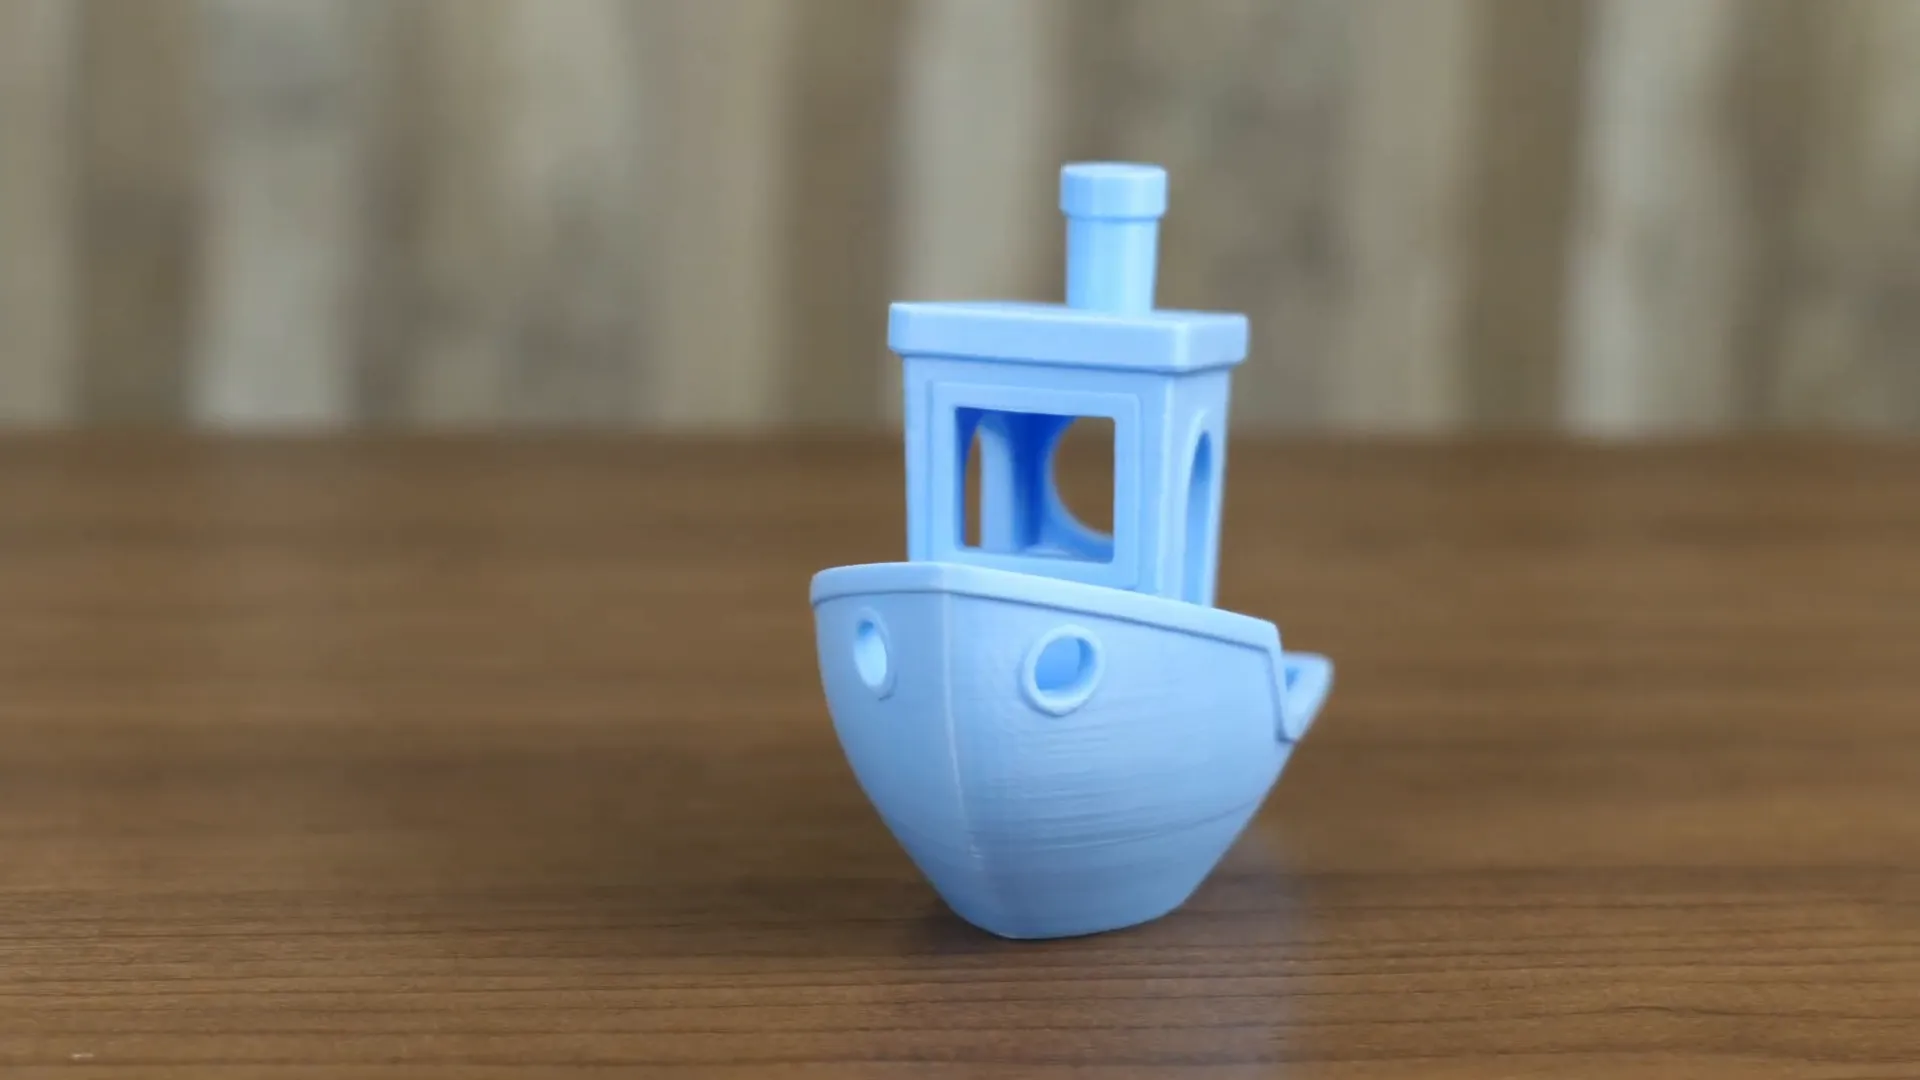
After calibration, we moved on to our first test prints. The K2 Plus is notably faster than many of its competitors, including the Bamboo and K1 models. Here’s what we observed:
The printer is capable of producing detailed prints, even with complex designs. The closed-loop stepper motors ensure consistent layer stacking, which is crucial for maintaining print quality.

Future Improvements
While the initial results are promising, there's always room for fine-tuning. We believe that as we gain more experience with the printer and receive firmware updates, the print quality will only improve. Creality's commitment to enhancing their products over time is something to look forward to.
Conclusion
The Creality K2 Plus is an exciting addition to the 3D printing landscape, especially for those who need a large build volume and speed. The unboxing and assembly process is user-friendly, and the initial print quality is impressive. Stay tuned for more updates and detailed reviews as we continue to explore everything this printer has to offer!
If you found this post helpful and want to see more content on the K2 Plus, feel free to subscribe for updates!

