Welcome to our detailed guide on installing the Bambu Lab AMS Hub. This innovative system allows you to expand your 3D printing capabilities significantly, enabling you to use multiple colors and materials seamlessly. If you're looking to enhance your 3D printing projects, this guide is for you!
Getting Started with the AMS Hub
Before diving into the installation, it’s crucial to understand what the AMS Hub offers. The Hub allows you to connect multiple AMS units, letting you print with up to 16 colors at once! In this guide, we’ll explore the installation process step-by-step.
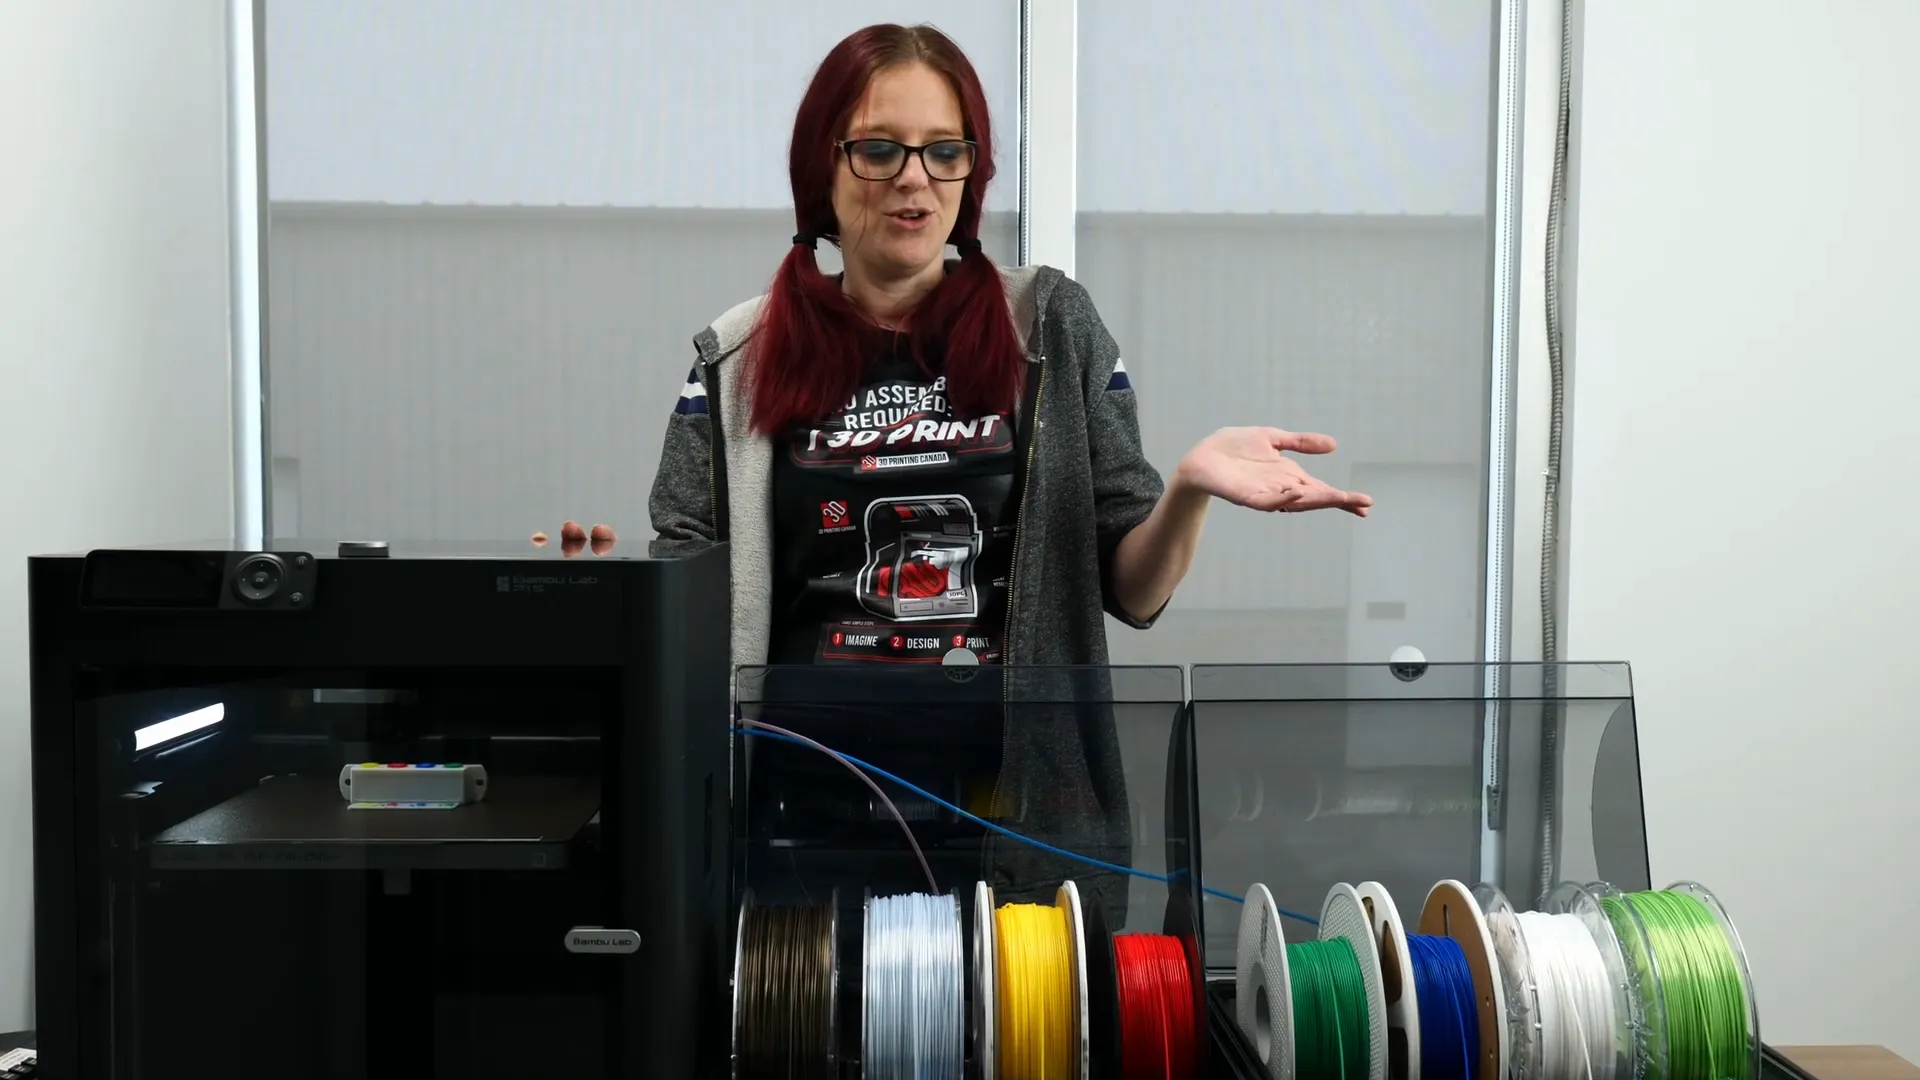
Preparation for Installation
Before you begin, ensure that your printer is turned off and unplugged. This step is vital for protecting your control boards and electronics from any accidental power surges during the installation process.
The first step is to remove the existing AMS Hub. Start by unscrewing the two bolts that secure it to the printer. These bolts are the same ones used when the AMS Hub was initially installed.
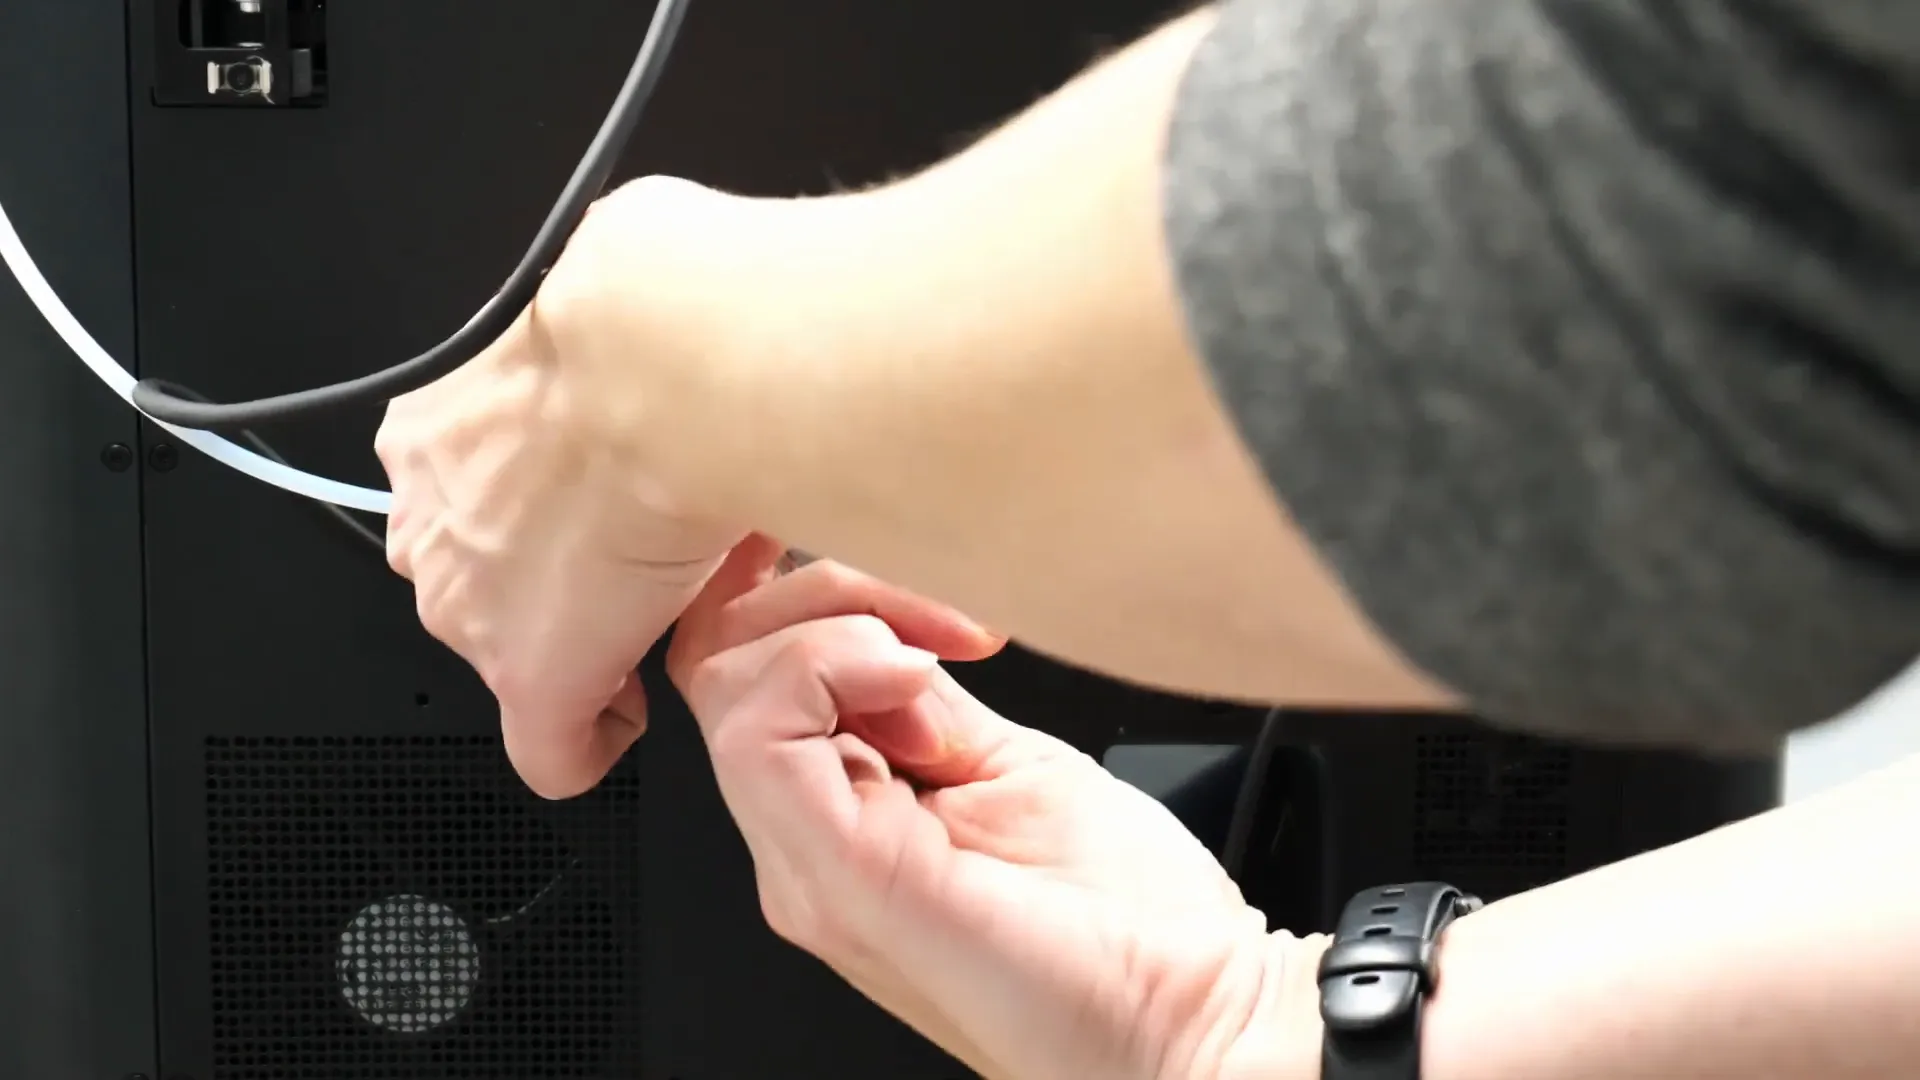
Disconnecting Cables
Next, carefully unplug all the cables connected to the old AMS Hub. Make sure to keep the short cable, as you will need it for the new setup. The longer cable might be necessary depending on your configuration, so keep it handy just in case.
To remove the PTFE tube from the Hub, use an Allen wrench to push the fitting down while pulling the tube out. This step can be a bit tricky, but with patience, it can be done smoothly.
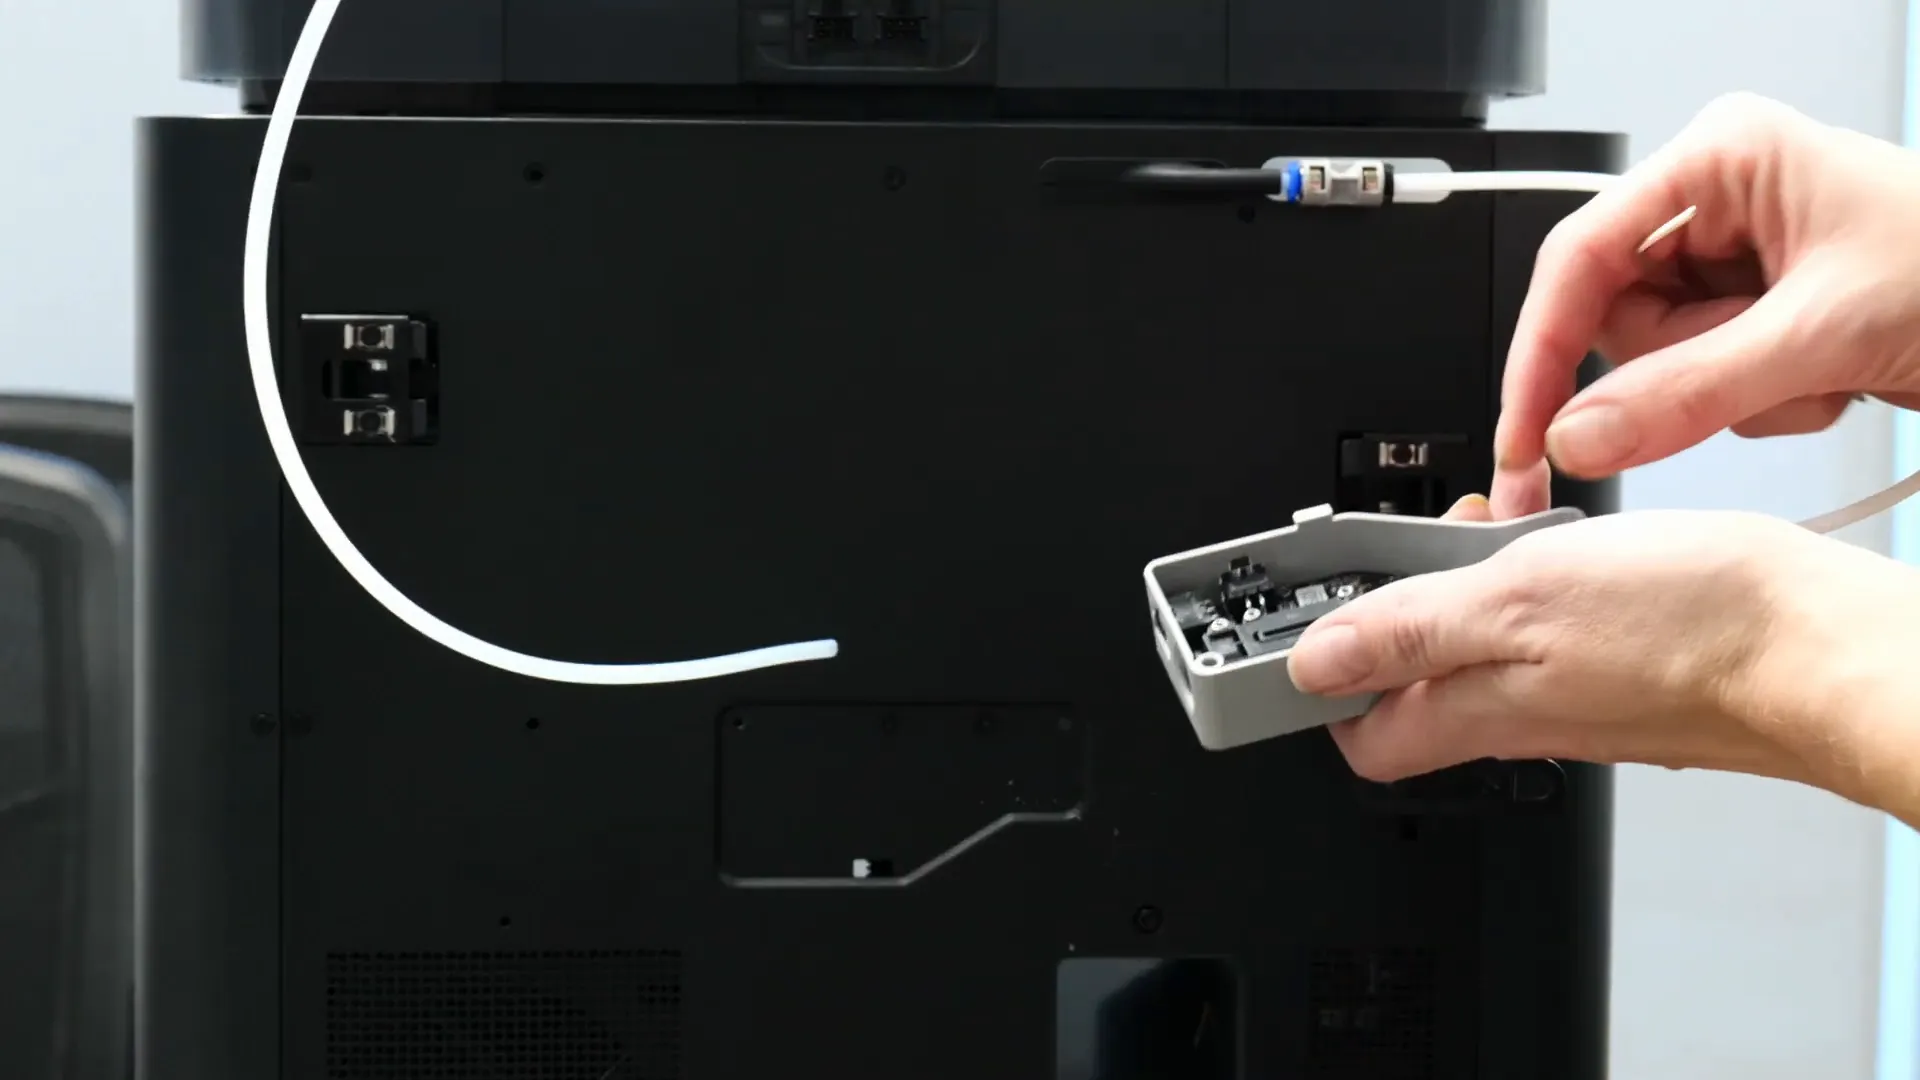
Introducing the New Multiport AMS Hub
Now that the old Hub is removed, it’s time to install the new multiport AMS Hub. This Hub comes with several ports, allowing you to connect up to four AMS units. It has a rectangular shape, unlike the old Hub, and includes longer cables for the new connections.
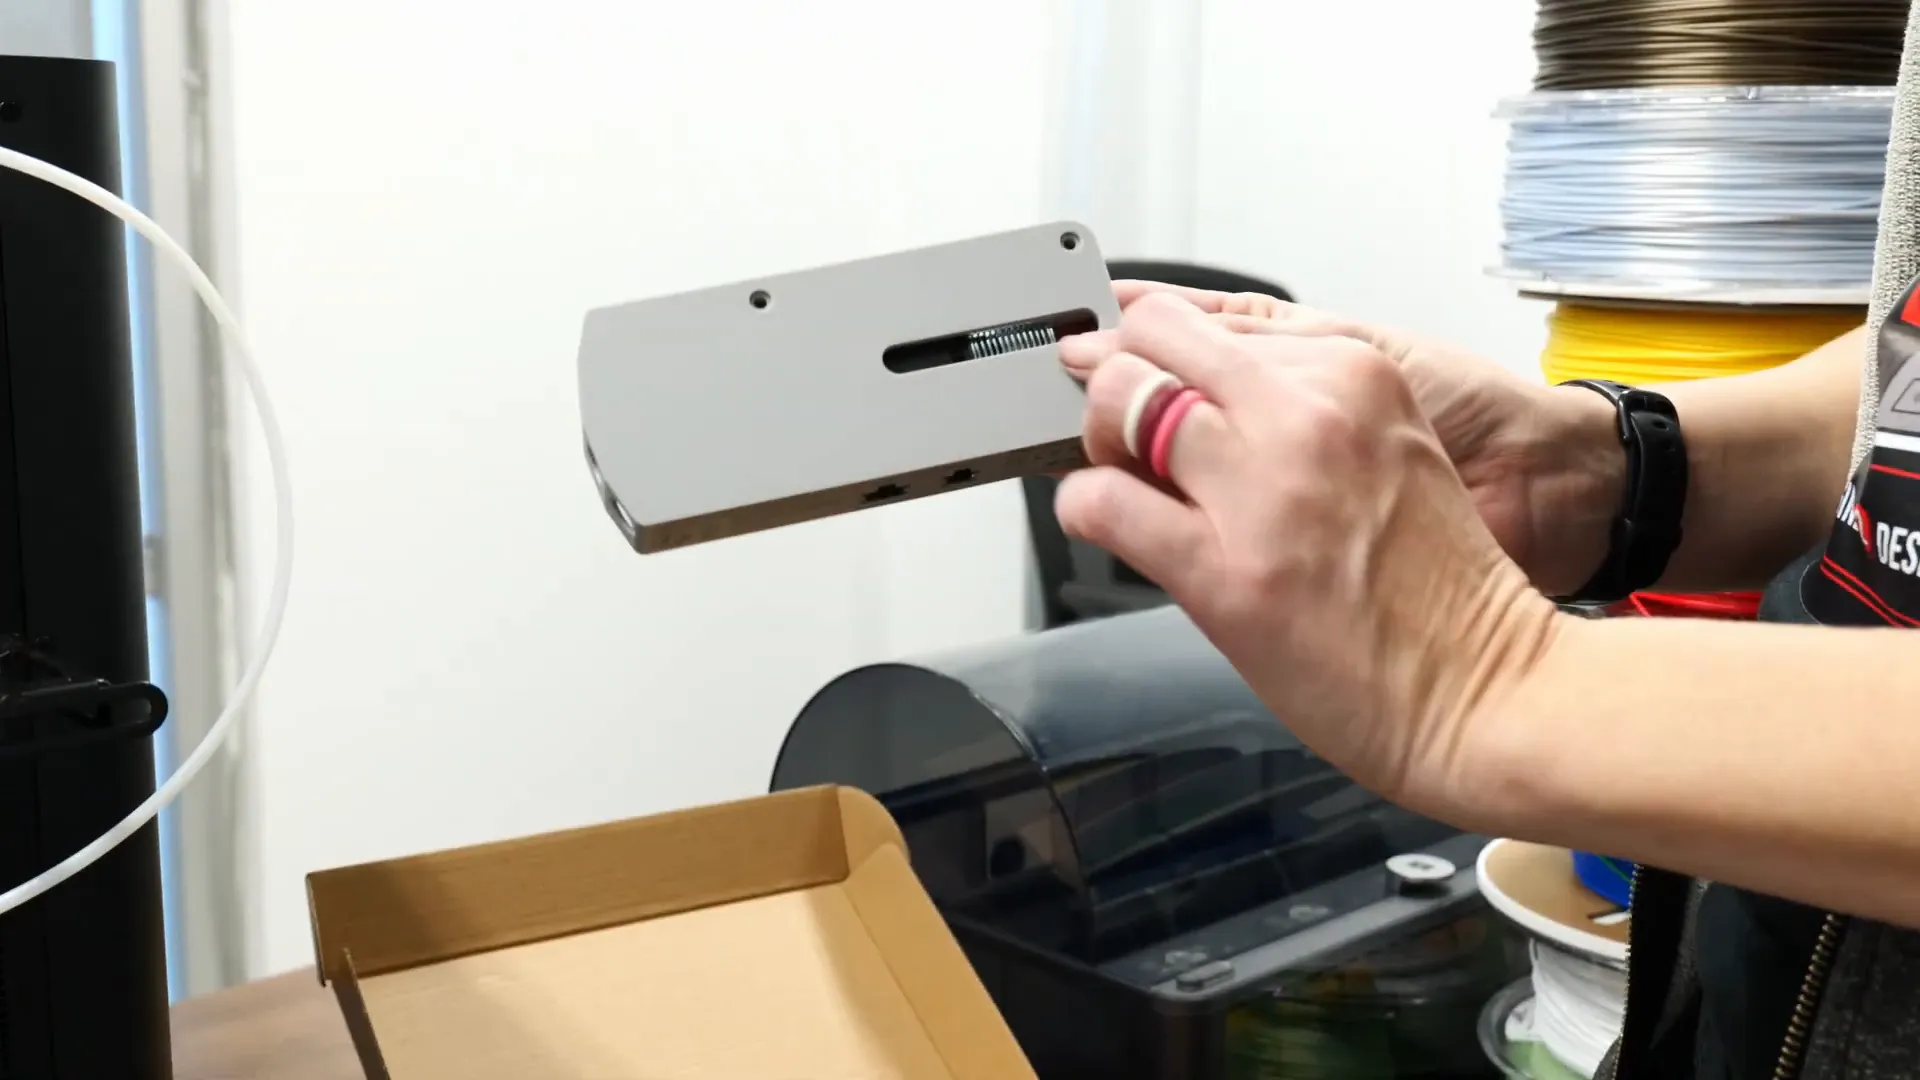
Installation of the New Hub
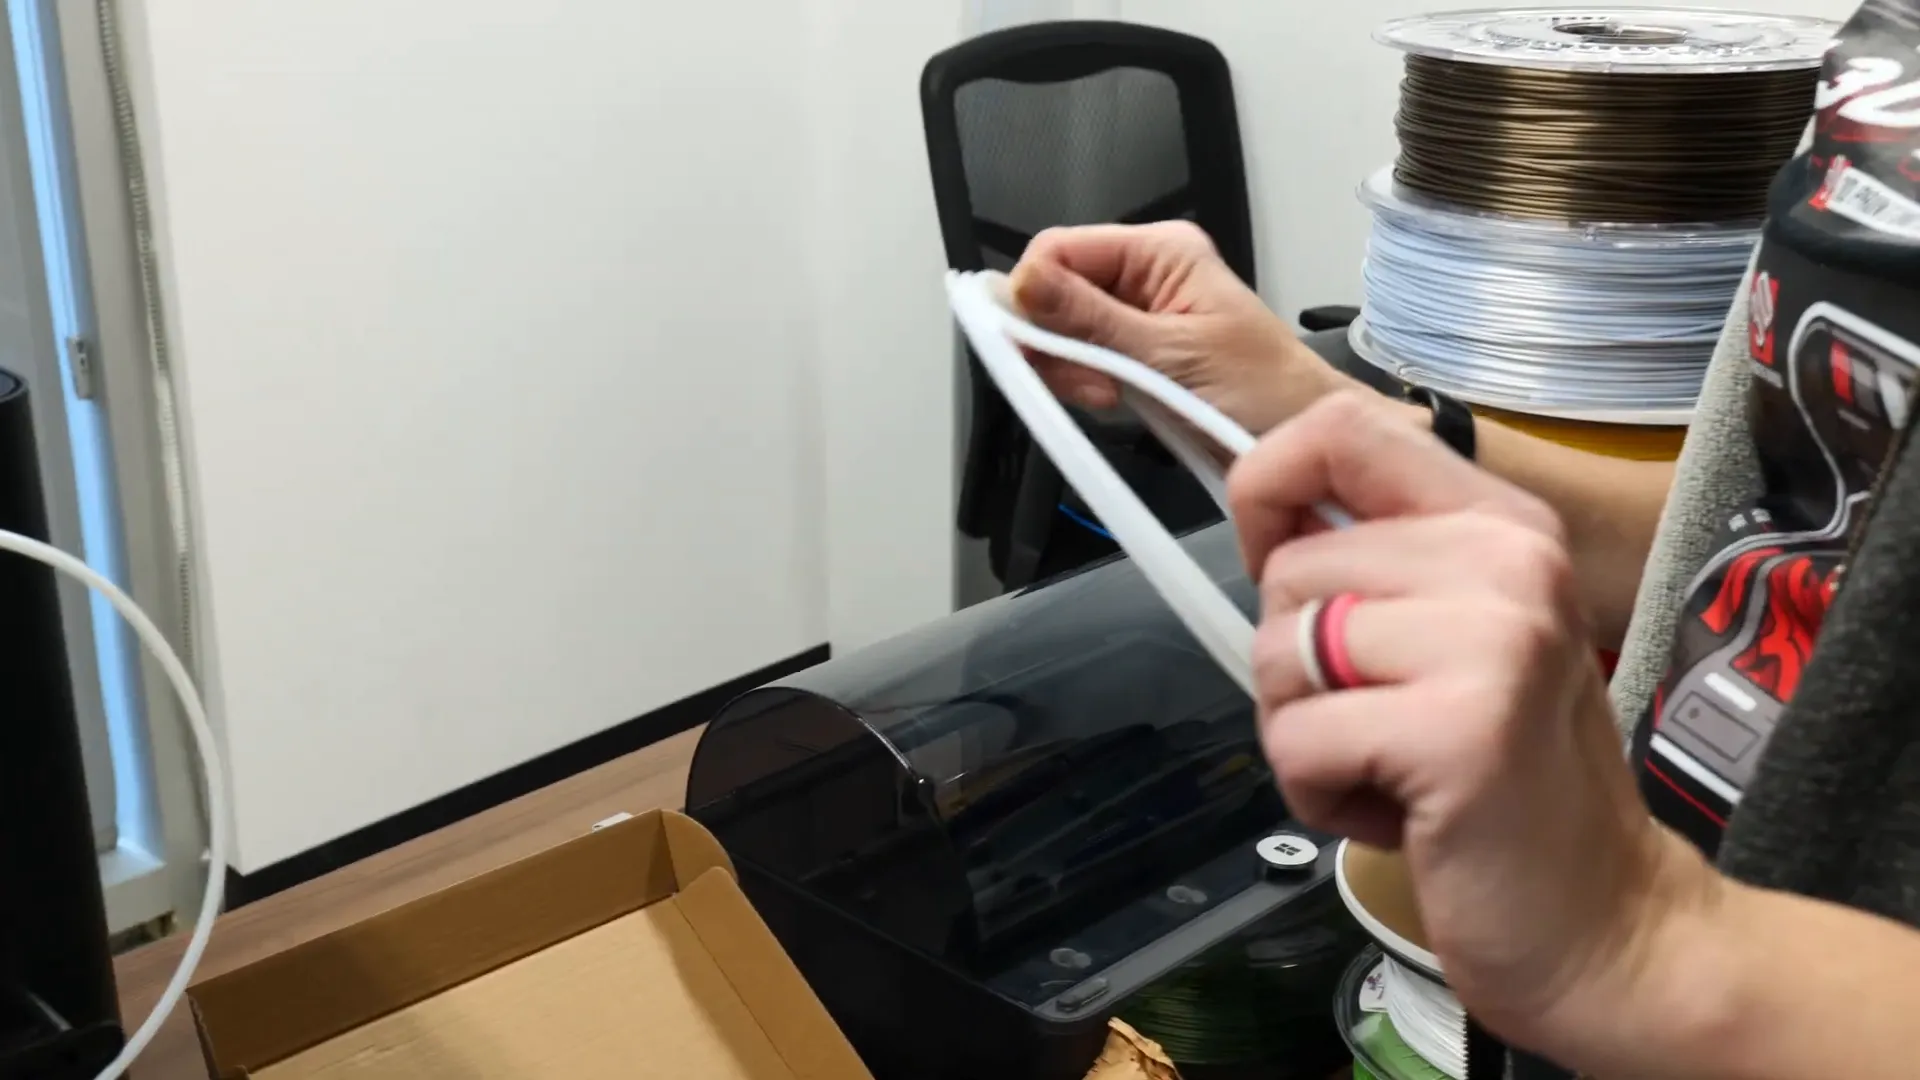
Begin by bolting the new Hub onto the printer using the same bolt holes as the previous one. It’s advisable to start by loosely placing the bolts to hold the Hub in position before tightening them. This ensures everything aligns properly.
Connecting the PTFE Tube
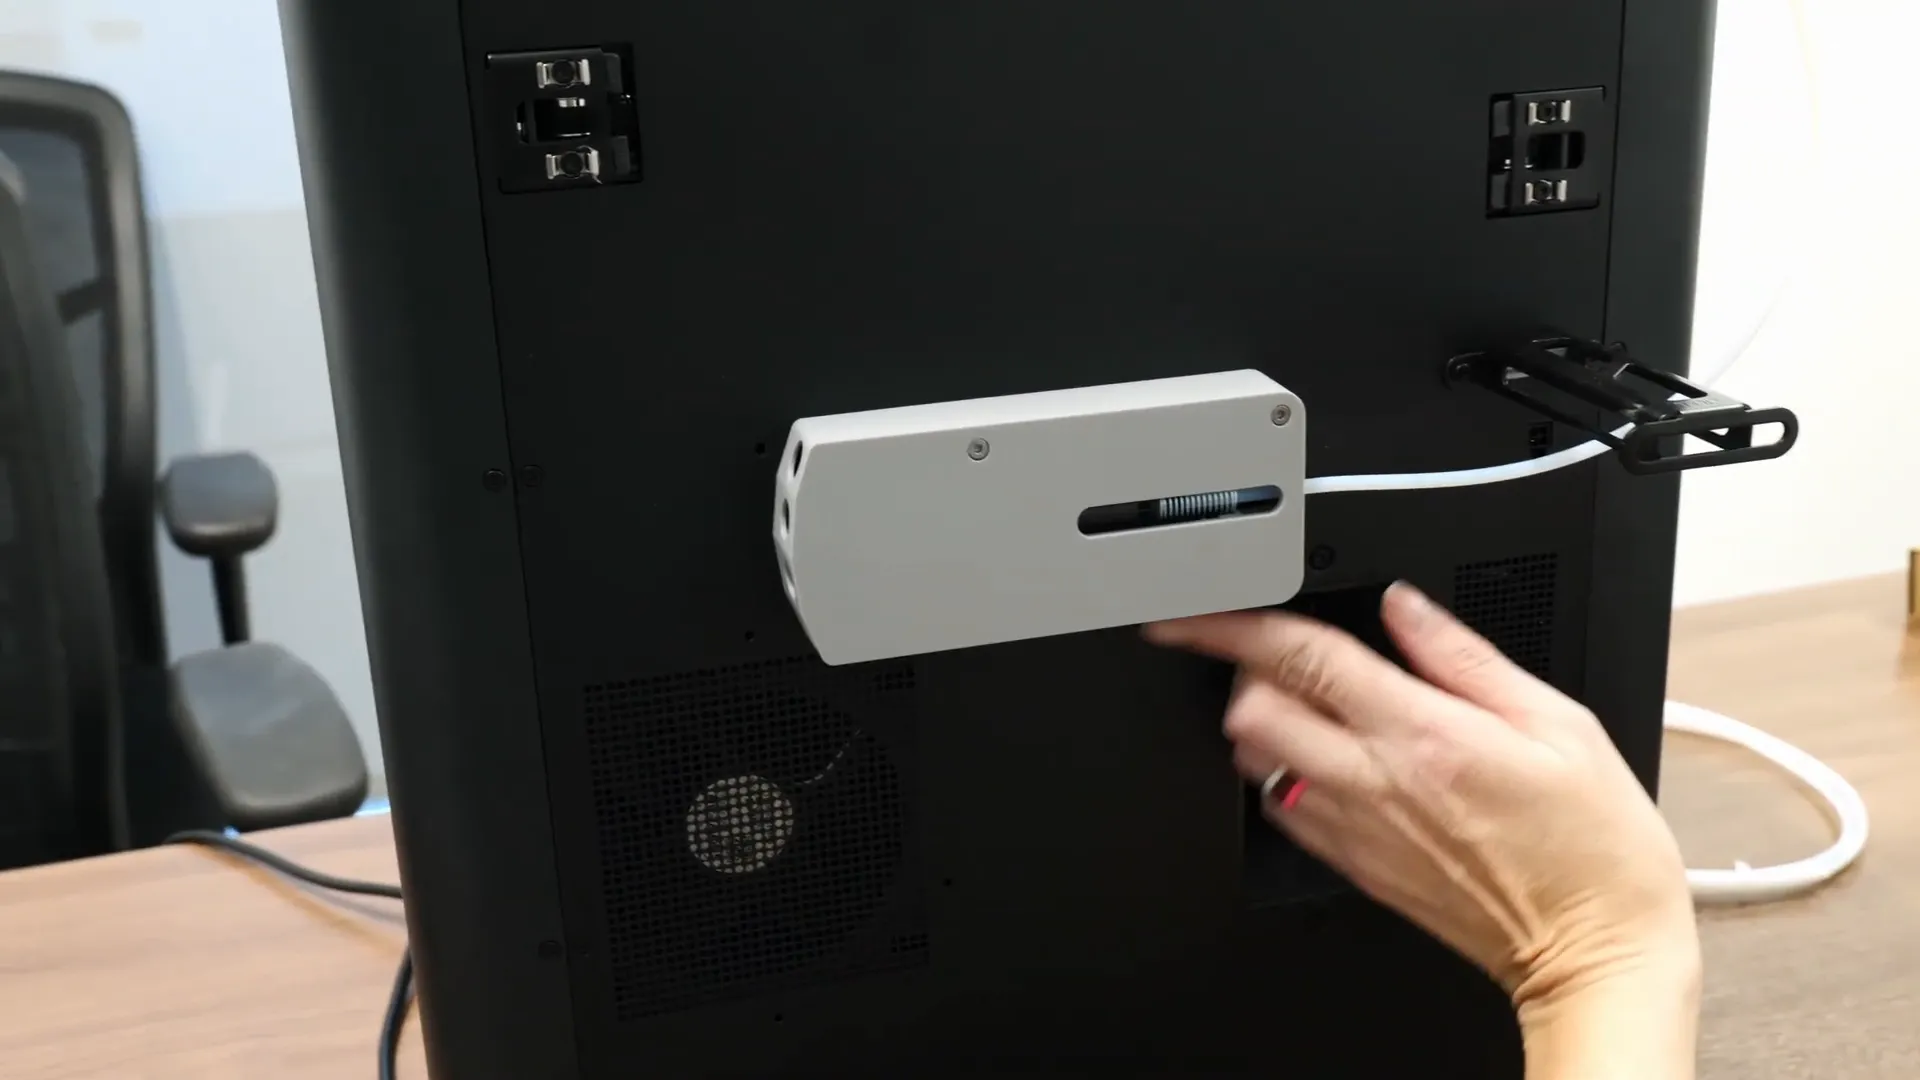
Once the Hub is secured, connect the PTFE tube from the printer to the new Hub. It should slide through the designated hole with a bit of wiggling. You’ll know it’s connected when the spring compresses as you push it in.
Connecting the Hub to the Printer
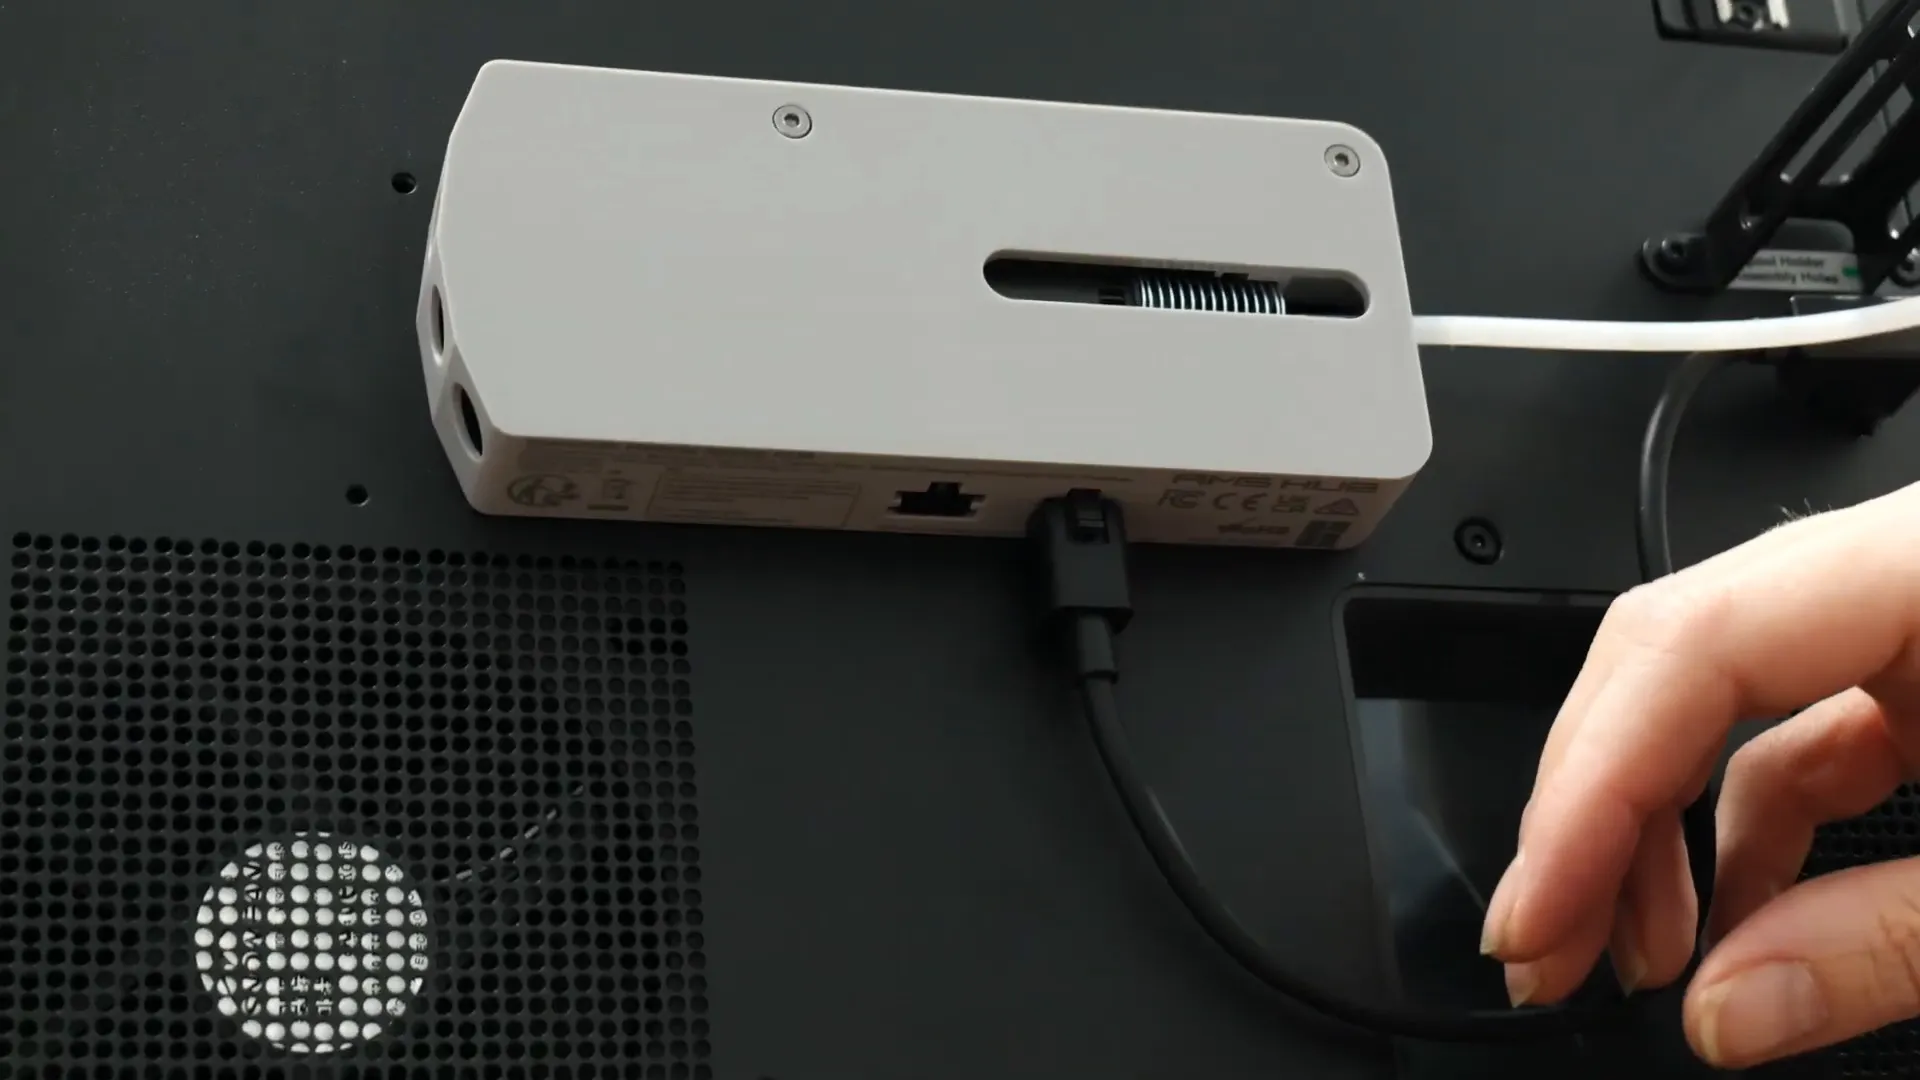
Now it’s time to connect the Hub to the printer. Locate the appropriate port at the bottom of the Hub and plug in the four-port cable. Use the original AMS cable, ensuring that the labeled side faces the correct direction.
Daisy Chain Configuration
Next, you’ll set up a daisy chain configuration to connect the AMS units. Begin by plugging a cable from the bottom of the Hub to the first AMS unit. Then, connect the second AMS unit to the first one using the provided cables.
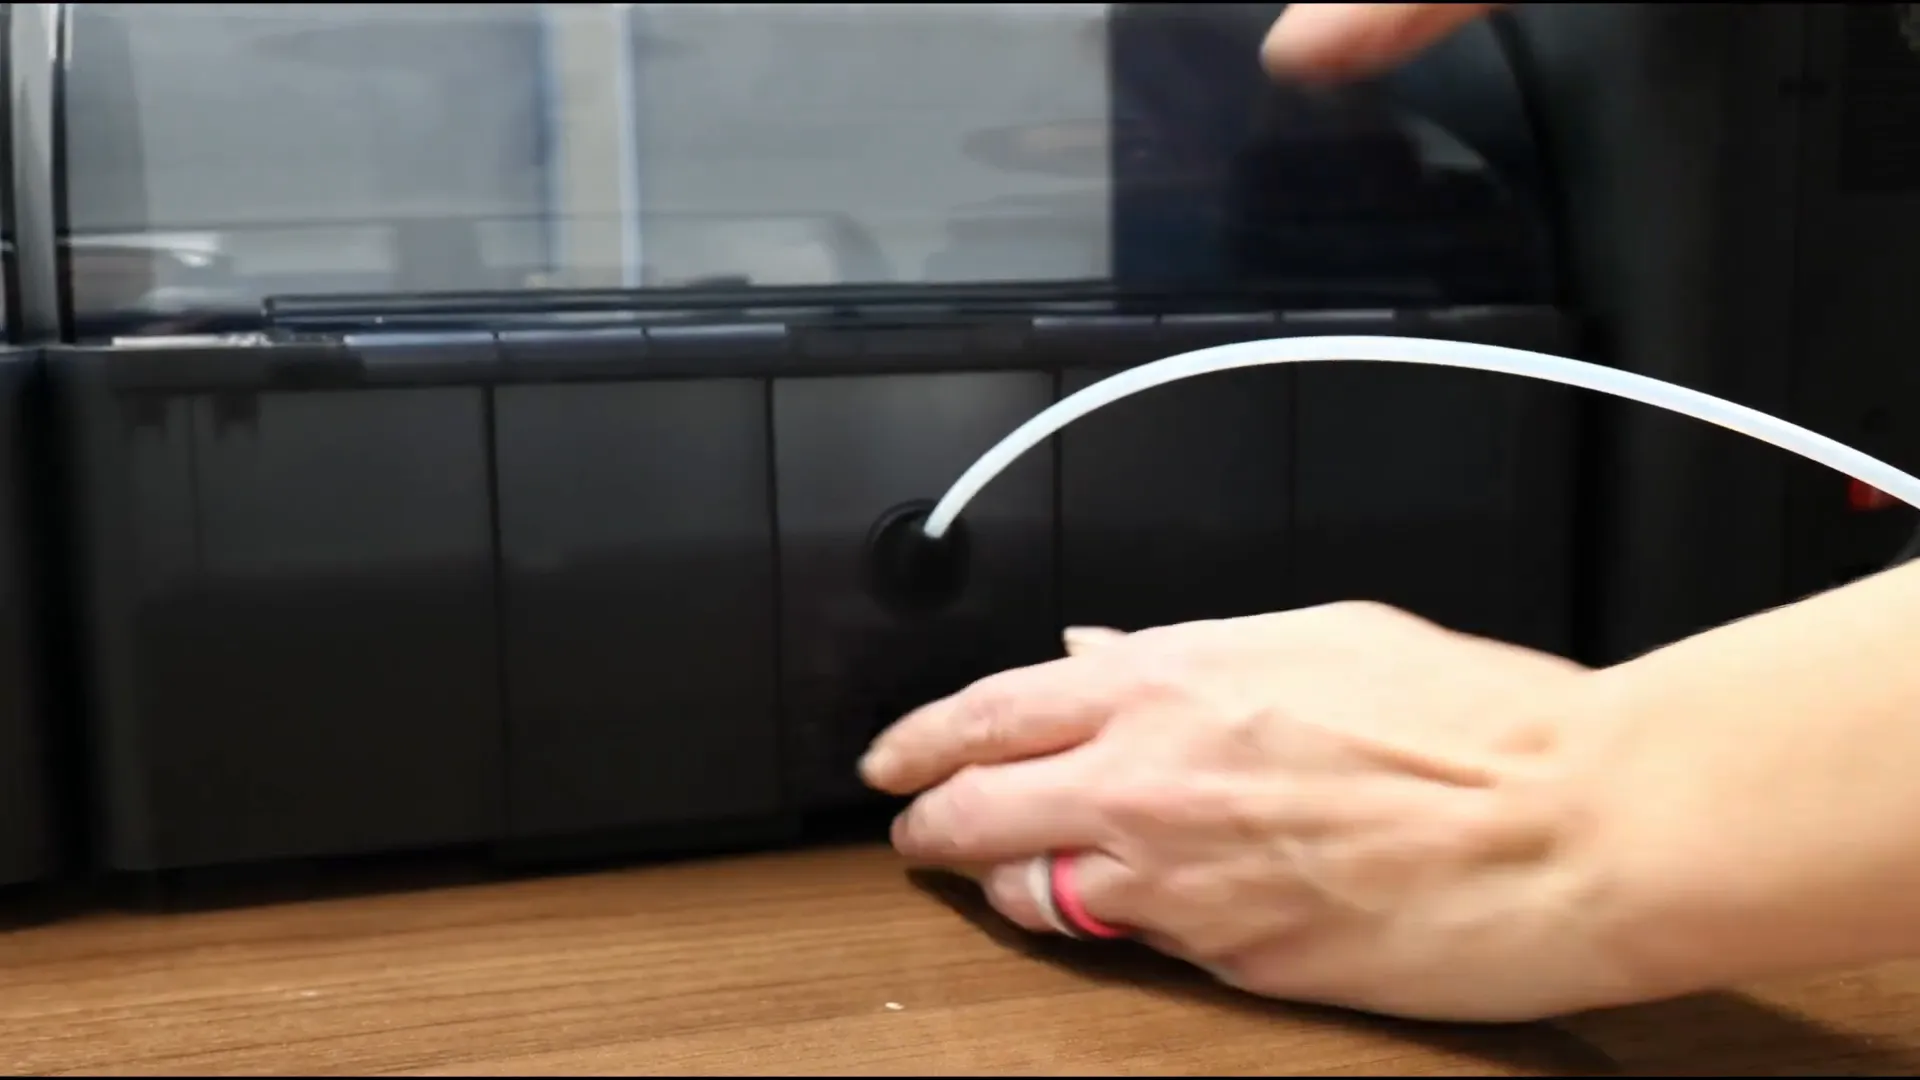
Continue this process if you have more AMS units, ensuring that the connections are secure and free of sharp bends to avoid any filament jams. This step is crucial for maintaining a smooth filament feed path.
Final Steps and Testing
With everything connected, it’s time to fill the AMS units with filament. Make sure to color-code your PTFE tubes if desired, to easily identify which AMS unit corresponds to which port on the Hub.
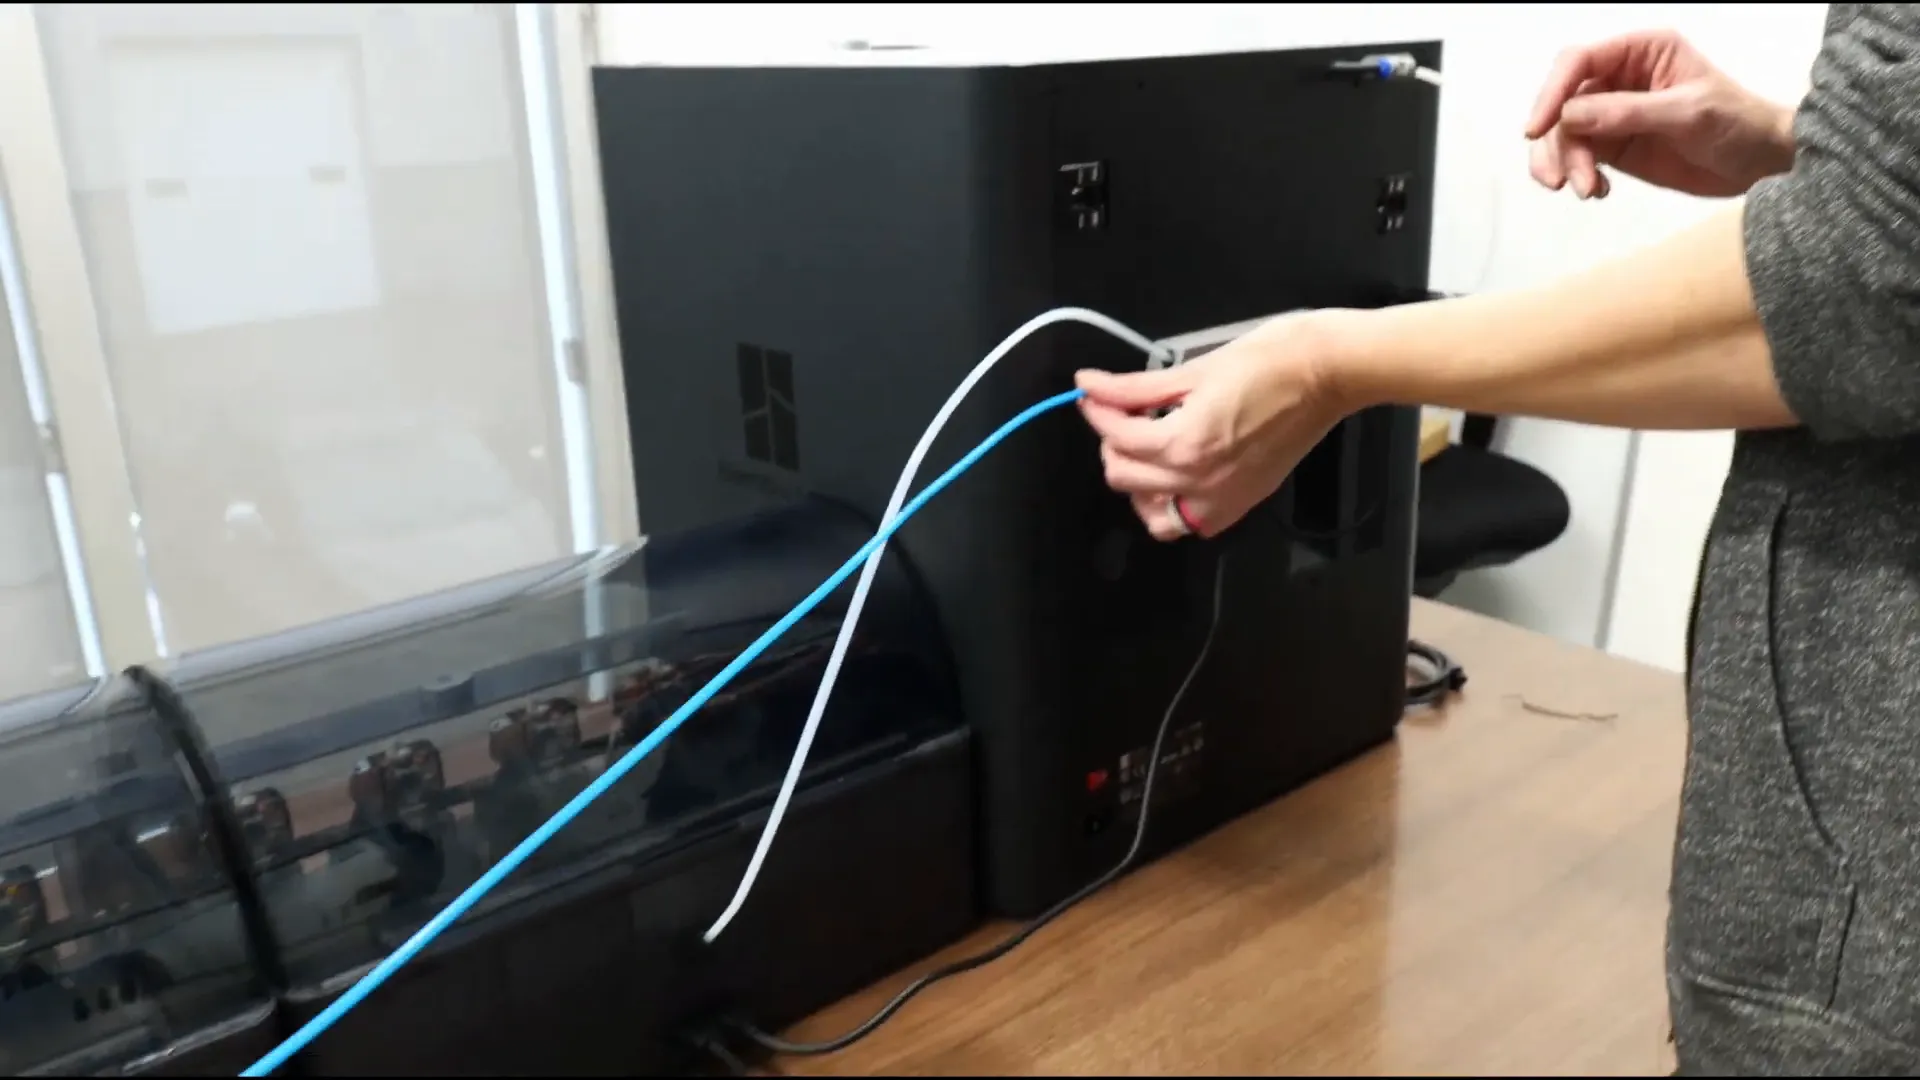
Once filled, you can power on your printer and start your first multi-color print! The setup allows for a clean and organized workflow with up to 16 colors available at your fingertips.
Conclusion
Congratulations! You've successfully installed the Bambu Lab AMS Hub. Now you can explore the exciting world of multi-color 3D printing. Whether you're creating intricate designs or simply experimenting, this setup is sure to enhance your projects.
For further information or to shop for 3D printing supplies, visit 3D Printing USA or check out their Canadian counterpart at 3D Printing Canada.
Don’t forget to share your experiences and prints with the community. Happy printing!

