
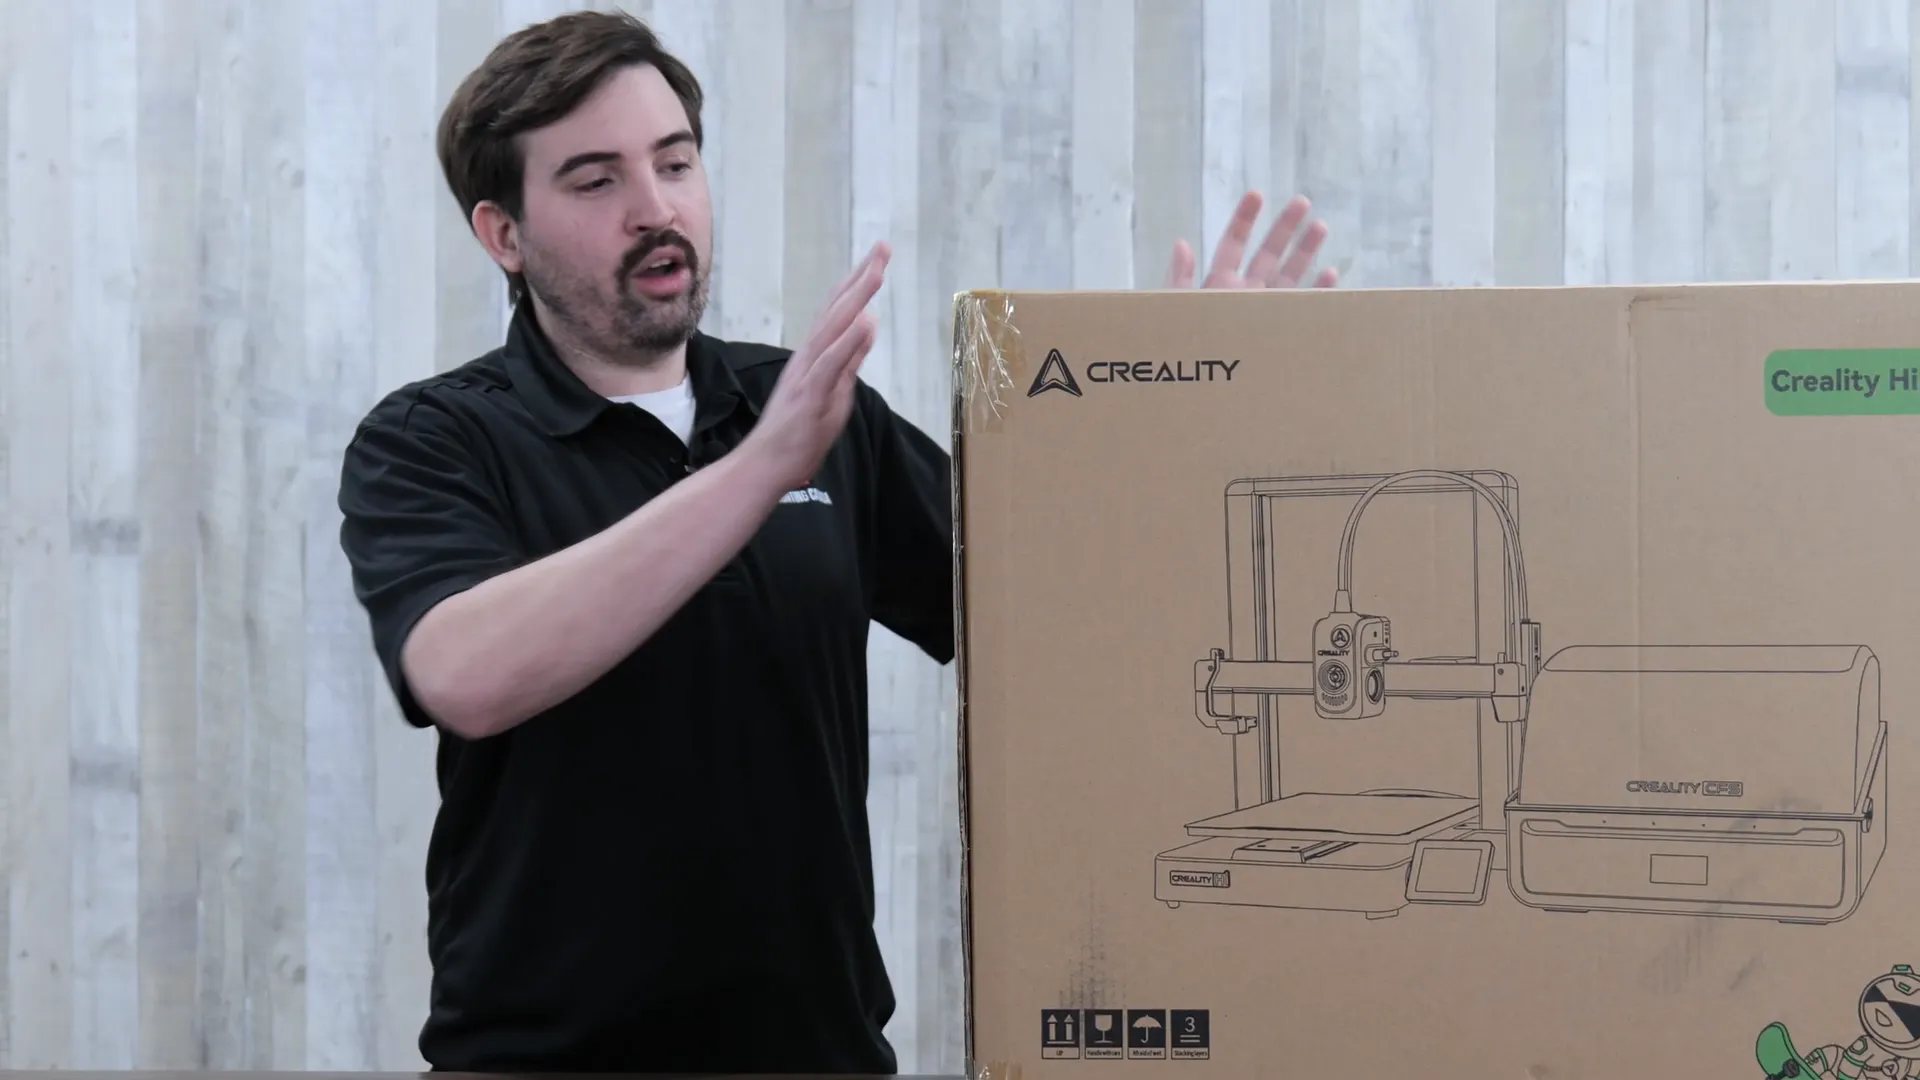
What’s Inside the Box?
Let’s dive into the unboxing experience. As I opened the box, my first impression was that the printer resembles the Ender 3 V3 with the added CFS combo from the K2. This familiarity is comforting for those who have experience with Creality's printers. The first item I pulled out was the CFS multicolor system, which is housed in a sturdy metal case with a plastic top. The build quality feels solid, and it’s nice to see that all the necessary components are included.
Inside the packaging, I found tubes that serve as connectors for the CFS to the printer. These tubes are crucial as they guide the filament into the printer. There were also clear instructions on how to remove the printer from the box, which is helpful for first-timers. Along with the printer, standard accessories such as the power cord, tools, and instructions were included, making the process straightforward.
Assembly Process
Assembling the Hi Combo is a relatively simple process. The main task involves attaching the gantry to the base plate. After cutting off the straps and removing the foam, I noticed the screen swings out for easy access. This is a thoughtful design feature, as it protects the screen from damage when not in use.
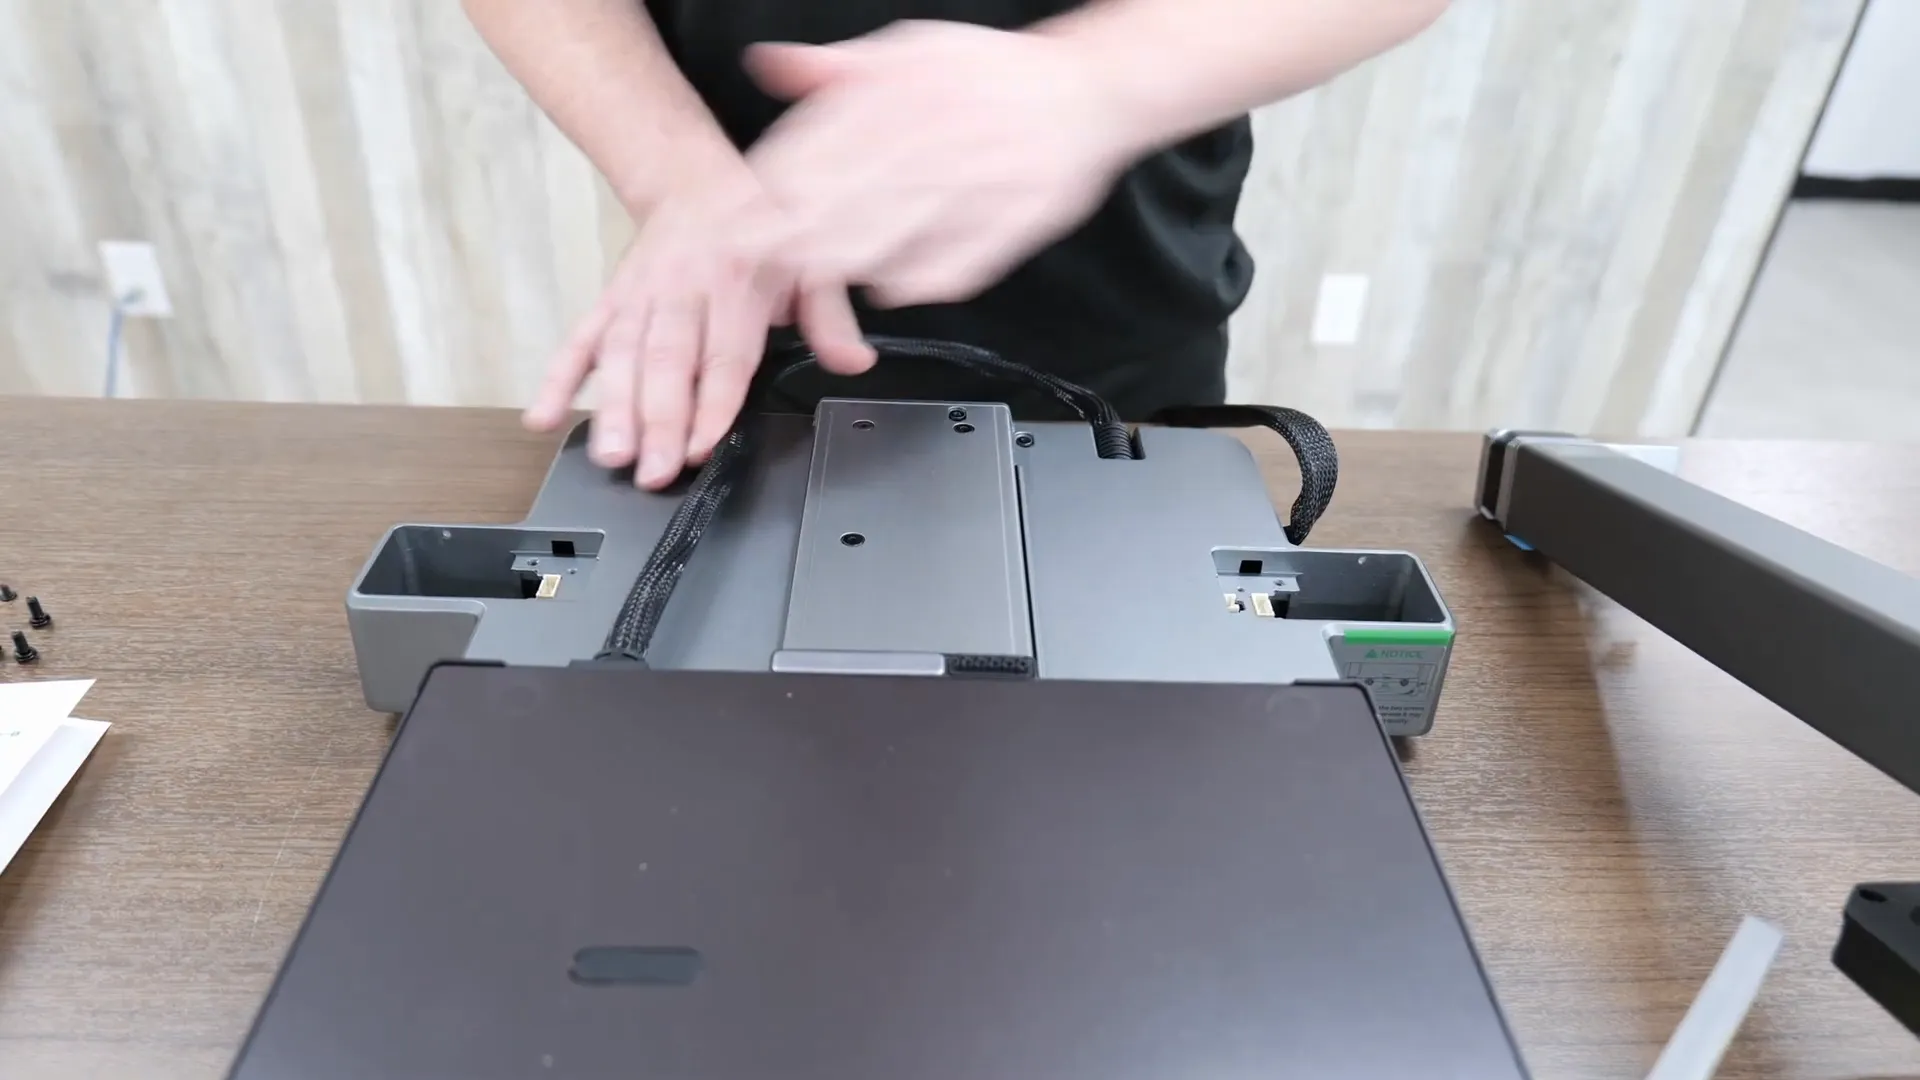
To begin assembly, I moved the plate aside to access the mounting holes. The instructions made it easy to slot the gantry into place and secure it with four bolts. Before tightening, I remembered to remove the protective plastic covering, ensuring a proper fit. Next, I plugged in the motor wires and attached the plastic covers. The spool holder was cleverly designed to clip on without screws, which is a nice touch.
Connecting the CFS to the Printer
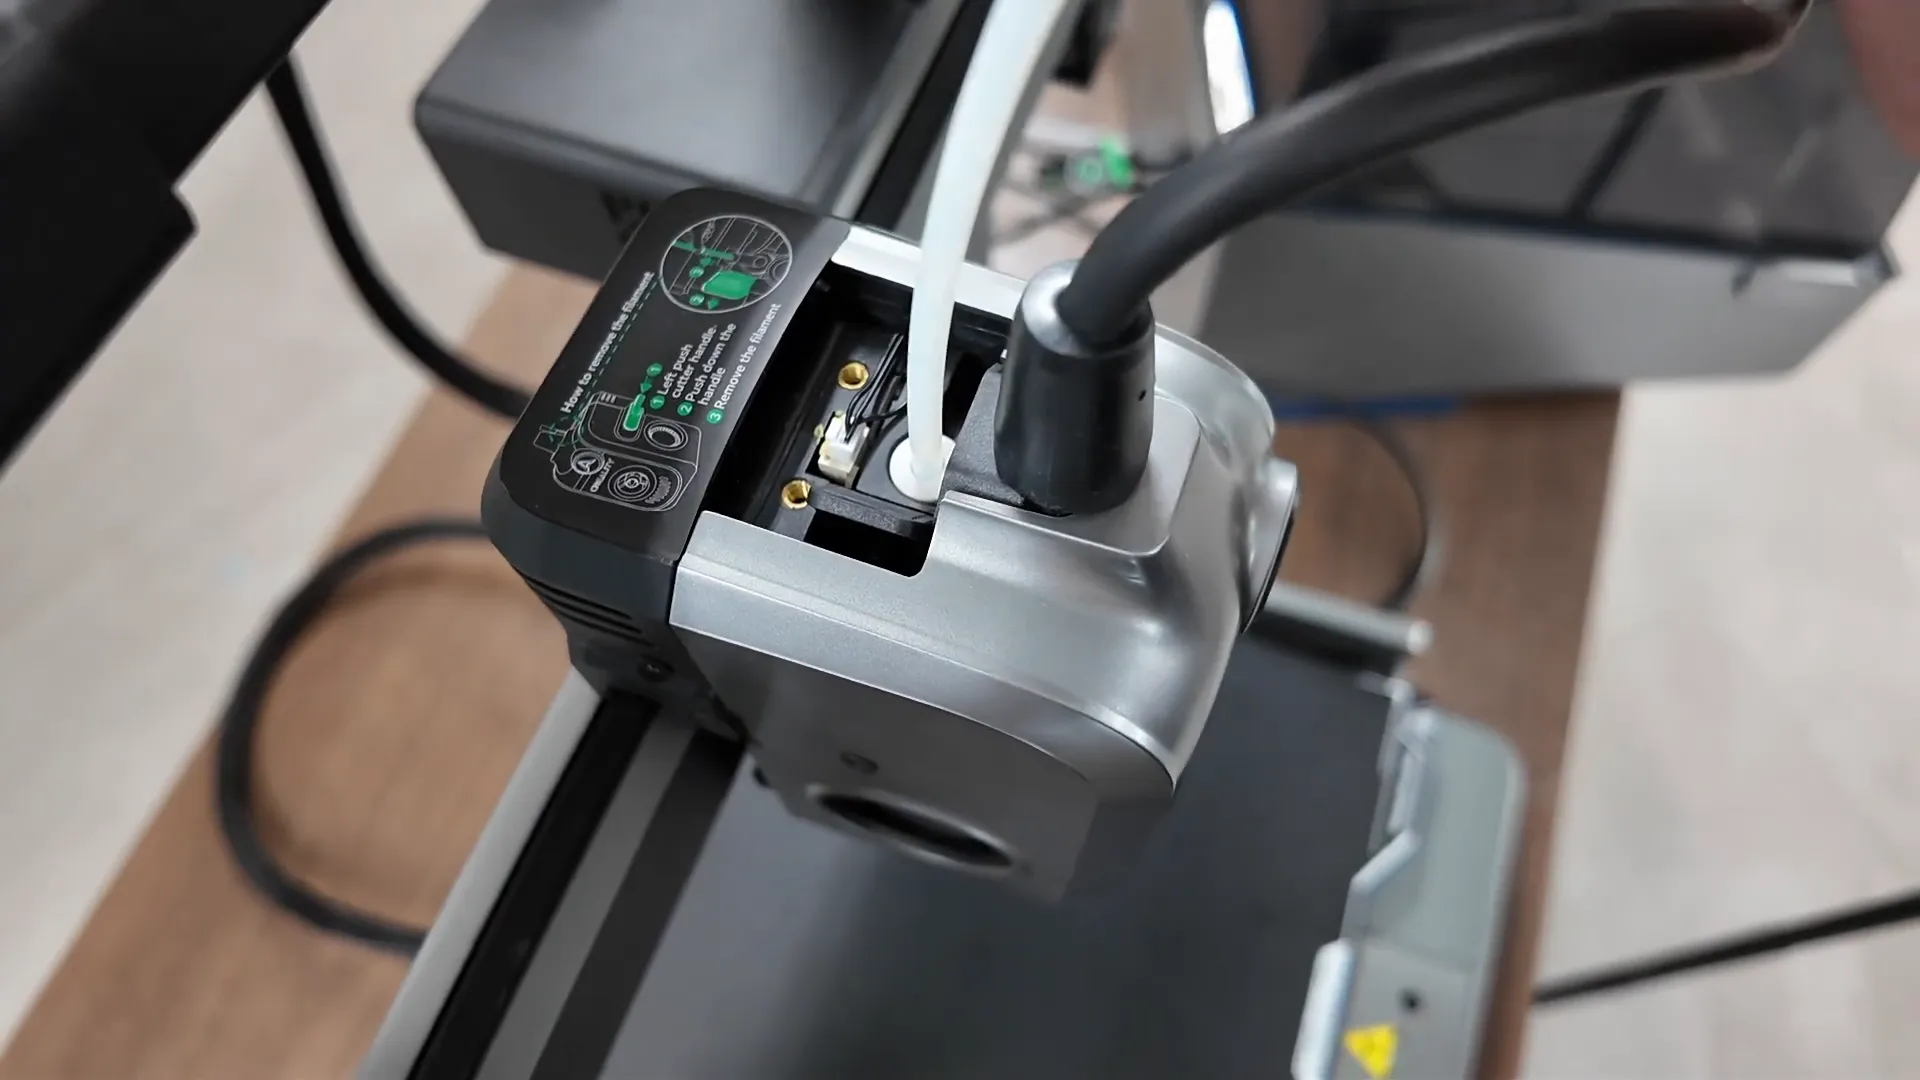
Once the printer assembly was complete, it was time to connect the CFS. This involved plugging in the necessary connections to the printer and securing the buffer, where the filament will pass through before reaching the nozzle. I had to figure out how the buffer attaches, which was a bit tricky since it relied on double-sided tape instead of screws, a departure from the K2 model.
After ensuring all connections were secure, I was ready to load filament. The Hi Combo comes with a small spool of filament, but I decided to use some of my own, including Creality’s Hyper PLA and some from Bamboo Lab.
Loading Filament and Initial Setup
Before loading the CFS, it’s important to remove the plastic from the desiccant packs. If you’re not using the official Creality filament with an RFID tag, you’ll need to manually enter the filament type into the system. This process was straightforward, involving selecting the filament type and temperature settings, which the printer recognized without issue.

After getting everything set up, I printed a waste basket to manage the filament waste from the CFS. This print was quick and the first layer adhesion was impressive for a printer in this price range. I was pleased with the results and excited to explore more prints.
First Test Prints
My first significant print was a multicolored Beni figurine to test the CFS system. This print involved simple color changes at different layers. It turned out beautifully, demonstrating that the multicolor system works efficiently without any bleeding between colors.

Next, I decided to challenge the printer a bit more with a complex flexible cat model. This print required careful color management, especially around the eyes where I used green and blue. The print came out remarkably well, showcasing the capabilities of the multicolor system without any unwanted color mixing.
Comparing the Hi Combo to the Ender 3
While the Hi Combo shares some similarities with the Ender 3, it’s important to note that it has its unique features. It’s a bed-slinger like the Ender 3, but the rail systems and overall design differ. The Hi Combo is an excellent alternative for those seeking a more affordable multicolor printing option without the size and weight of the K2.
Conclusion and Future Plans
So far, my experience with the Creality Hi Combo has been positive. It’s user-friendly, and the assembly process is straightforward, making it accessible for beginners. The quality of the prints has exceeded my expectations, especially considering the price point.
I plan to conduct more complex prints in the future and will share updates on my progress. If you’re interested in a printer that offers versatility and quality without taking up too much space, the Creality Hi Combo might just be the perfect fit for you. Be sure to subscribe for more insights and future videos!
Thank you for reading, and if you found this helpful, don’t forget to leave a like!
The Creality Hi Combo is a game-changer for makers, hobbyists, and professionals looking for an all-in-one 3D printing solution. With its powerful features, seamless workflow, and high-quality output, it’s the perfect addition to any workshop. Don’t miss out on this cutting-edge technology—order your Creality Hi Combo today and take your 3D printing projects to the next level!