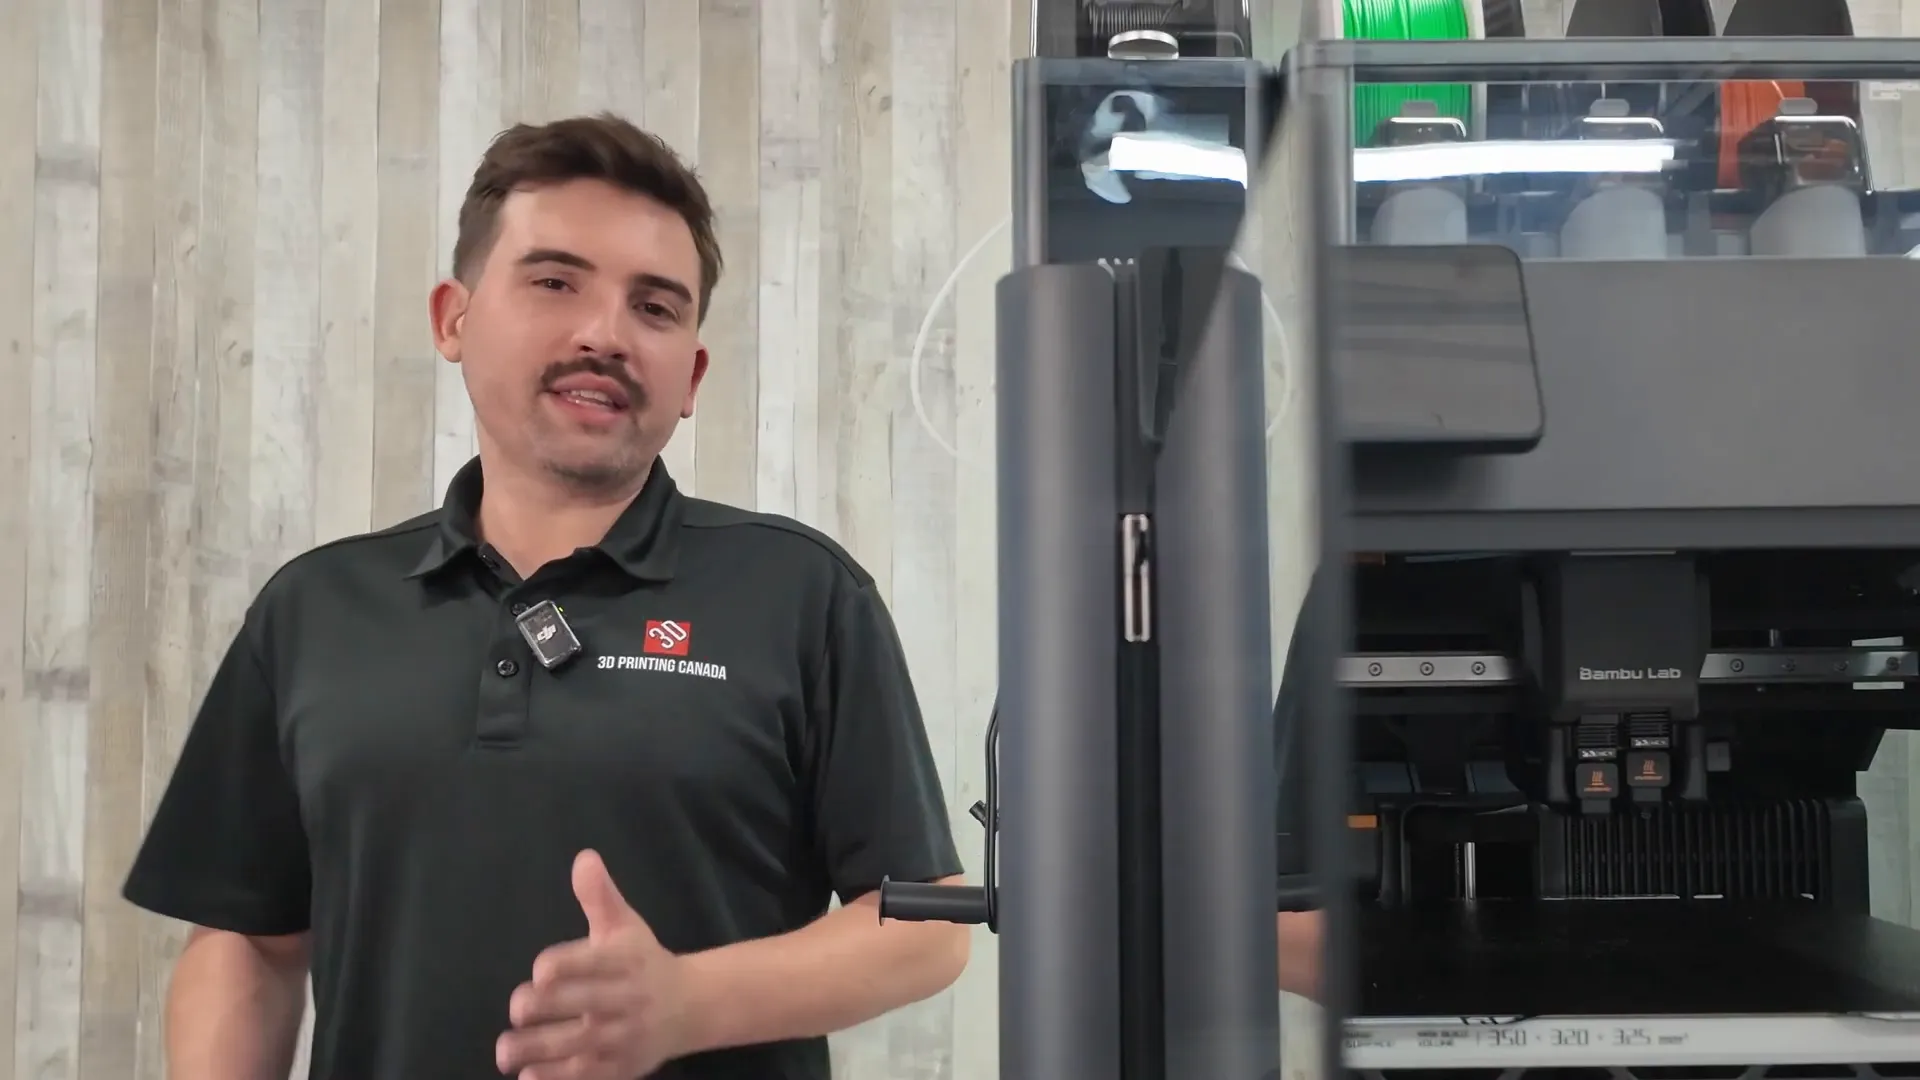
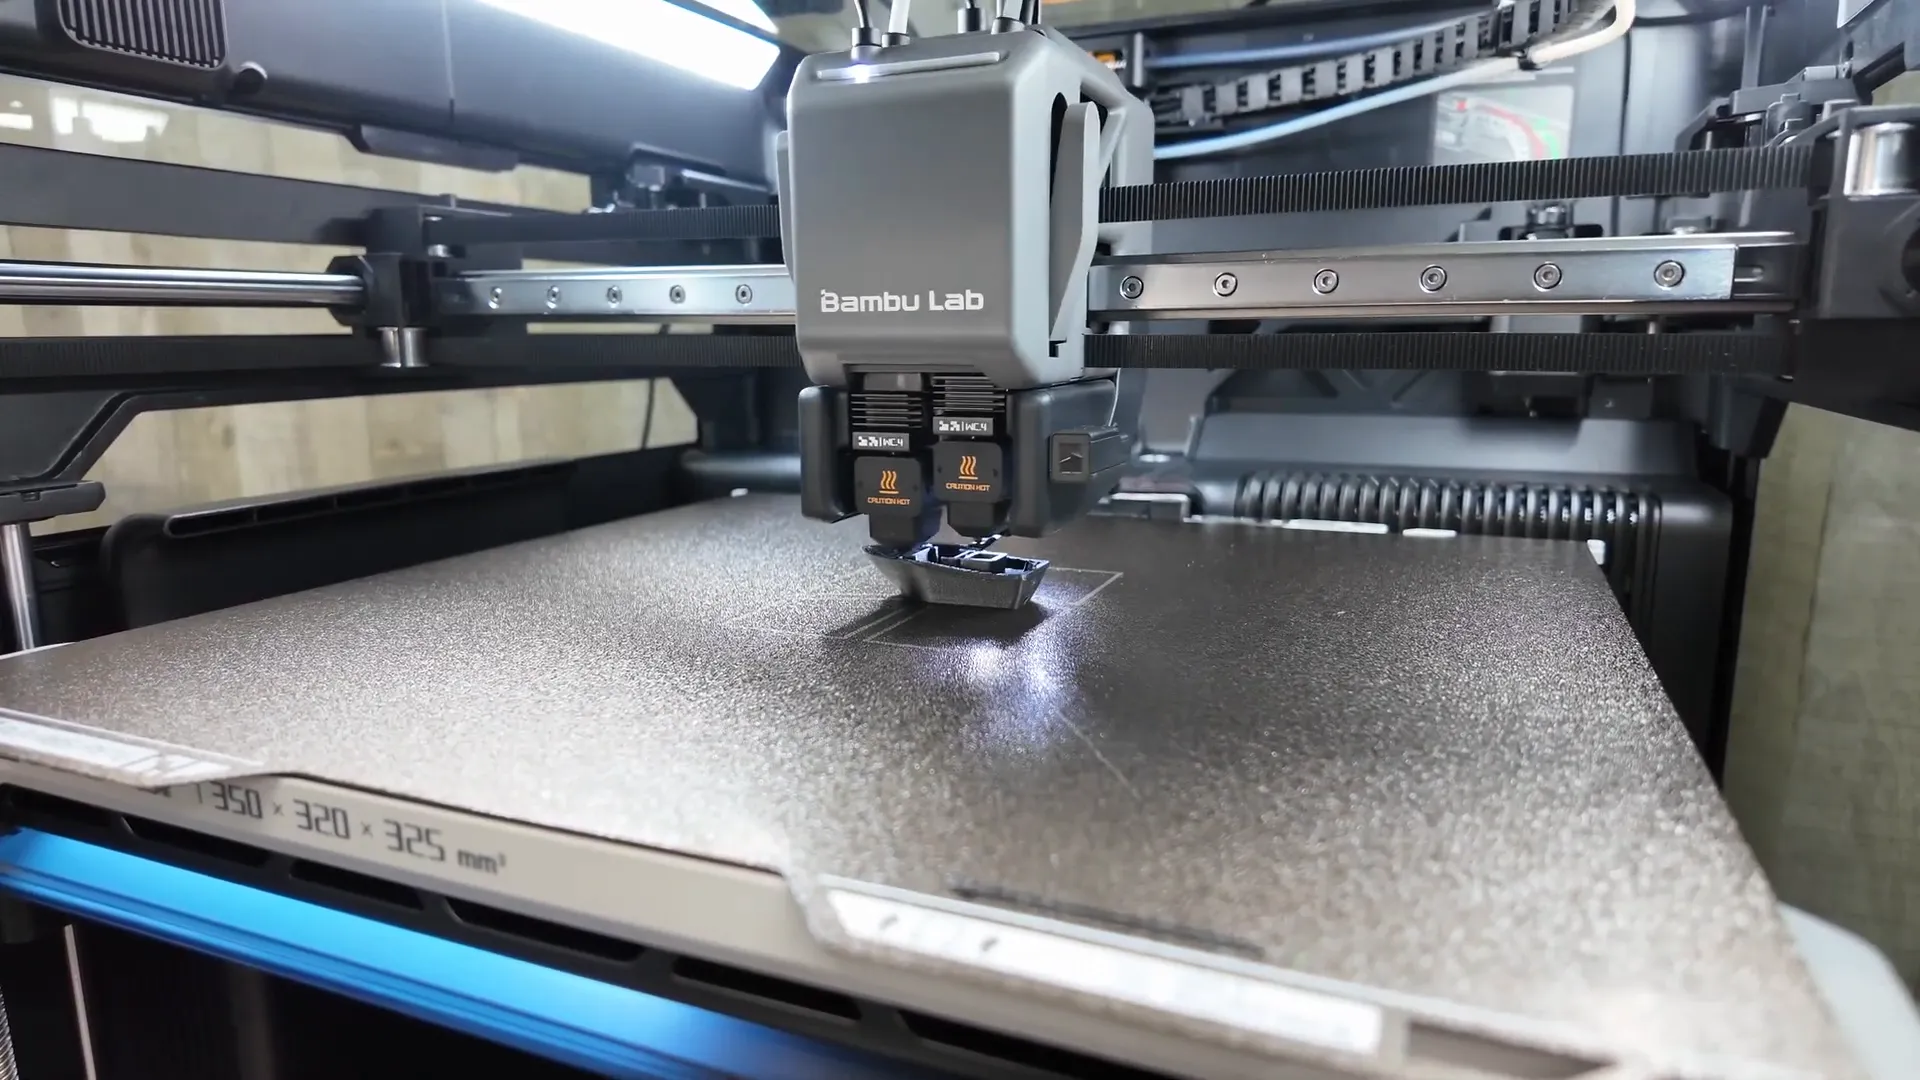
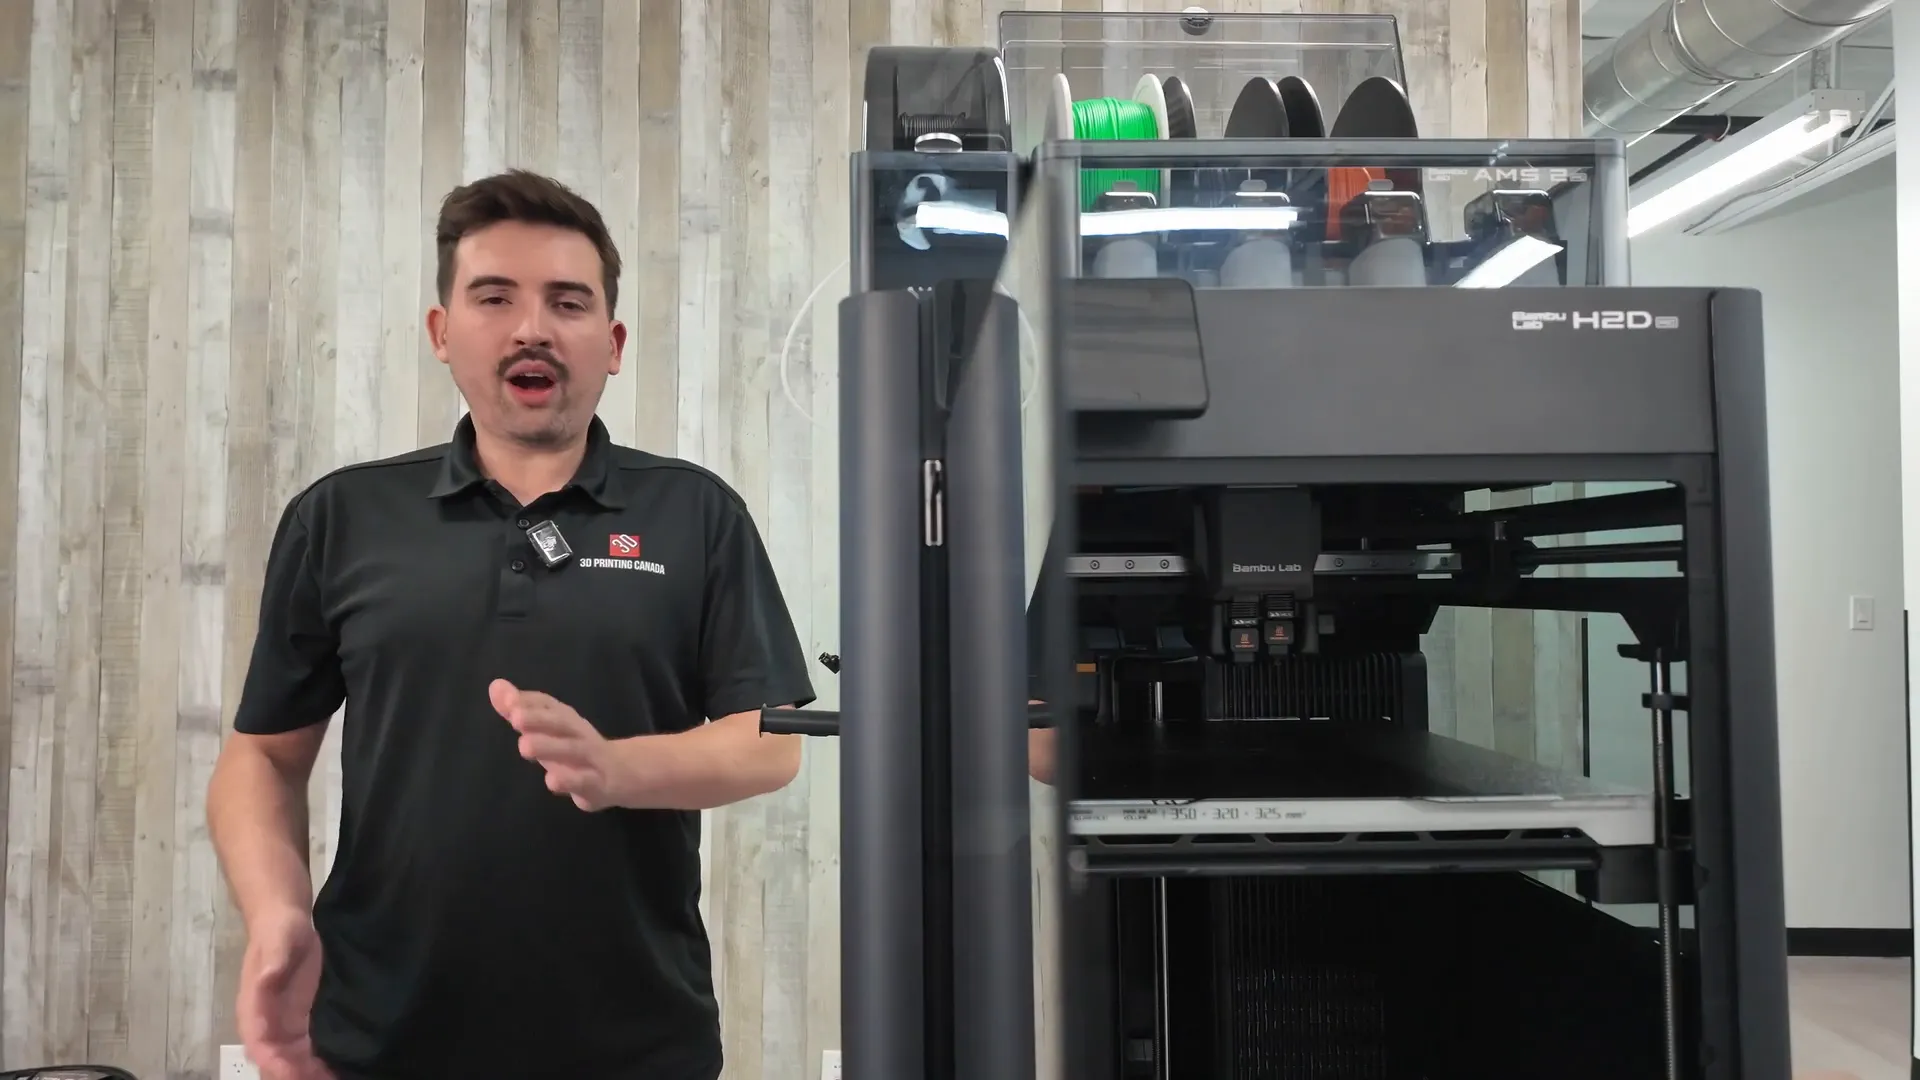
In my new video for 3D Printing Canada I unboxed and tested the Bambu Lab H2D Pro — a sibling to the H2D that pushes the platform toward a more engineering- and business-focused audience. In this write-up I’ll walk you through the unboxing, setup tips, notable hardware upgrades, real-world print tests (including abrasive filaments), and who should consider this machine.
Quick overview: what makes the H2D Pro different?
- Included AMS2 Pro (material system) and an AMS HT high-temperature filament dryer.
- Tungsten carbide nozzles for abrasive materials (glass/carbon fiber blends).
- Bambu Vision encoder option for increased long-term accuracy.
- Improved filtration and an emergency stop button included.
- Ethernet port for local-network-only workflows — ideal for offline business environments.
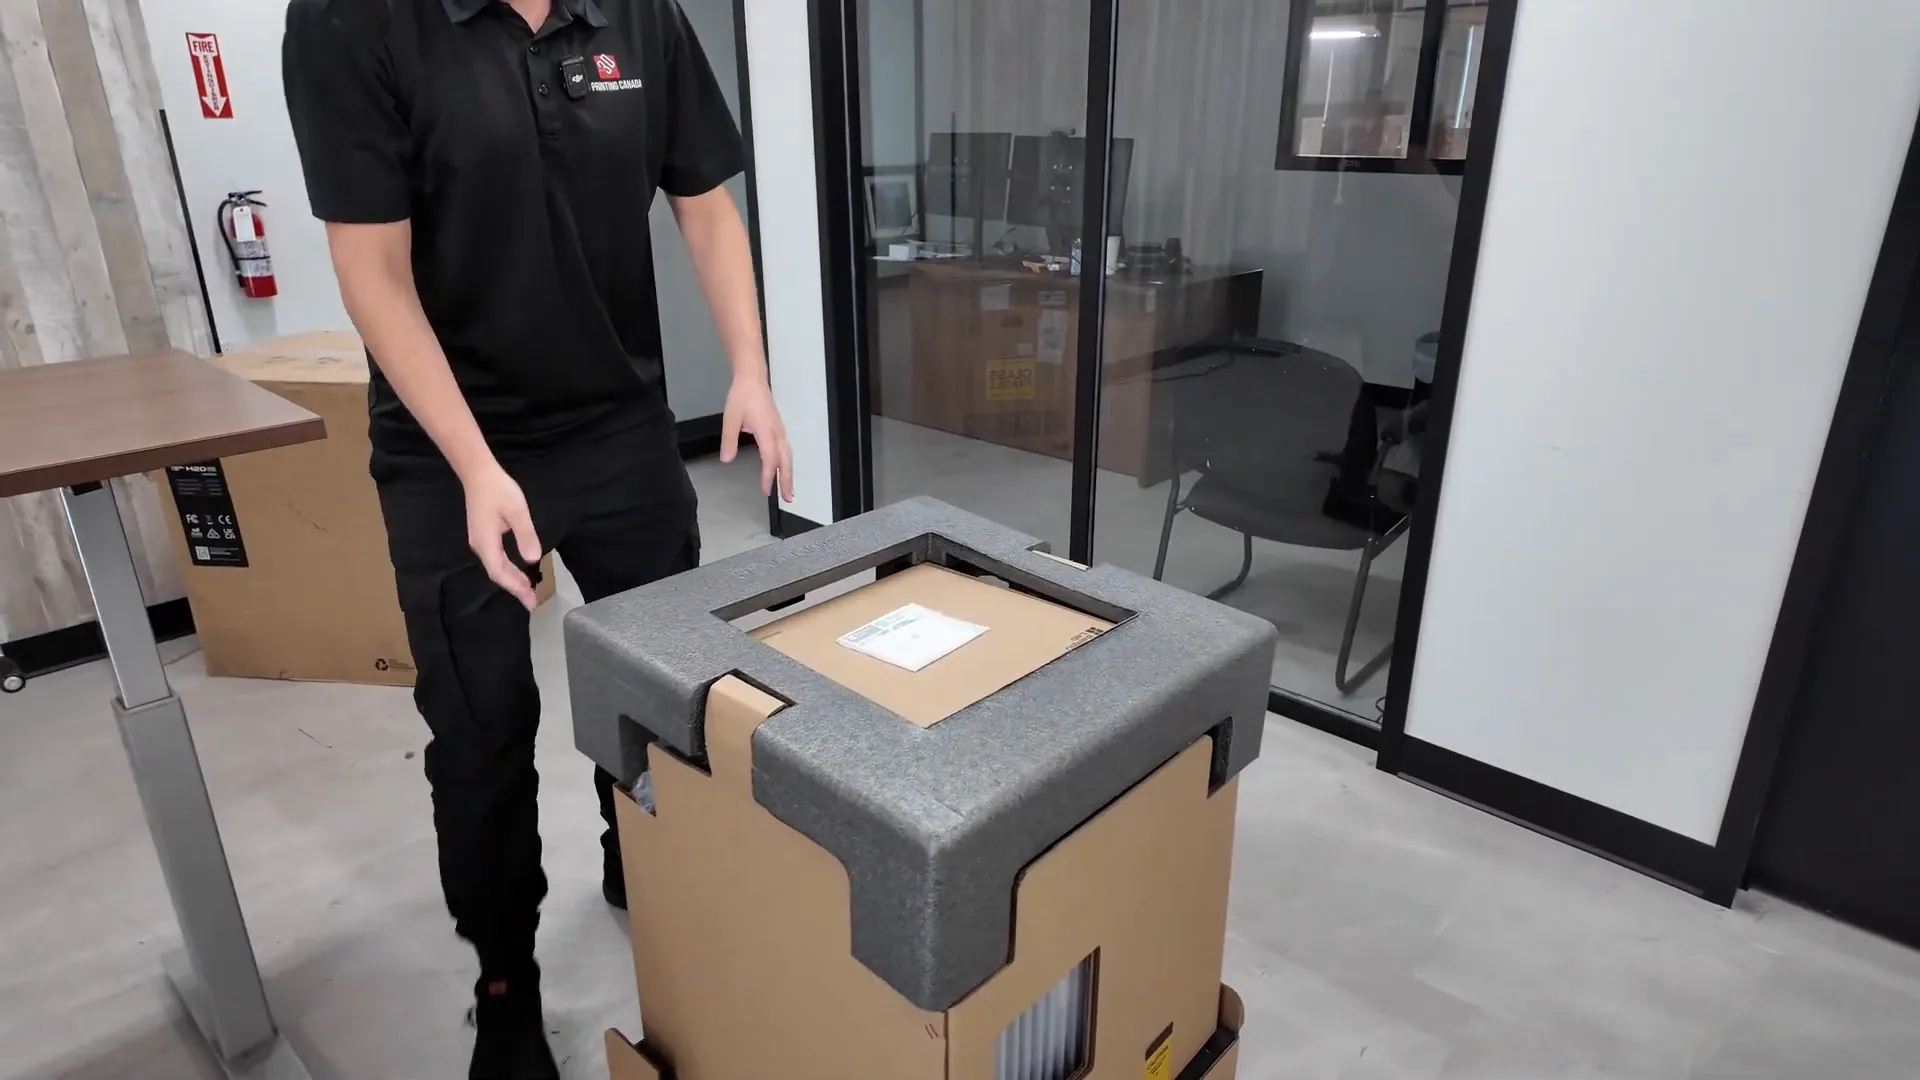
Unboxing: what’s in the box
The H2D Pro ships thoughtfully packed and the packaging includes explicit instructions on how to open the box (don’t cut it like a normal box — undo the clips and lift the top). This is a two-person lift — the machine is heavy and should be lifted out of the box onto your table with help.
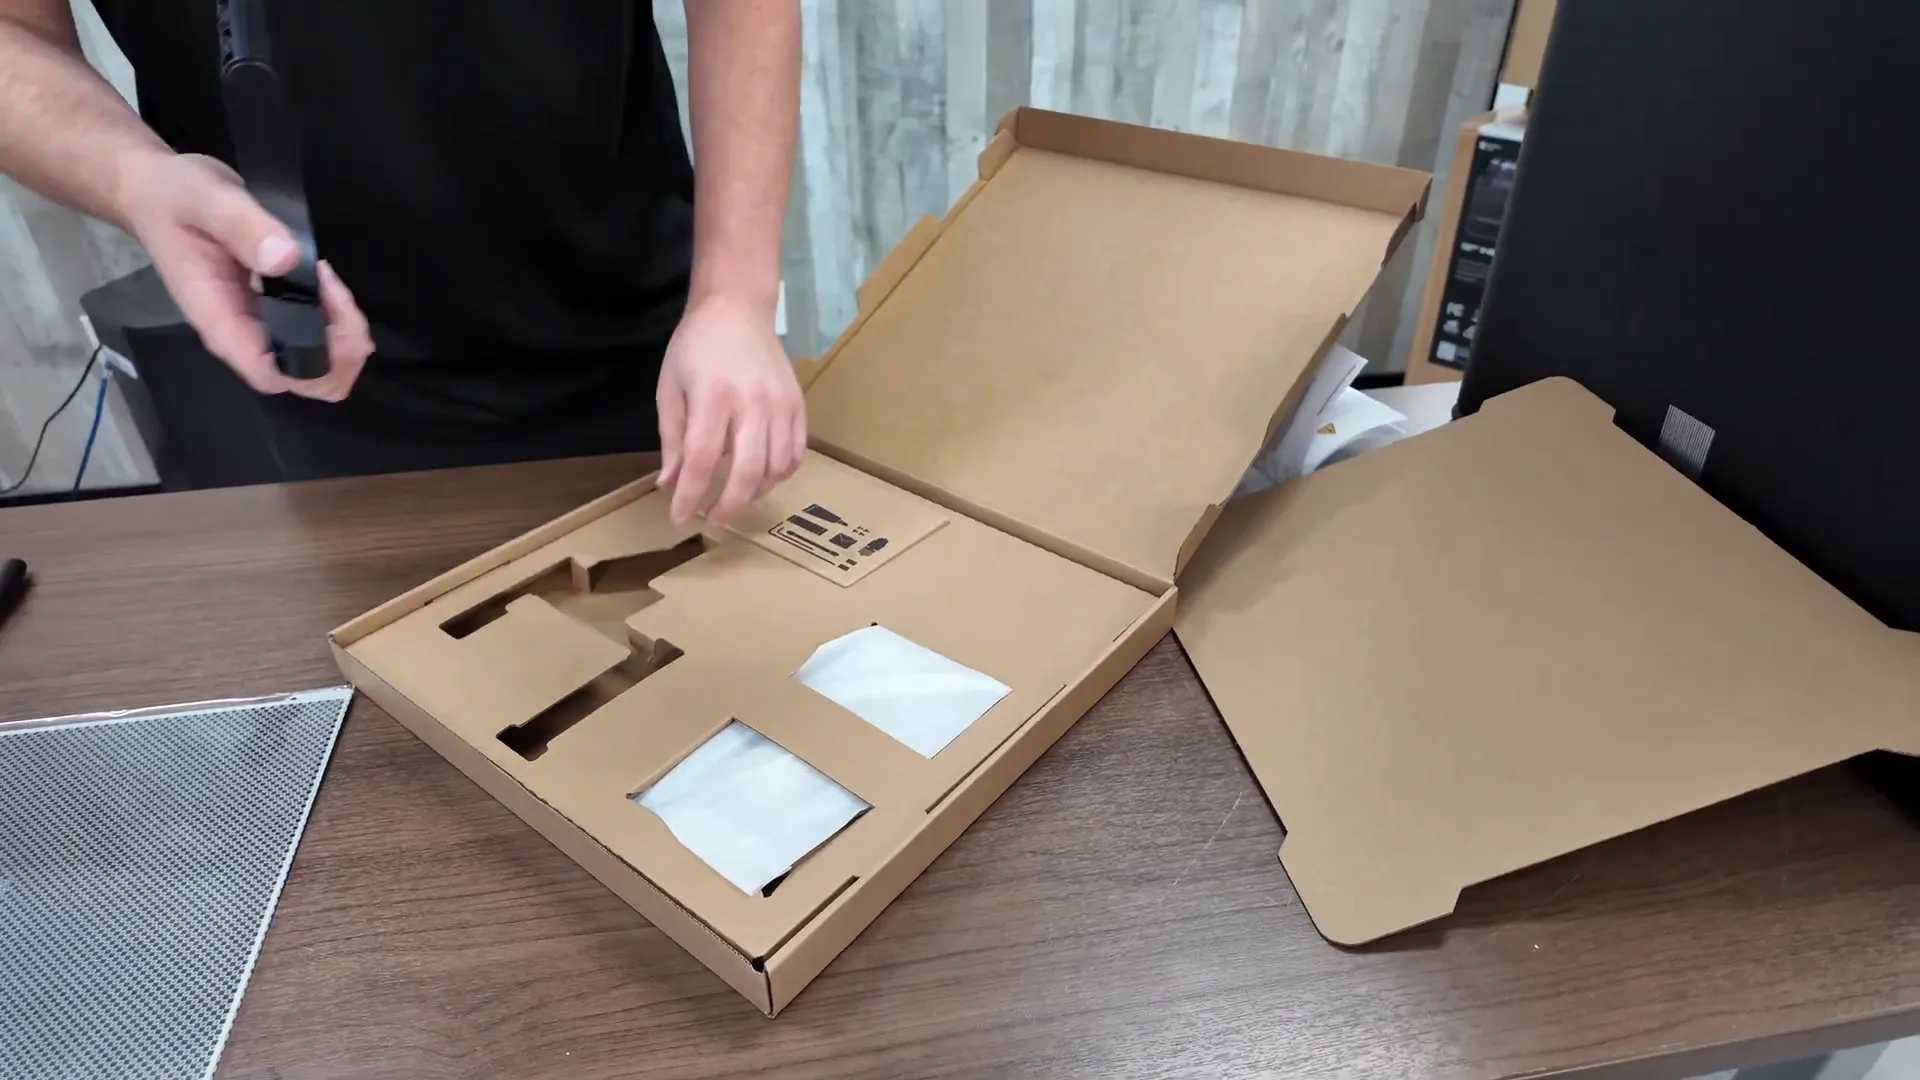
Inside the accessory box you'll find:
- Bambu Vision encoder (used for calibration)
- Extra spool holder and PTFE tubes
- Toolbox with spare hotend, Allen keys, maintenance items
- Power adapters and multiple power cables
- Emergency stop button (unique to H2D Pro)
- AMS HT (high-temperature filament dryer)
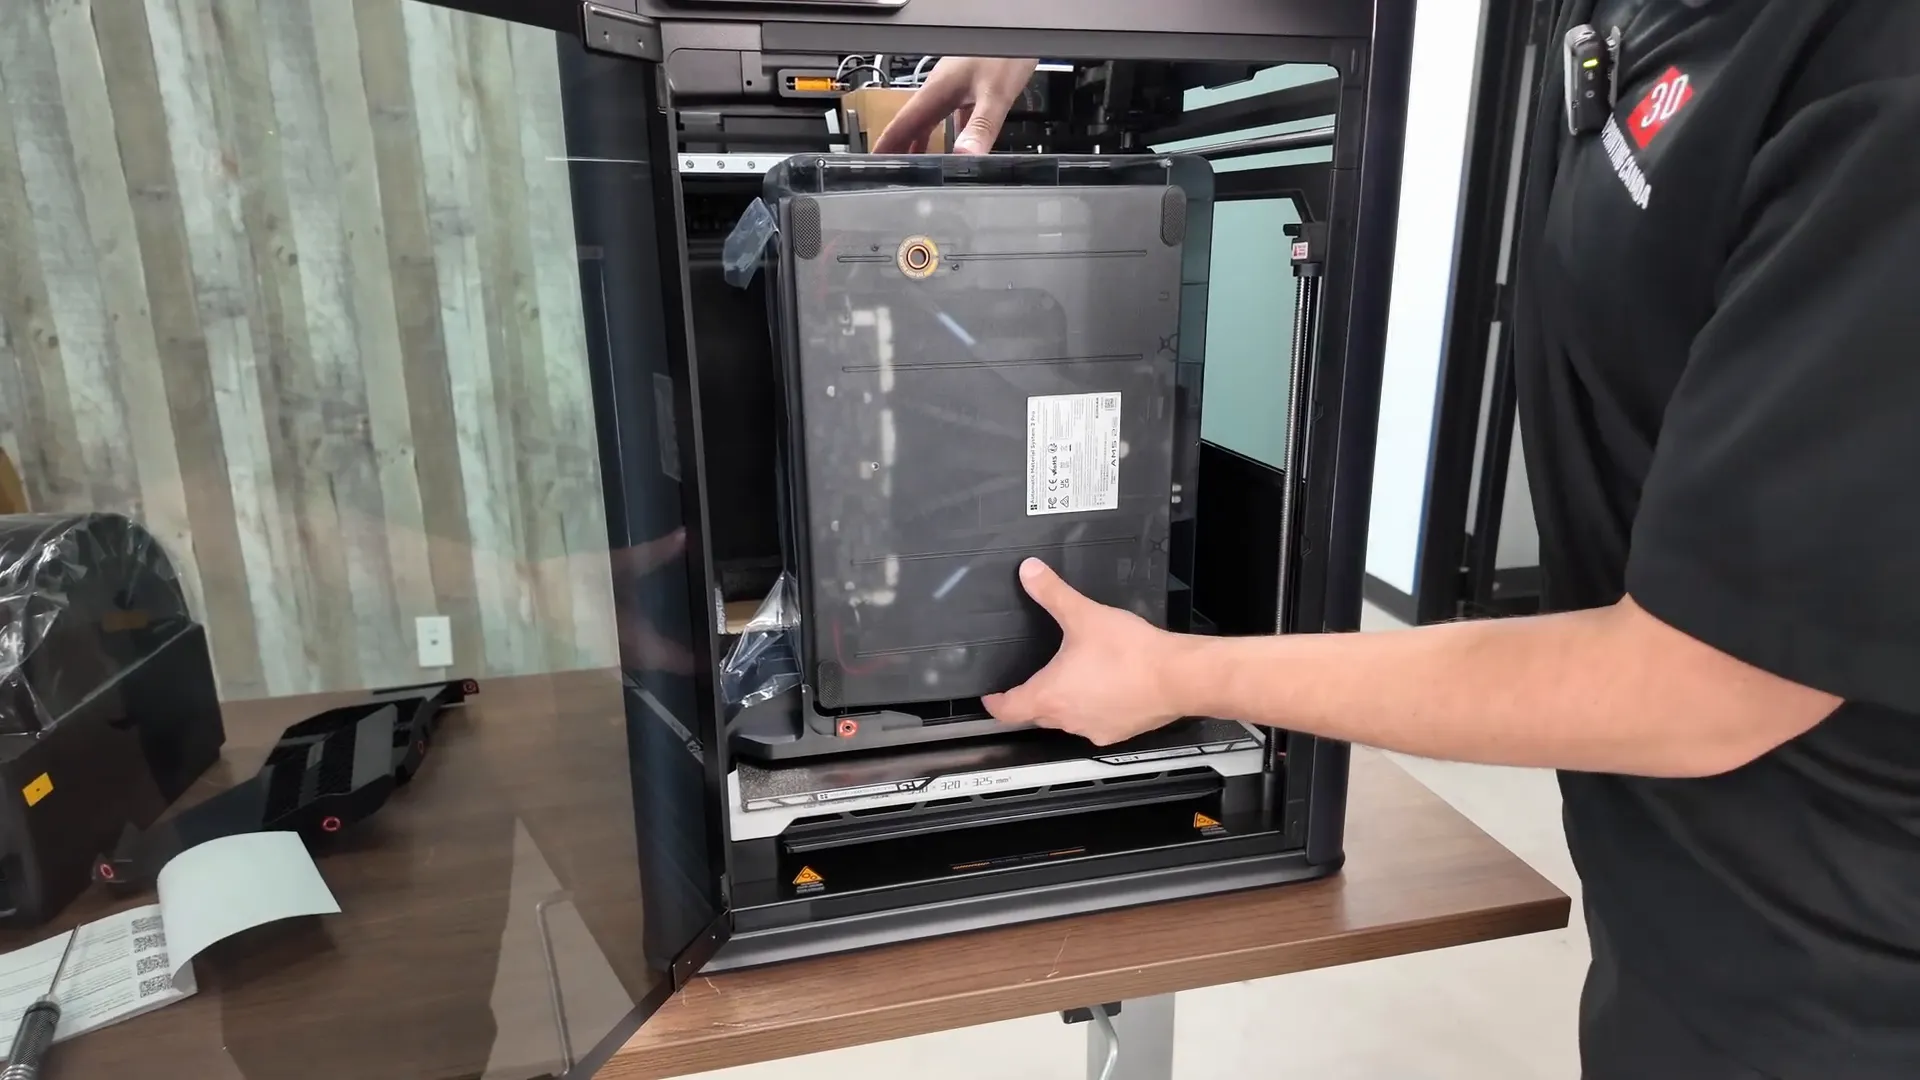
Installing the AMS2 and AMS HT
Removing the AMS2 requires a handful of screws and brackets — four screws up top and four holding the heated bed. The AMS2 lifts out after removing two top screws, which provides access to the remaining fasteners.
Connections to note:
- AMS HT has its own power supply and a cable that links it to the printer.
- AMS2 Pro uses its power adapter and connects to the printer through a dedicated cable.
- Emergency stop clips underneath the printer and plugs into a small port on the back.
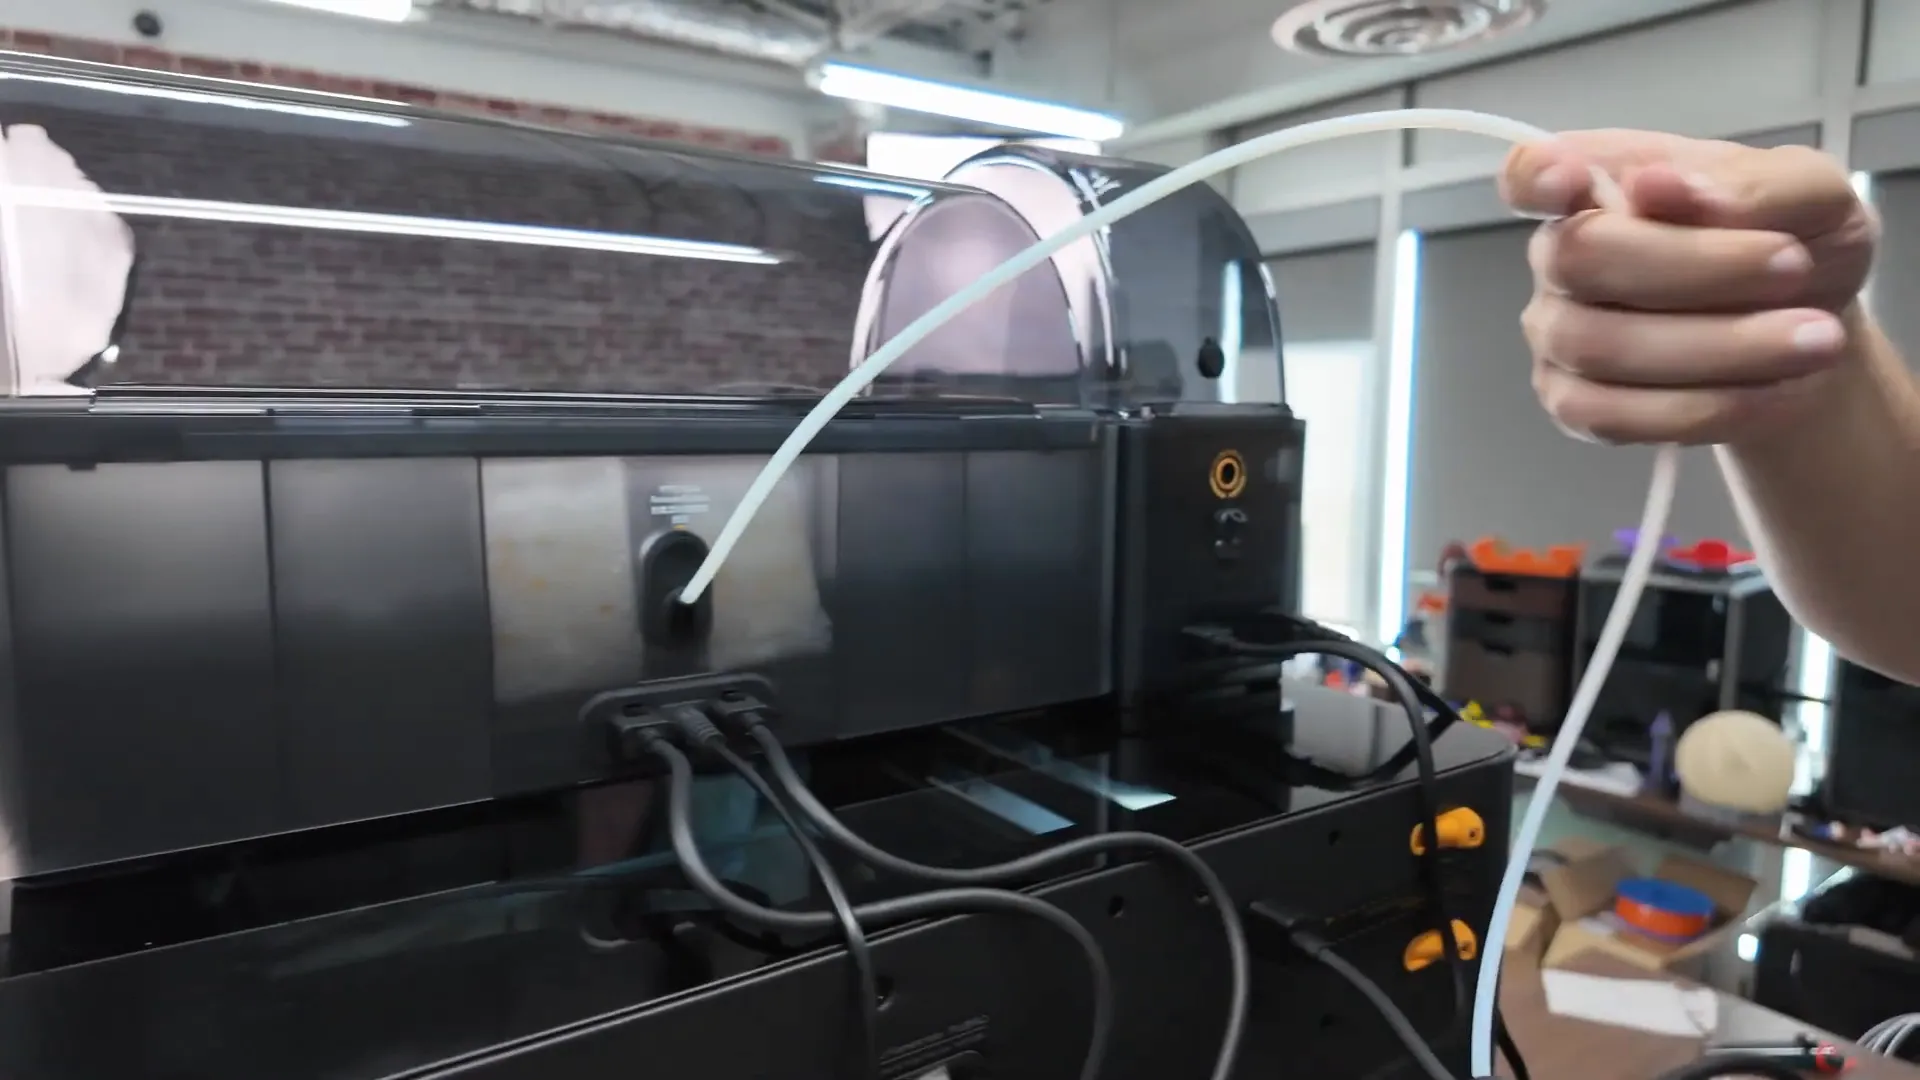
- PTFE tubes insert deeply into the back ports — push them farther than you might expect until snug.
First steps after setup
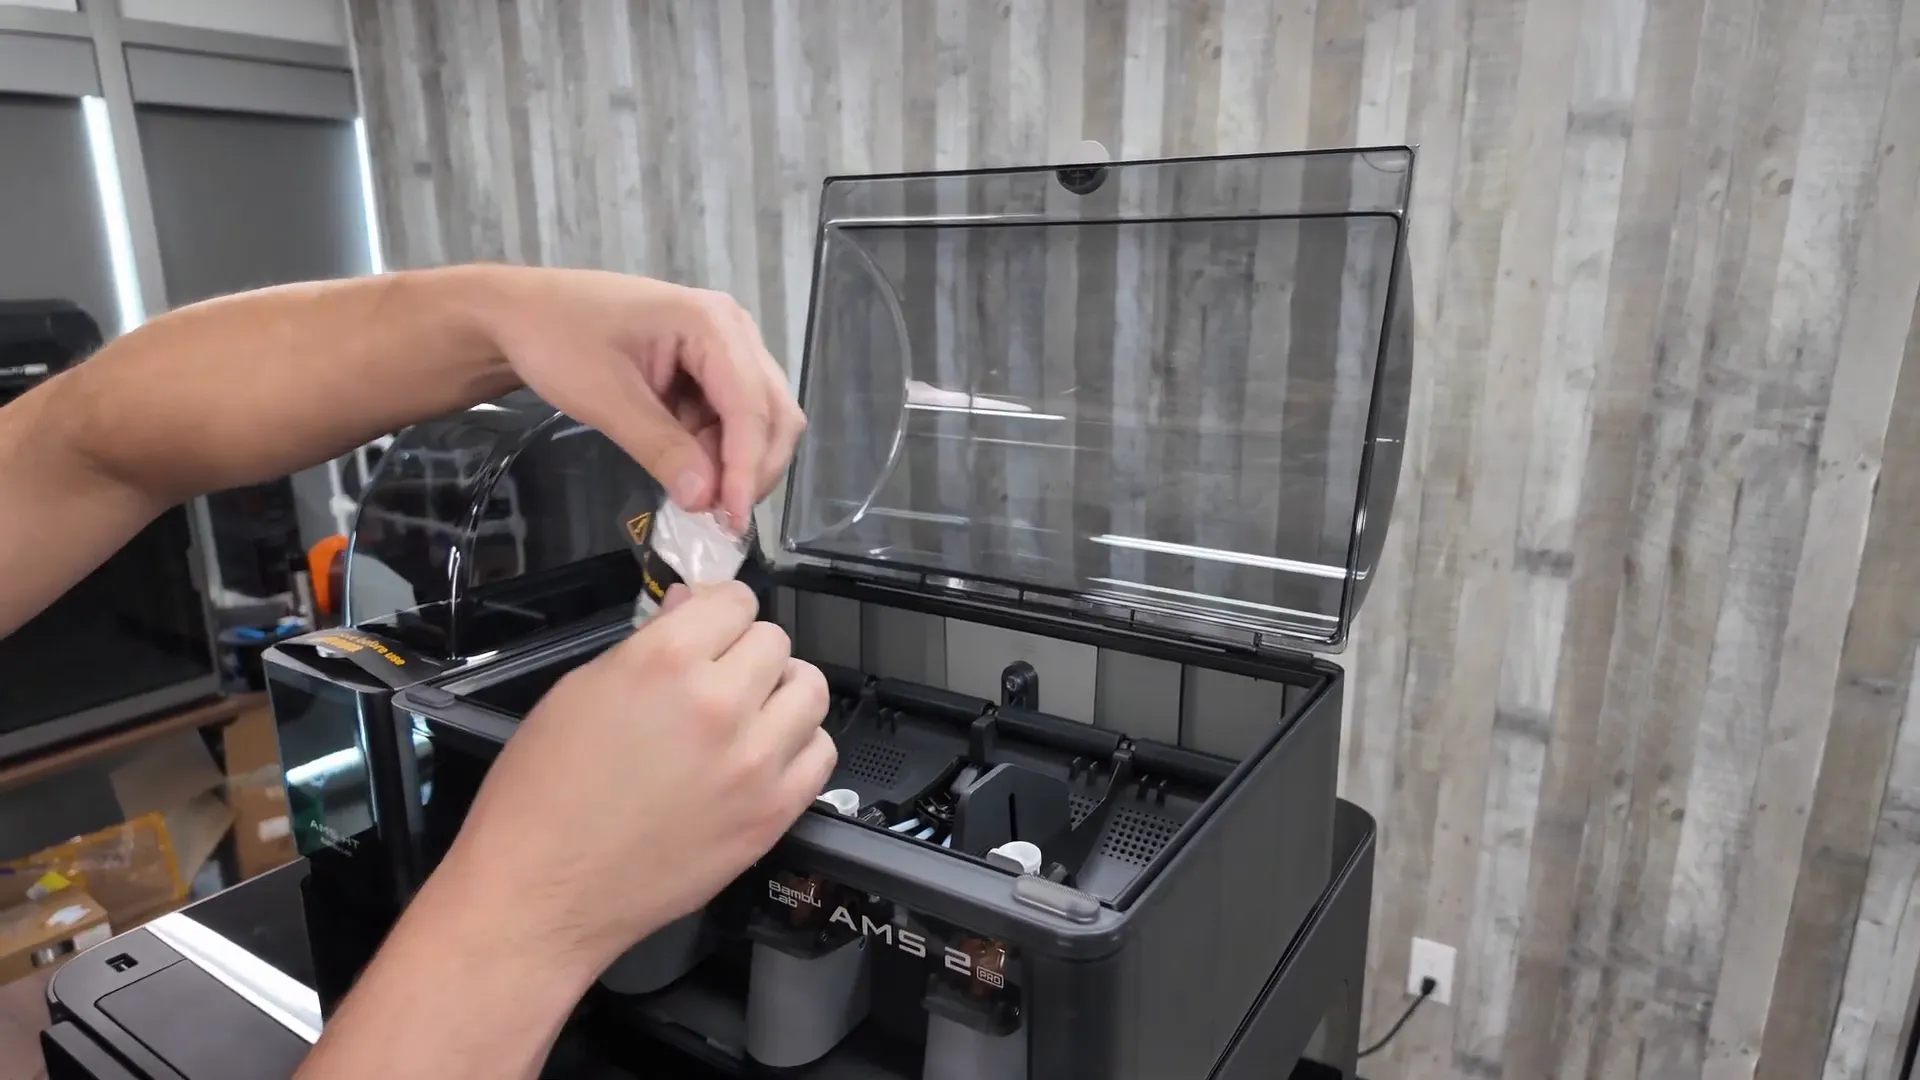
Once the AMS modules are connected and powered, remove the foam and desiccant packaging inside the AMS and AMS HT and place the desiccant back into the compartments. Install the glass top with the handle facing forward and clip on the external spool holder.
Calibration: the Bamboo Vision encoder
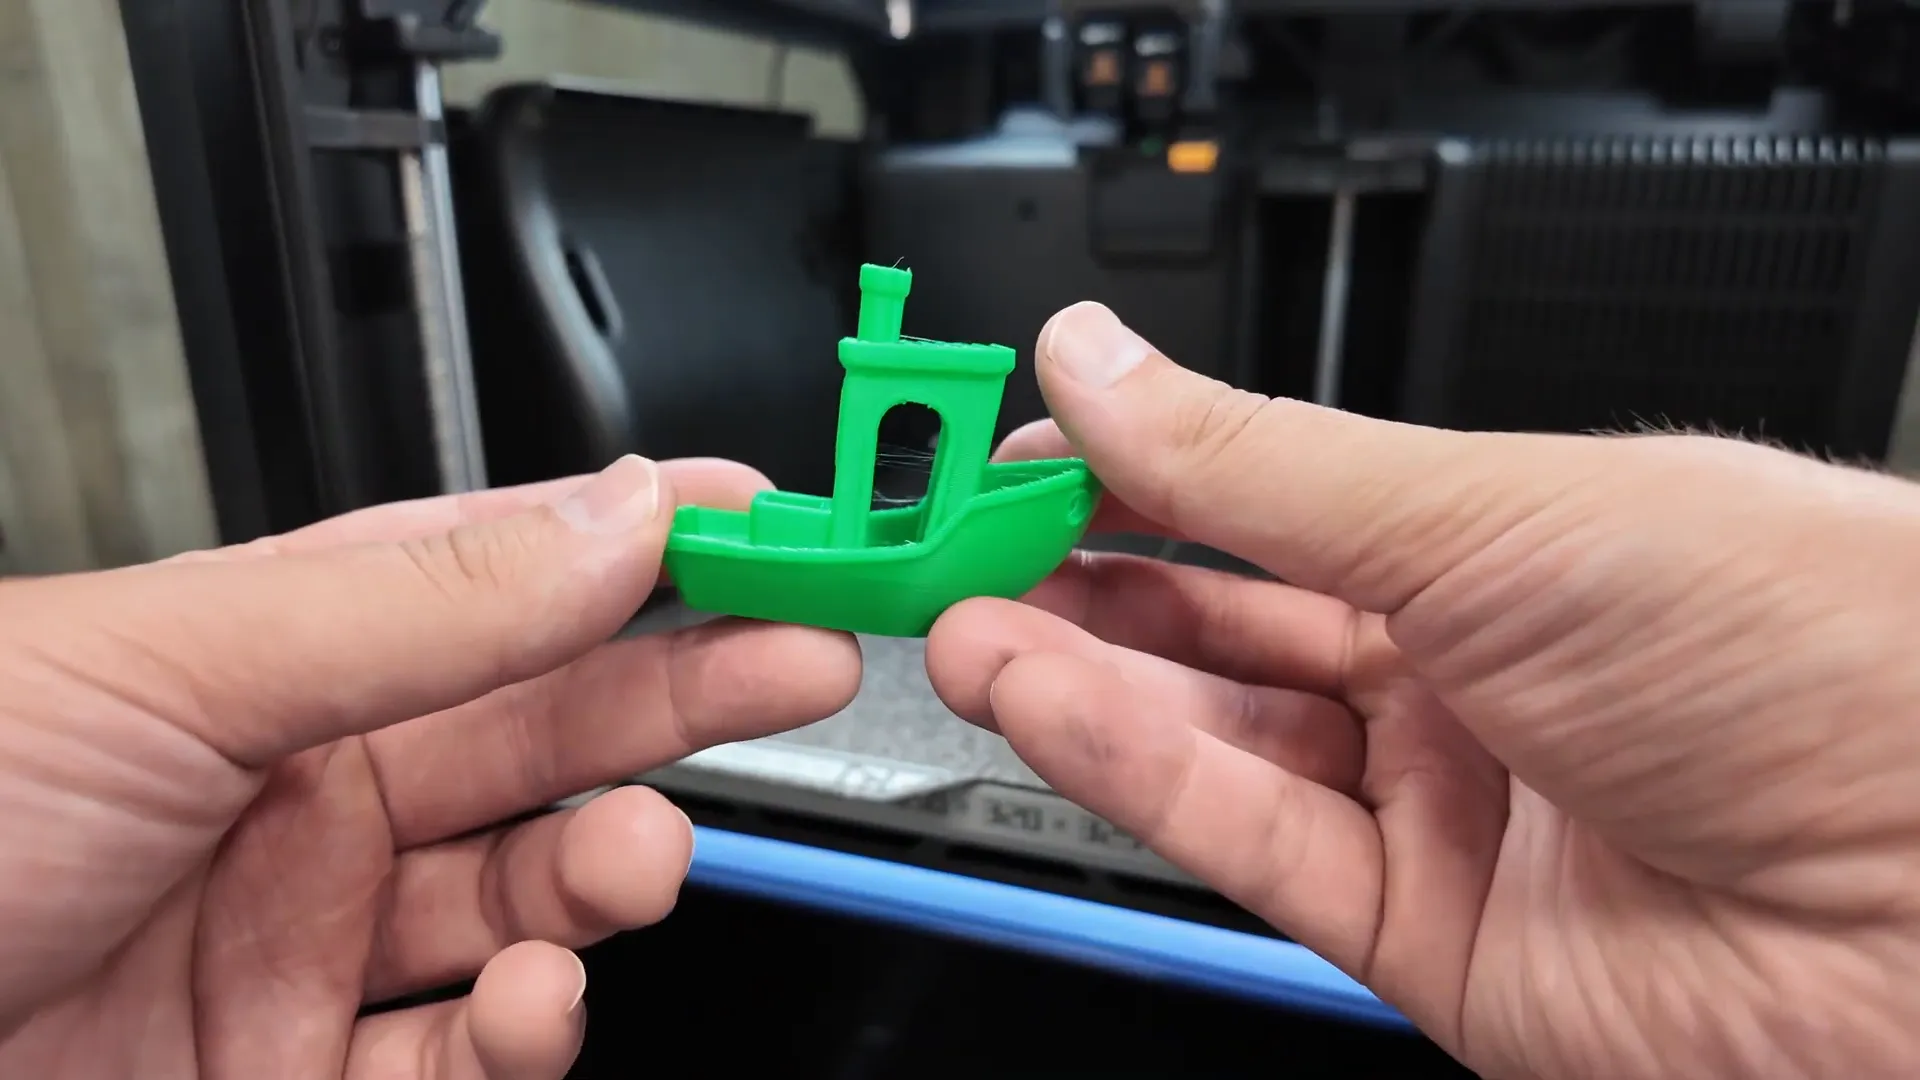
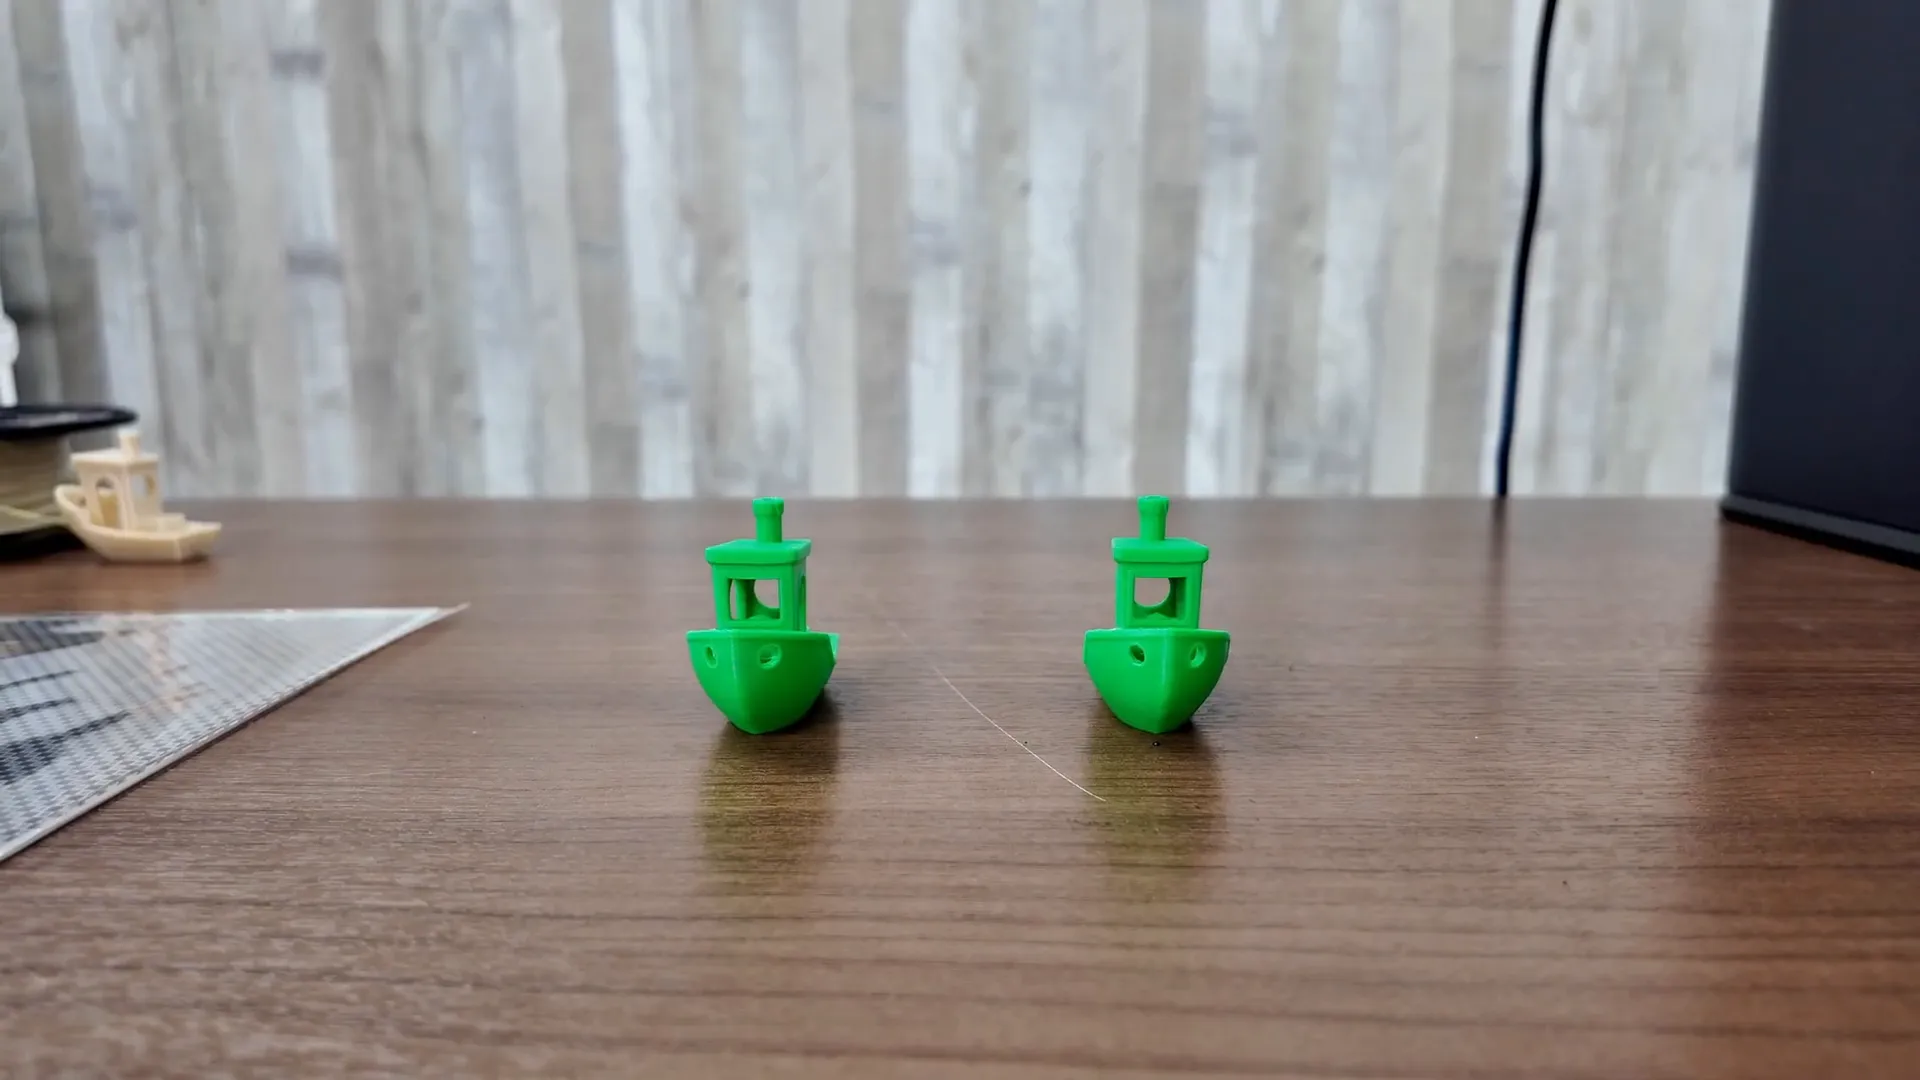
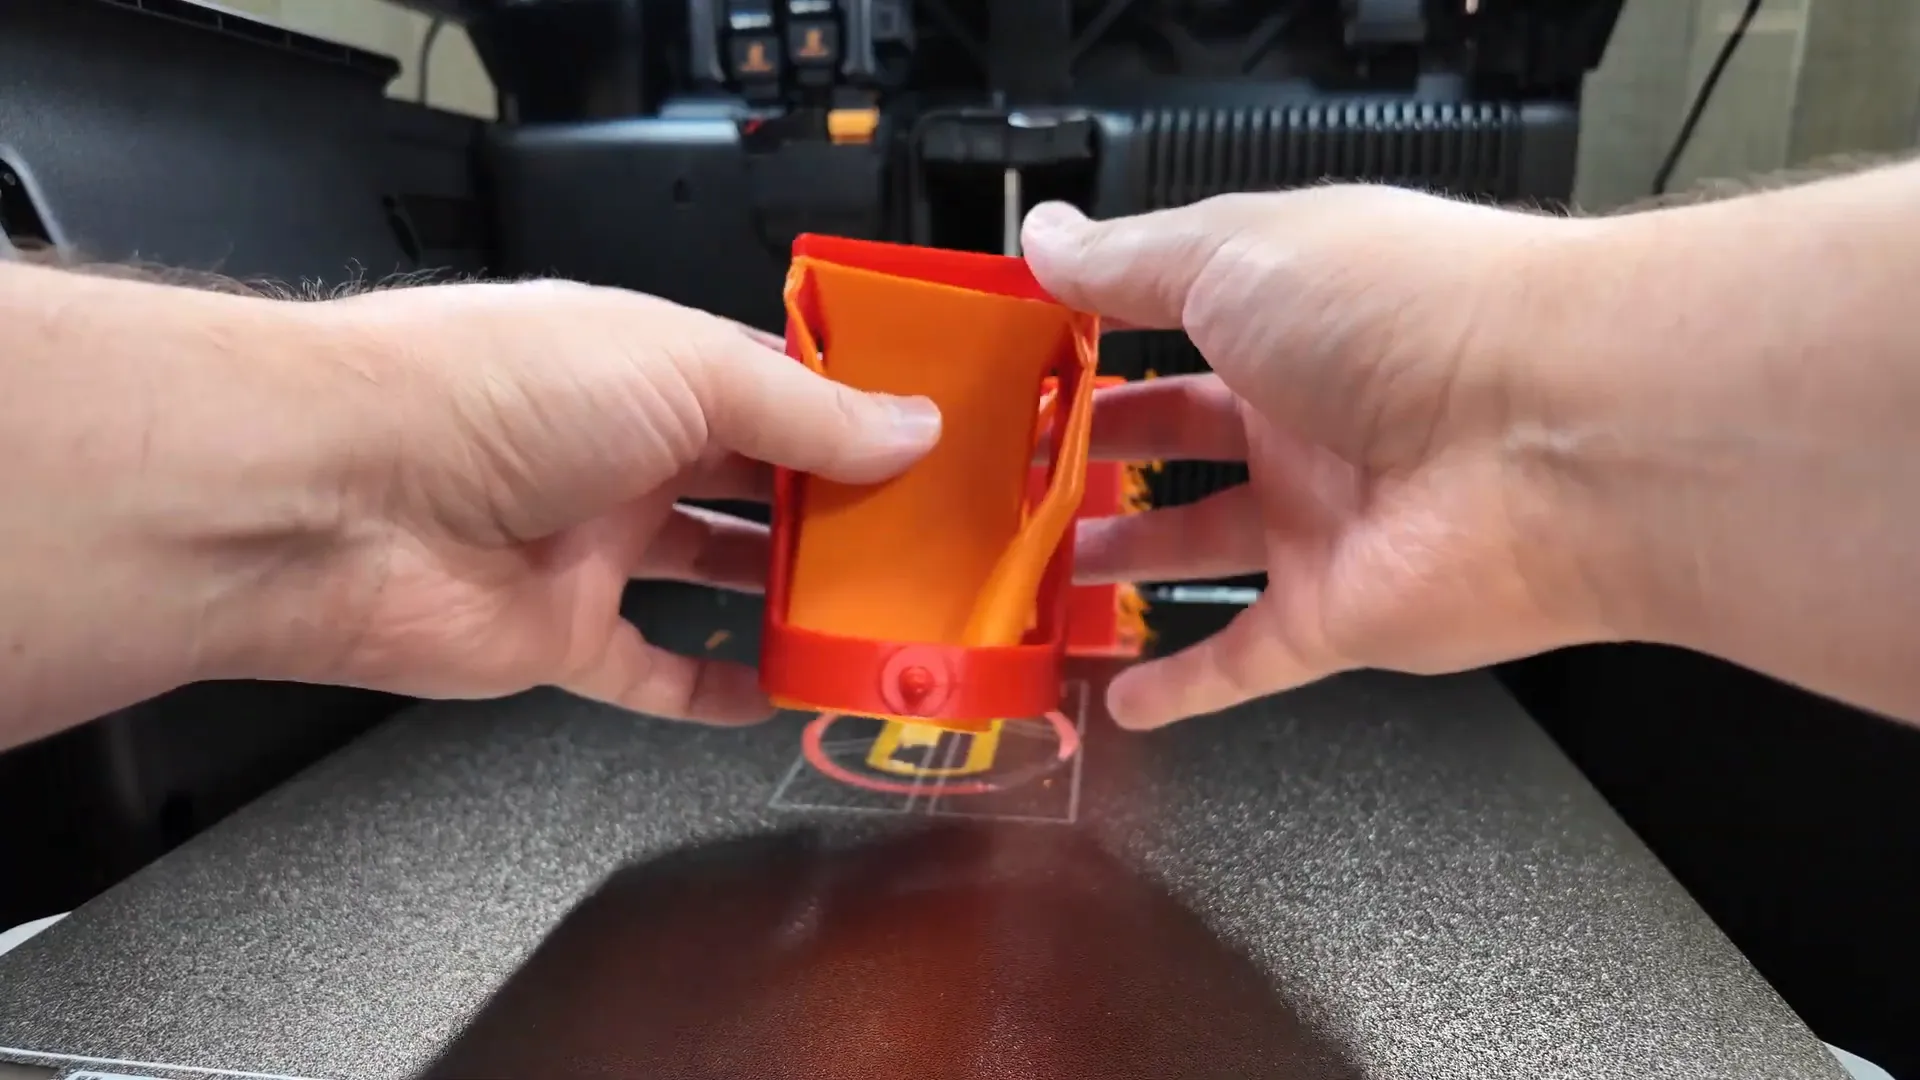
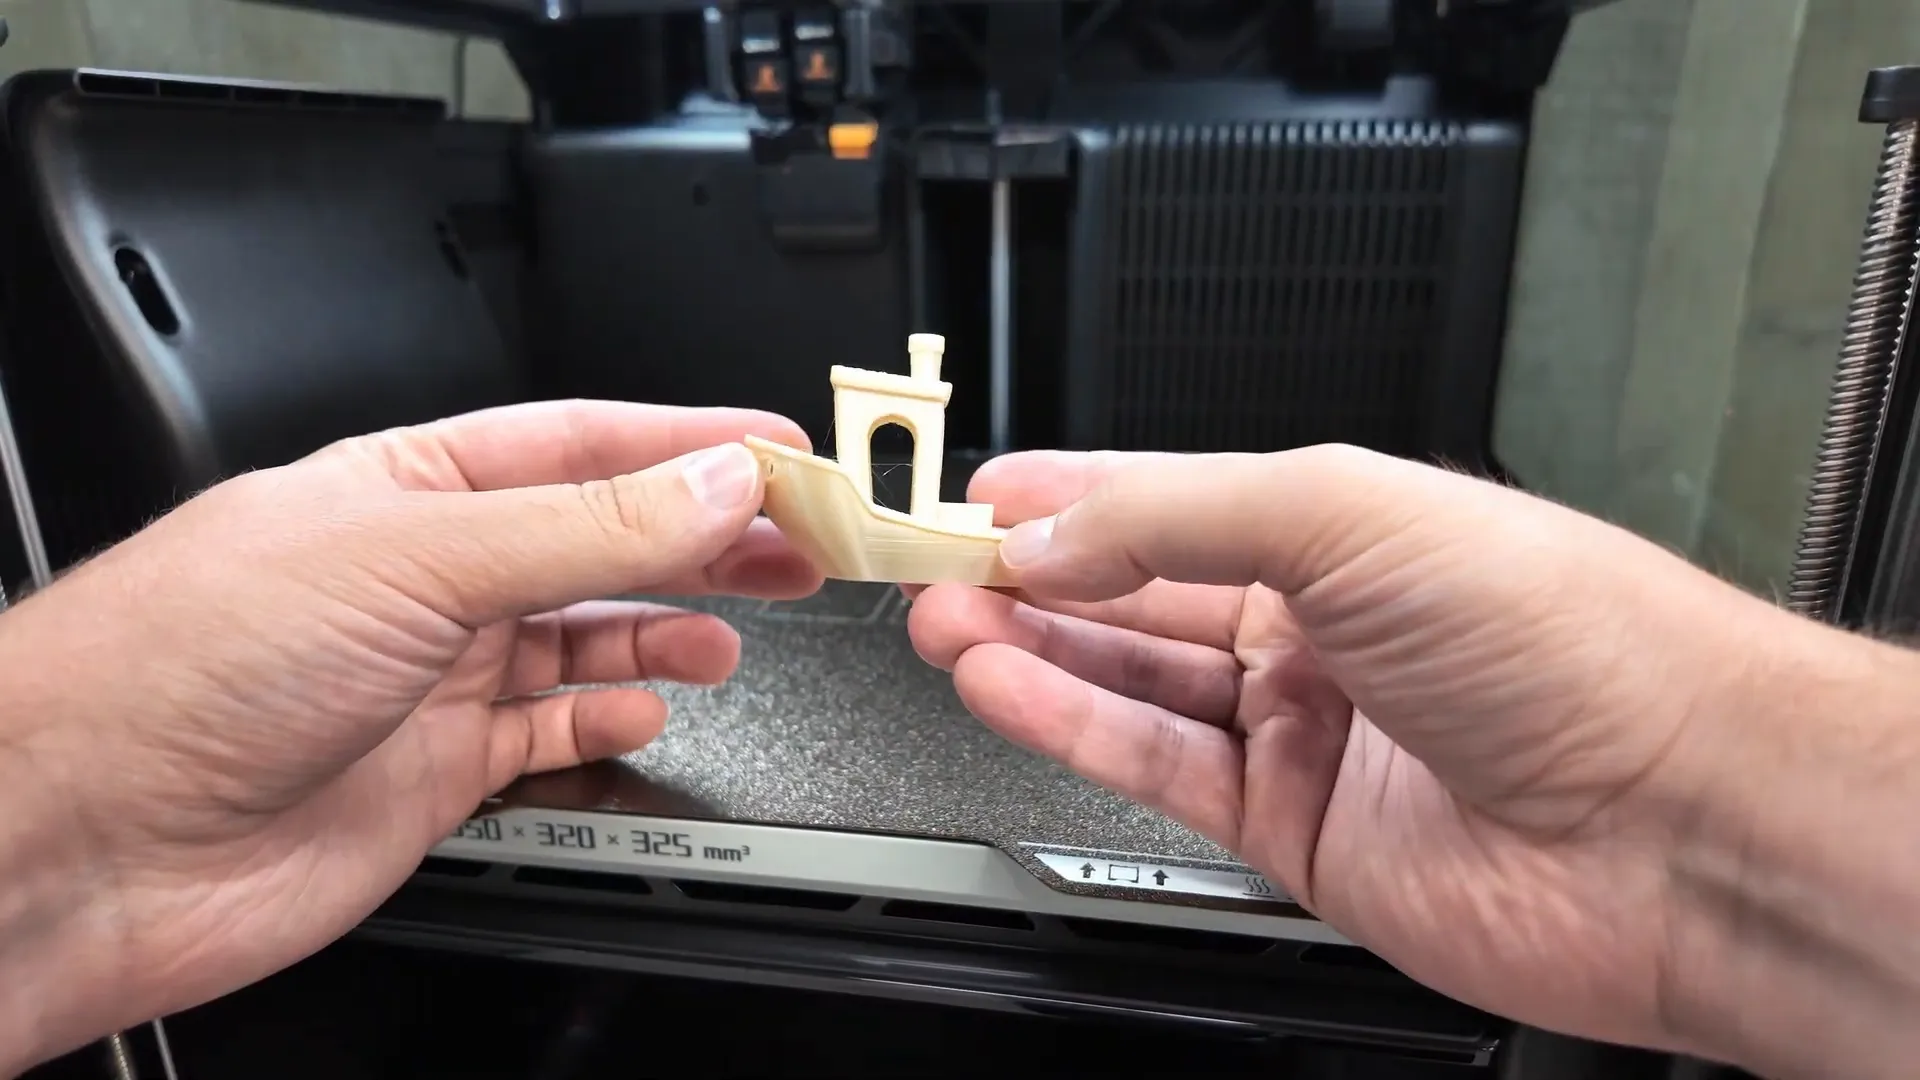
I printed two benchies to show the difference the Vision encoder makes. The first benchy printed right away using normal calibration and it looked excellent — exactly what you'd expect from a quality Bambu Lab machine.
After using the Vision encoder I printed the second benchy. Visually the prints were very similar — that’s intentional. The Vision encoder’s value is in long-term consistency: it compensates for minor mechanical changes over months or years (belt stretch, wear, etc.) so you keep close to that “first-day” accuracy as the machine ages.
Printing abrasive and engineering materials
The H2D Pro is clearly aimed at users who want to print tougher and more abrasive materials.
Polycarbonate + Carbon Fiber
I printed a benchy in polycarbonate reinforced with carbon fiber using the tungsten carbide nozzle. The result matched the PLA-quality surface finish surprisingly well — the nozzle and hotend are stout enough to handle these blends with minimal wear.
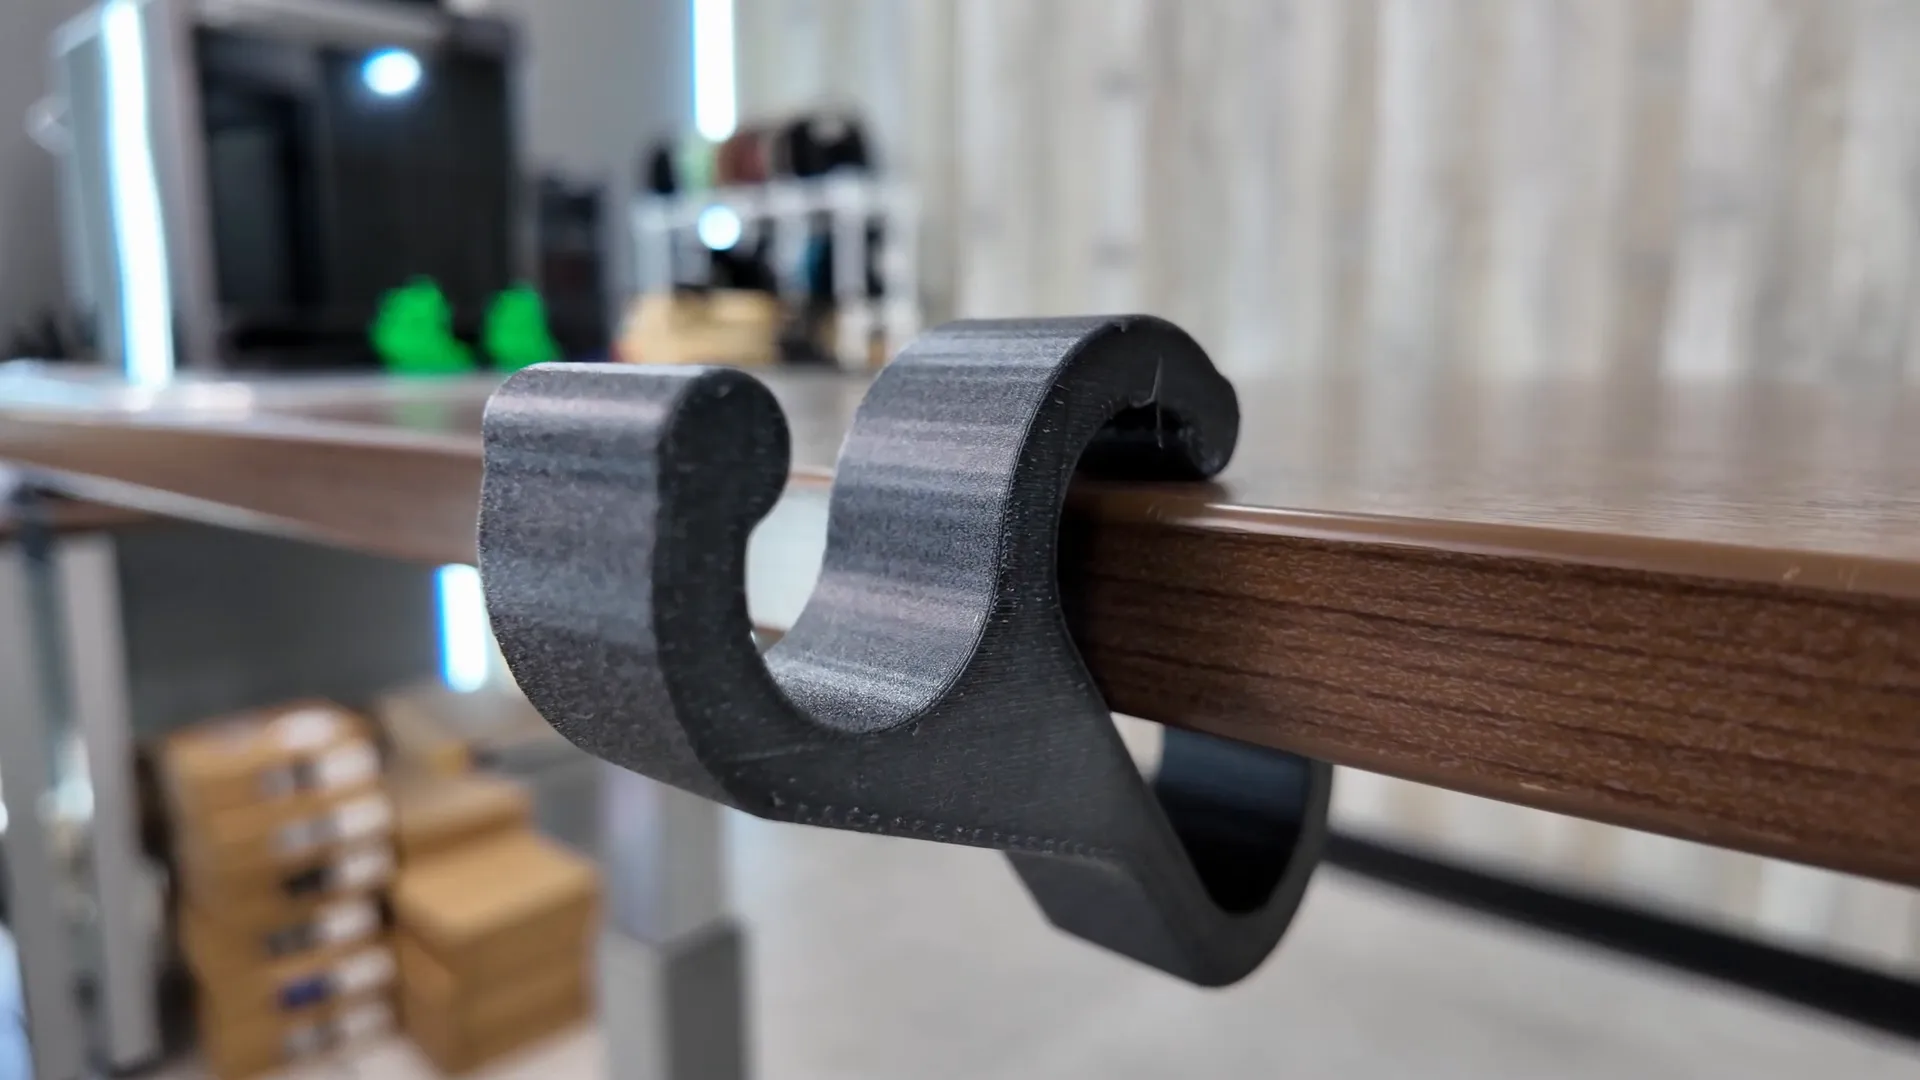
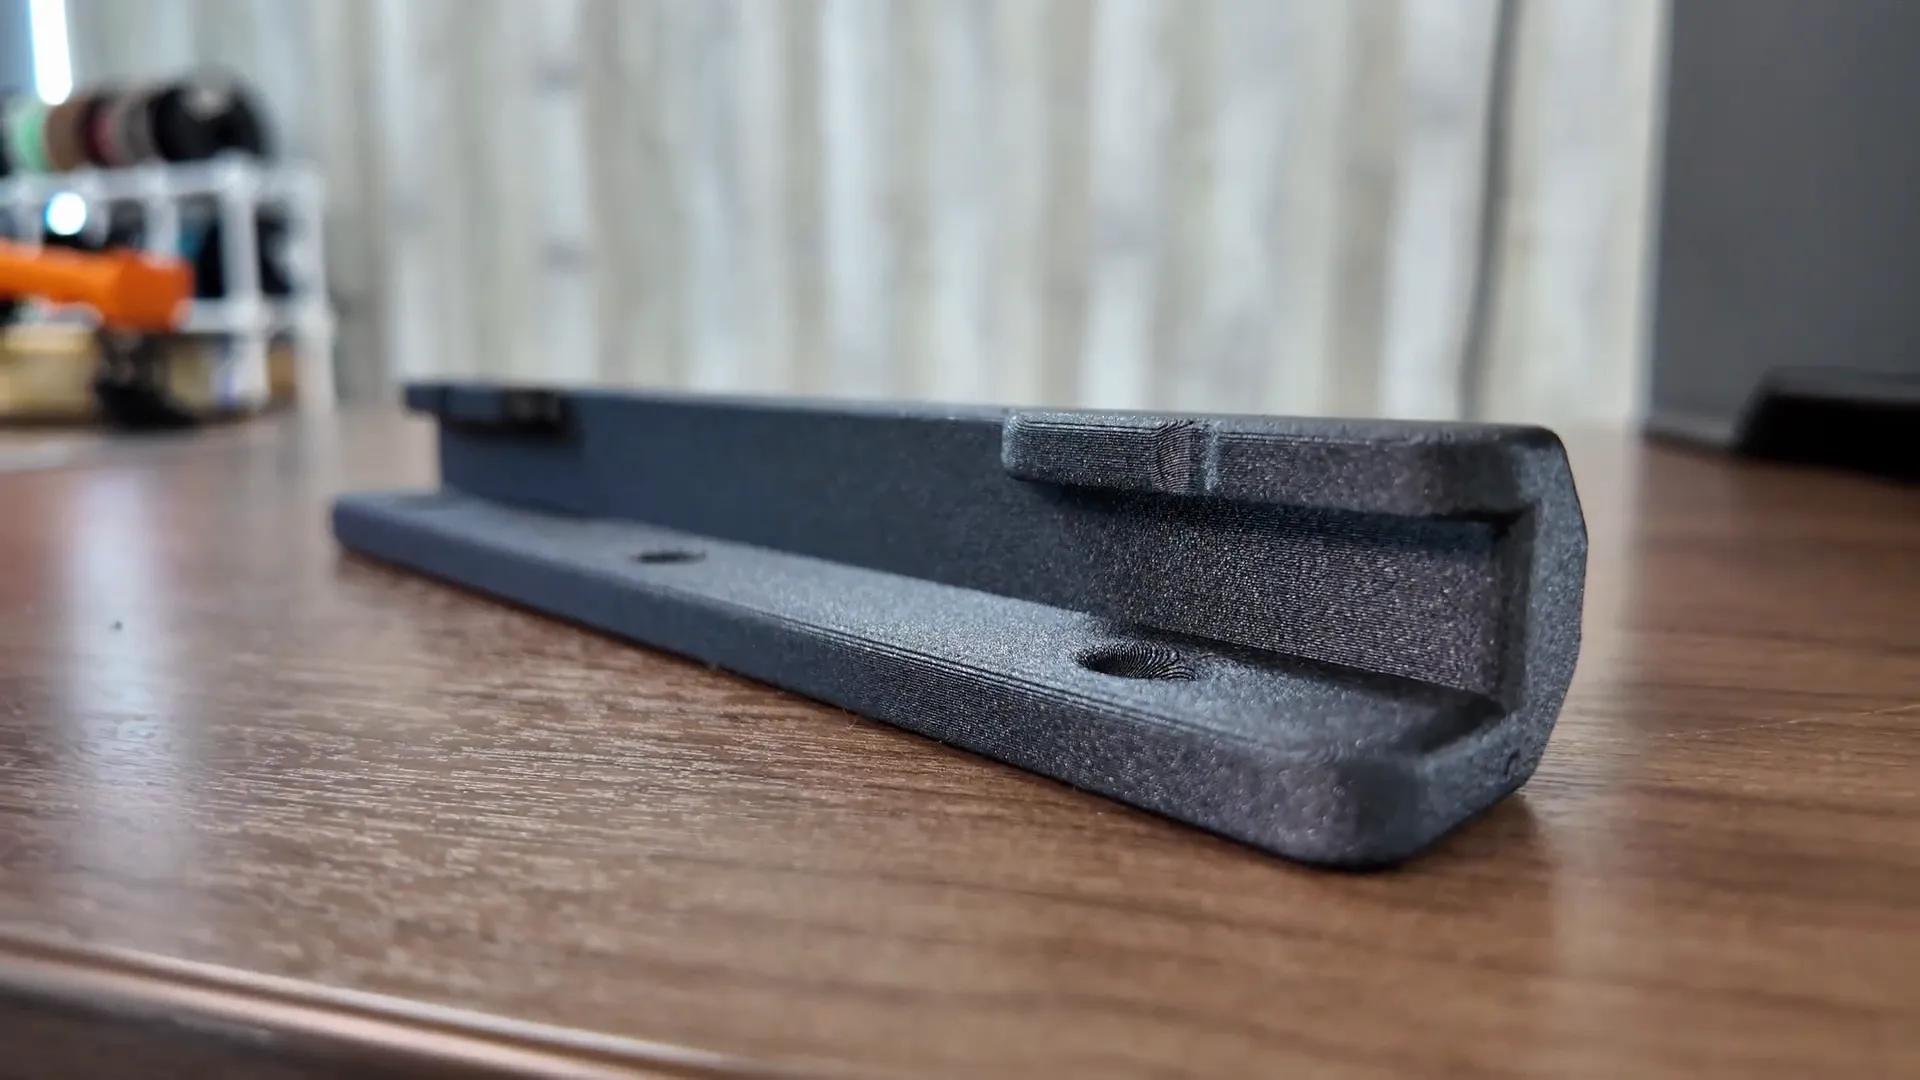
Backpack hanger test (strength)
A functional print: a backpack hanger printed in PC+CF. Despite rounded and flat surfaces printing differently, the part was very strong. I tested it with a fully loaded backpack and it held up — layer adhesion and overall strength looked excellent.
PETG with glass fiber (abrasive)
I also printed a PETG+glass-fiber part. Again, tungsten carbide nozzles excelled here. I used the AMS HT dryer to pre-dry the spool for about 8 hours — with hygroscopic, fiber-filled filaments that step made a visible difference. The print had consistent surface finish and strong internal structure (I printed at ~70% infill and 4–5 walls).
ABS + HIPS support in the heated chamber
Dual-extrusion was useful here: ABS for the part and HIPS as soluble support. ABS often smells and can warp; the H2D Pro’s improved filtration noticeably cut the odor in my workspace, and the heated chamber kept warping in check. The supports popped off cleanly and left an excellent underlying surface.
ULTEM (PEI) experiment: pushing limits
For a curiosity test I printed a benchy in ULTEM (PEI). This material recommends nozzle temps of 350–380 °C, and bed temps of 140–160 °C. The H2D Pro’s nozzle tops out at about 350 °C, bed at 120 °C and chamber at 65 °C — so I was at the low end of the material’s recommended range. Still, it printed surprisingly well with no layer separation (I previously saw separation using the H2D). This is an experiment and not an official recommendation, but it shows the H2D Pro can sometimes squeeze past spec limits for one-off tests.
Business-friendly features: Ethernet and security
One of the most important additions for businesses is the Ethernet port. To many hobbyists this may look minor, but for companies that must keep assets off the public internet it’s huge. Ethernet enables local-only file transfers on a private network, which helps meet confidentiality requirements for prototypes and client IP. This, combined with the AMS HT dryer, tungsten carbide nozzles, dual tool head, and improved filtration, signals Bambu Lab positioning this model toward professional and light-commercial users.
Who should buy the H2D Pro?
- Businesses and professional shops: If you need local networking, stronger filtration, dual-extrusion multi-material capability, and options for drying and handling abrasive filaments, the H2D Pro is a compelling value compared to pricier industrial machines.
- Advanced hobbyists / prosumers: Possibly — if you frequently print abrasive filaments or want the AMS HT included, the Pro offers clear benefits. For most casual enthusiasts, the regular H2D still covers 90% of needs at lower cost.
- Not recommended: If you only print simple PLA parts and don’t need network isolation or drying hardware, the added features may be unnecessary.
Final thoughts
The Bambu Lab H2D Pro takes what I liked about the H2D and adds hardware that appeals to businesses and advanced users: AMS2 Pro, AMS HT dryer, tungsten carbide nozzles for abrasive materials, improved filtration, and an Ethernet port for local network workflows. It remains a very capable machine for everyday prints while giving you the tools to handle engineering-grade filaments reliably.
For businesses that need local control and multi-material capability without stepping up to high-cost industrial systems, the H2D Pro represents a strong value. For the average hobbyist, the standard H2D may already be the better fit, but if you want the added security and material support, the Pro is worth a close look.
Thanks for reading — if you want detailed setup tips or printable test files I used, head to 3D Printing Canada’s resources and forum for the files and community support.