
Welcome back to the 3D Printing Canada blog! Today, we're diving into the unboxing and setup of the Bambu Lab X1E, an impressive professional 3D printer designed with engineering applications in mind. Let's get started!
First Impressions
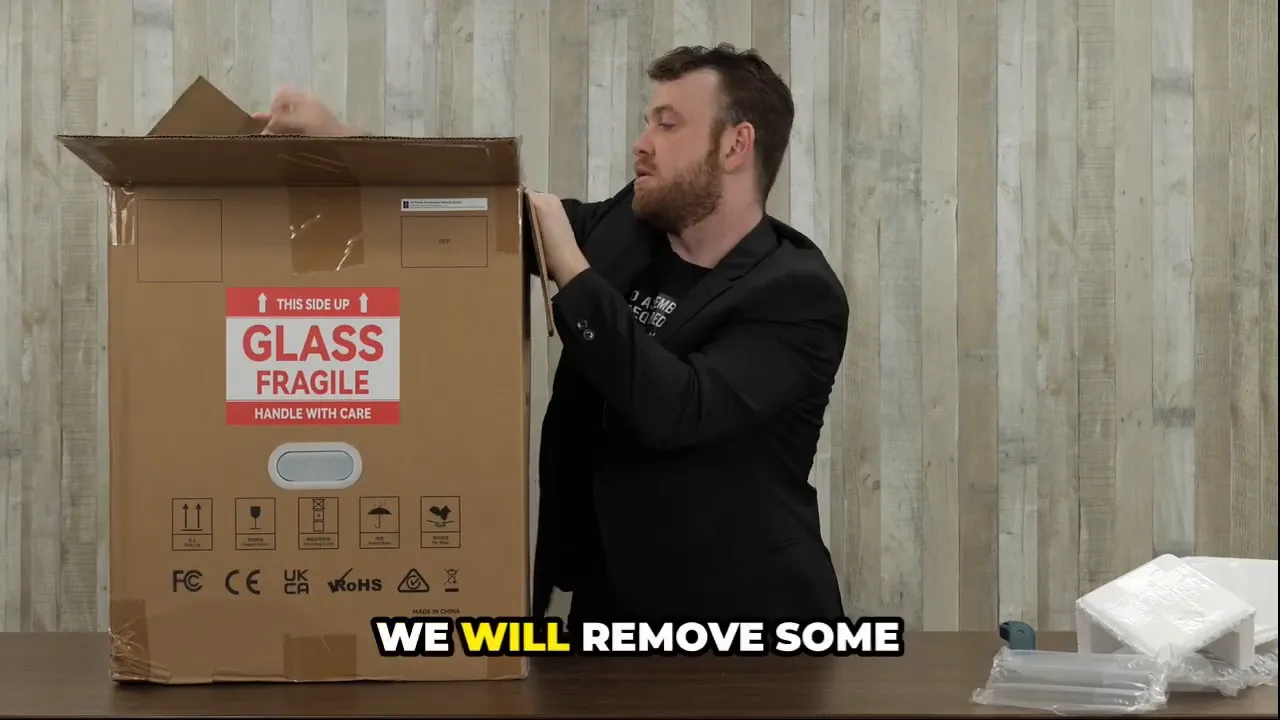
As we open the box, it’s clear that Bambu Lab takes packaging seriously. The printer is well-protected, a hallmark of the brand’s commitment to quality. Upon removing the protective packaging, we find several accessories that come with the printer.
What’s in the Box?
Inside the box, we have:
- Three test spools of filament—always a nice touch!
- An LED lamp for better visibility while working.
- A HEPA filter, enhancing the printer's filtration capabilities.
- An instruction manual that’s crucial for any printer setup.
- An accessory kit containing essential tools and parts.
After taking everything out, I can appreciate the thoughtful inclusion of these items as they prepare us for the assembly and calibration processes.
Getting Started with the Assembly
Let’s remove the tape and plastic from the printer. Carefully peeling off the protective layers reveals the printer’s sleek design, ready for assembly. It's time to grab the accessory kit!
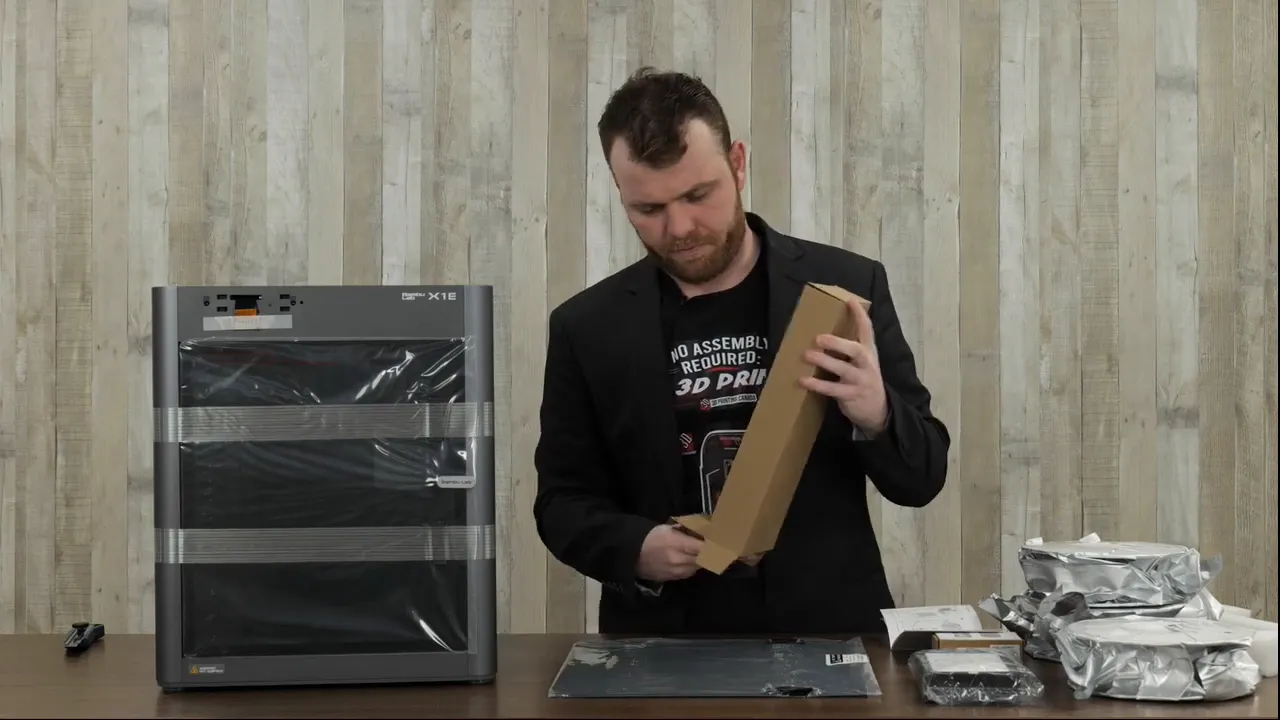
Accessory Kit Contents
The accessory kit includes:
- Power cord
- Extra cords for the AMS (Auto Material System)
- A spare hot end
- Glue and safety guidelines—always essential for beginners.
- A spool holder and various nuts and bolts.
- Two Allen keys for assembly.
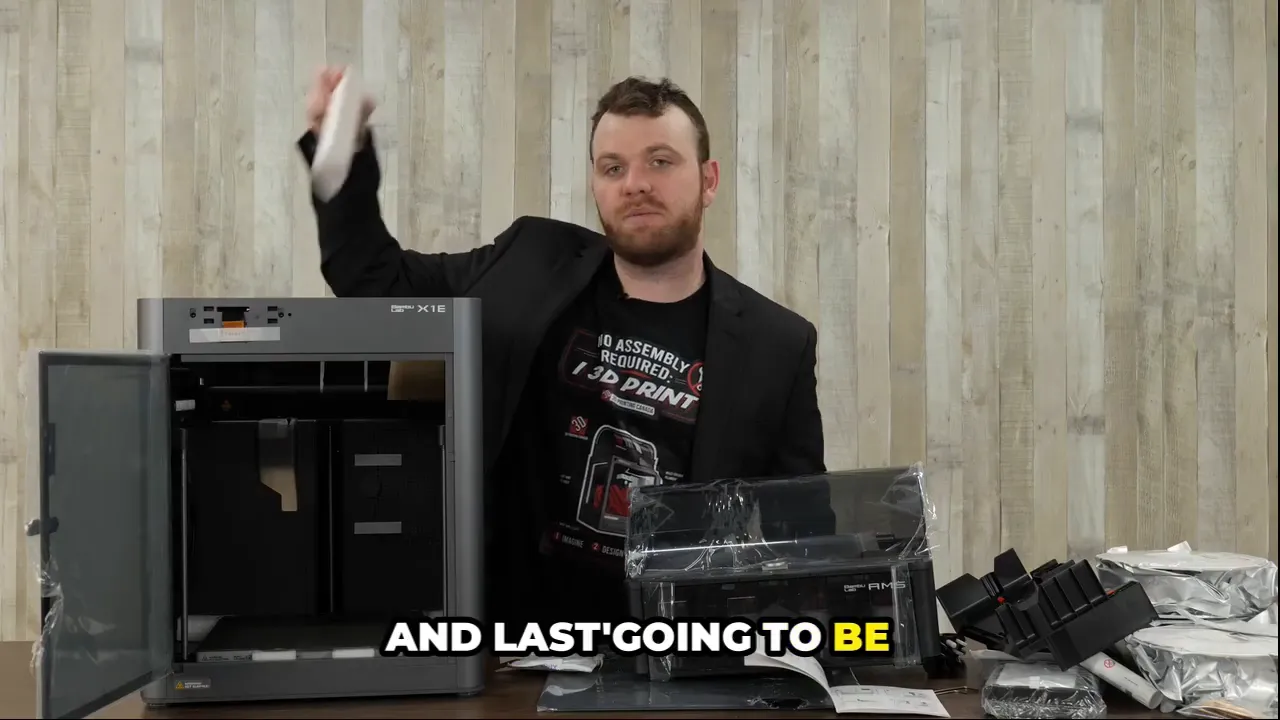
With everything laid out, let's begin the assembly process by removing the AMS from the printer.
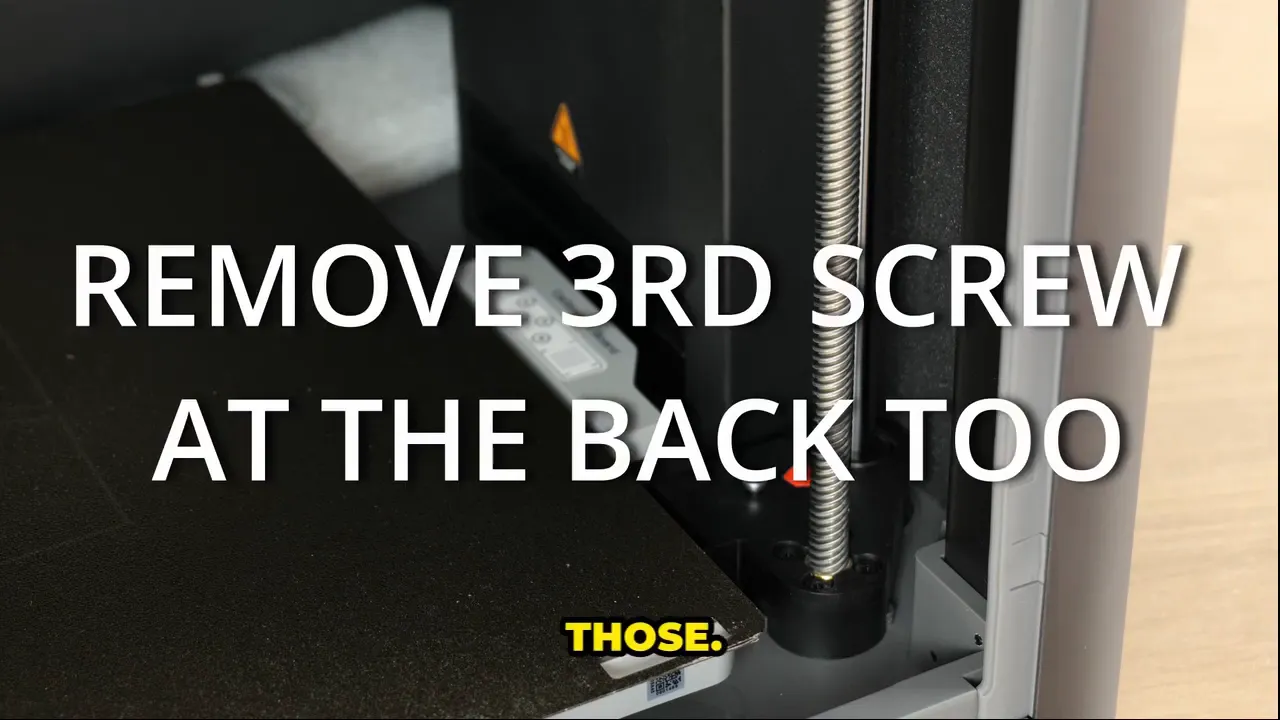
Removing the AMS
To free the AMS, we first need to remove the screws indicated by the red arrows in the printer. Using the short end of the Allen key, we can easily unscrew these and slide the AMS out carefully. It’s important to ensure no PTFE tubing is caught during this process.

Preparing the Printer for Operation
Once the AMS is out, we need to tidy up by removing any leftover packaging materials. This includes cardboard and foam that keeps the printer secure during shipping.
Assembling the AMS
With the AMS ready, let’s assemble it back into the printer. I’ve removed all necessary tape, which is always a satisfying part of unboxing. Positioning the AMS correctly is crucial; it features both a six-pin and a four-pin connector. Following the provided diagram, I’ll start connecting these cables.

Installing the Spool Holder
Next, we move on to assembling the spool holder. The instructions guide us to remove one screw to attach the spool holder securely. After that, we’ll replace the screw to ensure everything is stable.
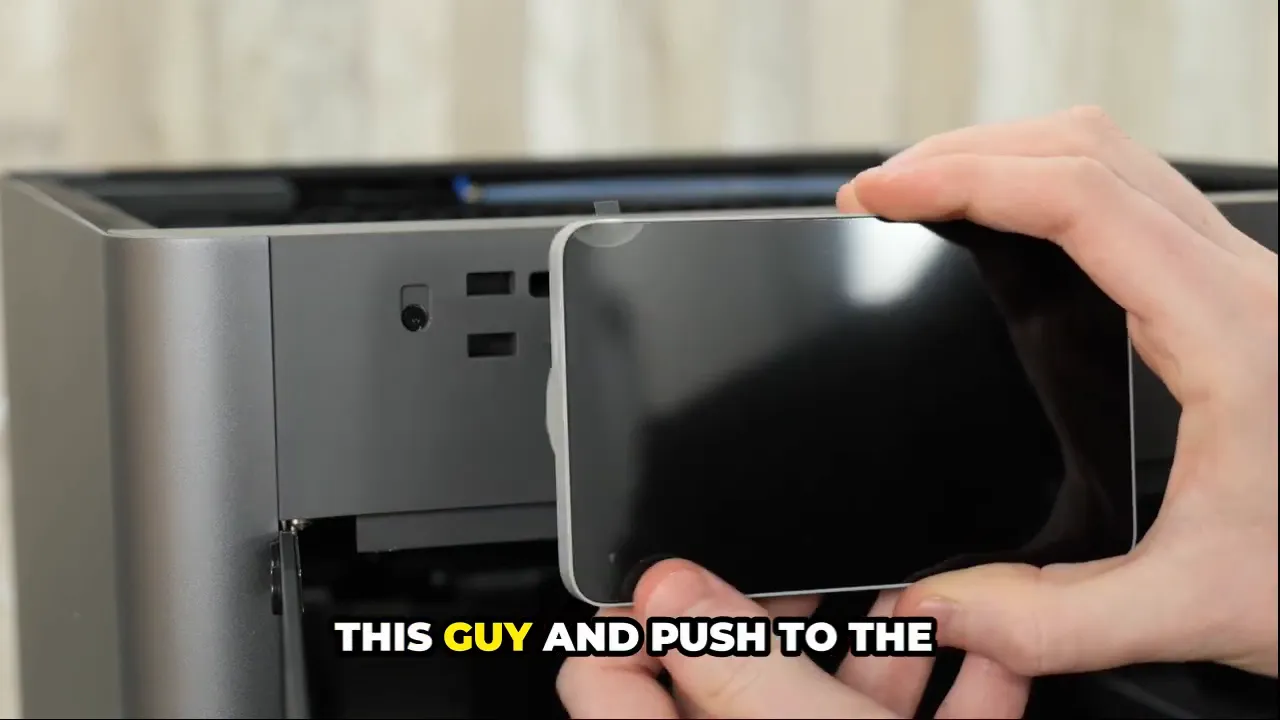
Finalizing Setup
Before we can power on the printer, we need to install the screen. Carefully removing the tape, I position it in place until I hear a click, confirming it’s properly secured. Now, we can turn on the printer and begin the initial calibration process.
Initial Calibration
As the printer powers up, it’s normal to hear some vibrations and noises as it calibrates. Don’t forget, there’s still styrofoam under the bed, which should be removed only after calibration is complete. The printer displays a lovely Bambu Lab logo, and we’re ready to go!
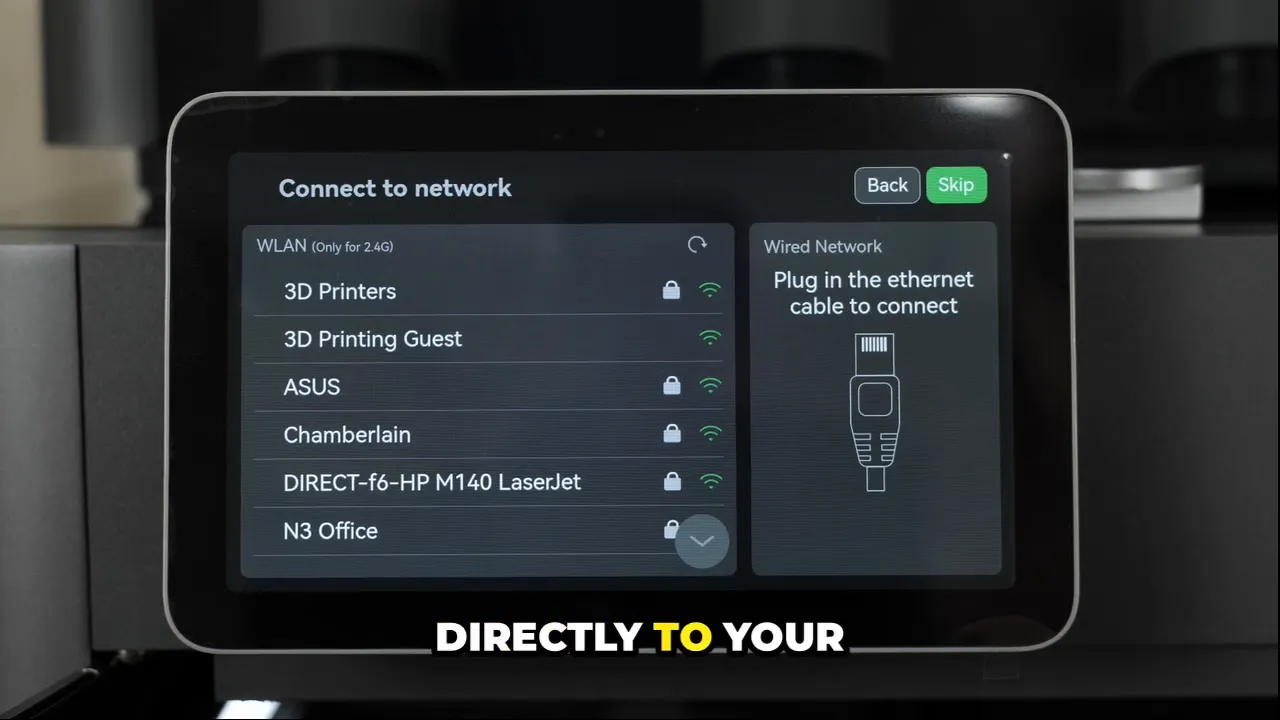
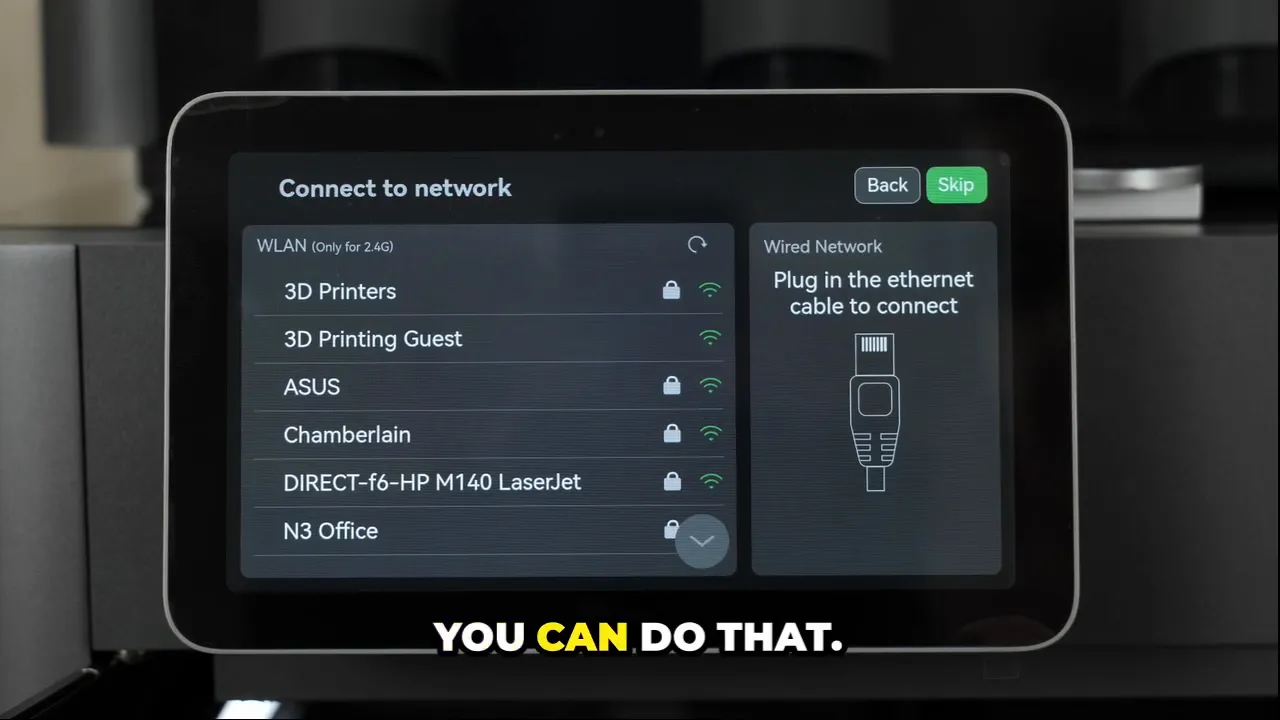
Connecting to the Network
The Bambu Lab X1E comes with an Ethernet cord for a direct internet connection. If you prefer, you can also connect to the network wirelessly. I’ll go ahead with the wired connection for stability.
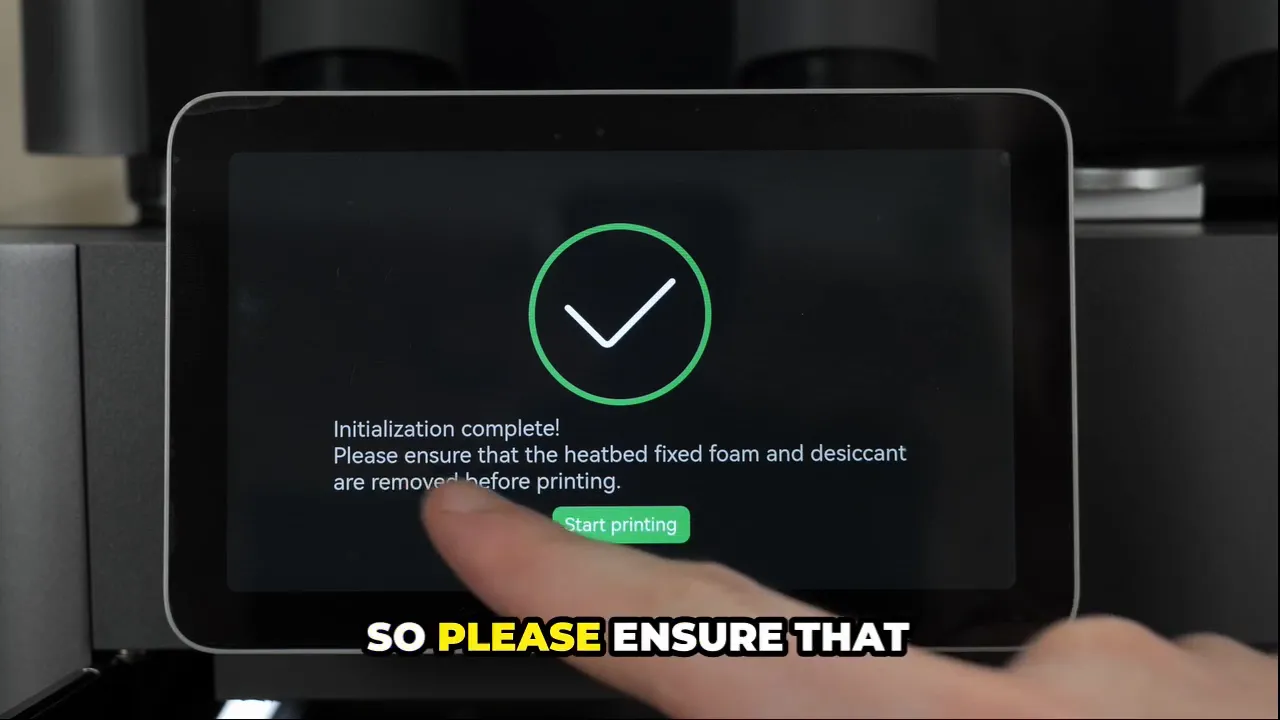
Calibration Complete
After a few minutes, the calibration process finishes. We’re now instructed to remove the heat bed foam and desiccants to prepare for our first print. This is an exciting moment as we transition from setup to actual printing!
First Prints: Real-World Applications
To test out our Bambu Lab X1E, we decided to print some real-world applications, specifically coordinate measuring machine fixtures. These are commonly used in machine shops for precise part measurements. The time saved by having a 3D printed fixture ready to go is substantial, especially compared to traditional metal or aluminum fixtures.
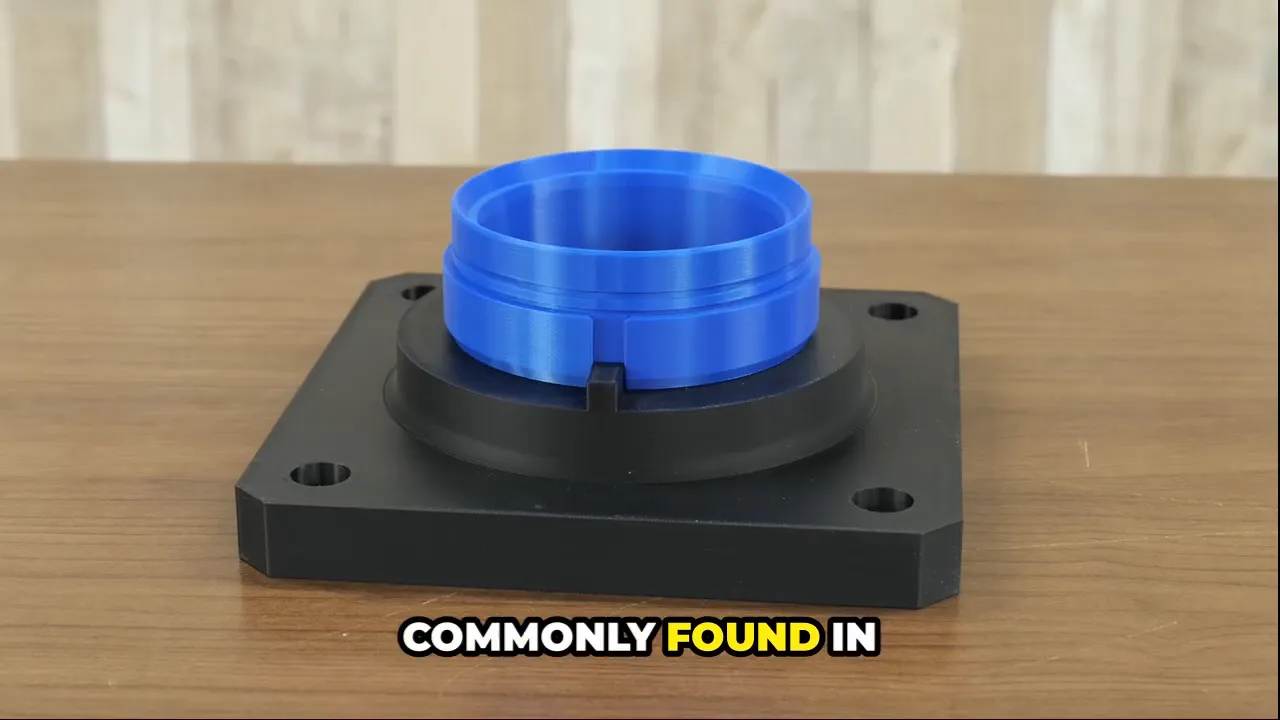
Time Efficiency
Both of these fixtures took about 8 hours to print using PETG filament. The cost savings and time efficiency of 3D printing these fixtures are significant. If you need assistance designing jigs and fixtures, feel free to reach out to us at 3D Printing Canada!
Conclusion
The Bambu Lab X1E has proven to be a remarkable printer right out of the box. From unboxing to the first print, the entire process was smooth and straightforward. If you have any questions about the X1E or want to learn more about our printing services, don’t hesitate to contact us!
Thank you for following along with this unboxing and setup guide. Make sure to like and subscribe for more insights and updates in the world of 3D printing!
Ready to take your 3D printing to the next level? Get your Bambu Lab X1E today—visit us now and start printing with precision and speed!"